If you are developing for the web – apps or websites, then it is almost impossible to escape JavaScript. At some point, you will write some client-side code and as the application grows and the requirements become more complex, your JavaScript code is bound to grow with it. Like with every other complex piece of code, we need to be confident that the code behaves as expected. It doesn’t matter if you decide to use TDD or not, what’s important is to test your code. You can do this manually, very tedious and error prone, or programmatically. The choice is yours!
JavaScript is a different beast on its own, especially if you, like me, are used to doing server-side programming and testing. So how does one start with client-side unit tests?
1. A JavaScript testing framework####
Since JavaScript runs on the browser, you need a framework to support running tests on the browser – programmatically. For server-side code we have nUnit, xUnit, msTest etc all of them with their pros and cons. Similarly, in the world of JavaScript code testing, we have qUnit, Karma, Jasmine etc. More details on each framework can be found on this StackOverflow post and at this wiki article.
I chose qUnit but you should feel free to use the one you are more comfortable/like the most. You can install qUnit easily through NuGet:
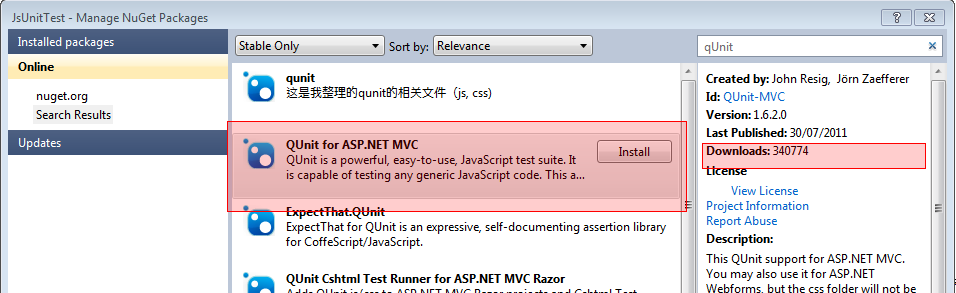
The successful installation will add two new files in your solution:
- qunit.css
- qunit.js
With our testing framework in place we can go ahead and write some tests.
2. Basic unit tests####
Create a new empty controller and name it TestController.cs. Under views, add a new folder called Test and add an empty view named index. Open the view and paste the following code:
@{
    Layout = "";
    ViewBag.Title = "Unit Tests";
}

<link href="~/Content/qunit.css" rel="stylesheet" type="text/css" />
<h1 id="qunit-header">Unit Tests</h1>
<h2 id="qunit-banner"></h2>
<div id="qunit-testrunner-toolbar"></div>
<h2 id="qunit-userAgent"></h2>
<ol id="qunit-tests"></ol>

<script src="@Url.Content("~/Scripts/qunit.js")" type="text/JavaScript"></script>
Save and run the project. Navigate to the page in question (“yoursiteurl/Test/”) and you should be presented with the following page:

We haven't written any tests yet, so let’s add a couple. Go back to the Index view and add the following code:
<script type="text/JavaScript">
    test("strings are equal", function () {
        var expected = "hello world";
        var result = "hello world";
        ok(result == expected, "Strings are equal!");
    });

    test("numbers are equal", function () {
        var expected = 1;
        var result = 1;
        ok(result == expected, "Numbers are equal!");
    });

    test("test should fail", function () {
        var expected = 1;
        var result = 2;
        ok(result == expected, "Numbers are equal!");
    });
</script>
Now, go back to the browser and reload the test page. The page should now display the following:
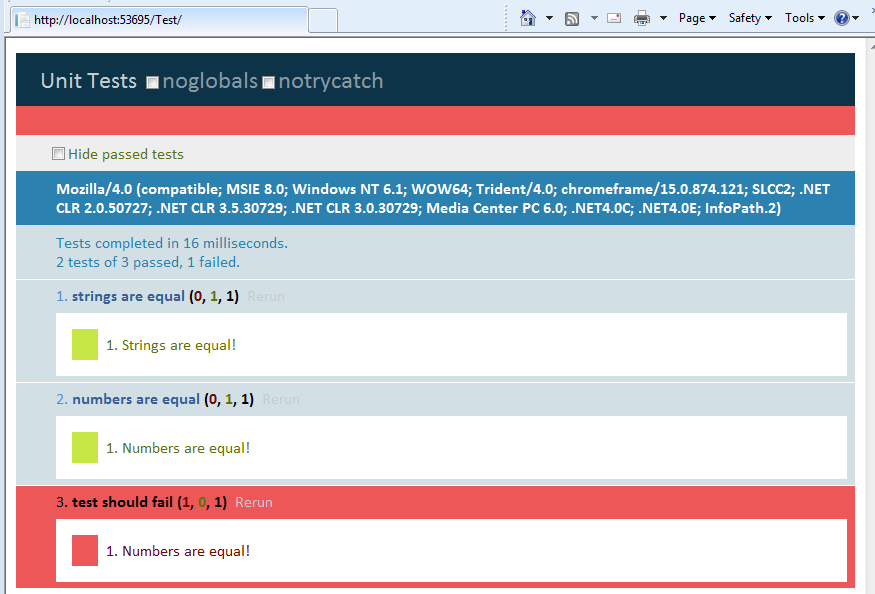
2 tests succeeded and 1 failed, as expected.
Still with me? Good! Now, let’s make it a bit more realistic.
3. Testing your own code####
If you follow best practices and patterns, your JavaScript code should be self contained and testable, with methods and objects clearly defined. If not, now is a good time to refactor your code so that you can get some meaningful tests run against it. To test your .js code, you will need to reference it on the test page. Ensure that any other dependencies are referenced as well, so if you are, for example, using jQuery to perform ajax calls or similar functionality, then add a reference to the jQuery.js file.
Make sure that your page doesn’t have a reference to that dependency included in the _layout page. MVC for example does this already so there is no need for you to reference it again.
So far we’ve only tested basic code, with no real world value. You code most likely executes a lot more complex operations and contains a number of different methods. Some of them may also perform calls to external modules or services so things are bound to be more complicated in your unit tests. To address these complex scenarios we need to help of a framework that is all too common in server-side testing – mocking.
What is mocking?
Mocking is primarily used in unit testing and allows you to focus on your unit tests by mocking external dependencies. An object under test may have dependencies on other complex objects and services. To isolate the behavior of the object, you replace the other objects by mocks that simulate the behavior and state of the real objects. For a more detailed explanation of mocking, you can go here.
I haven’t tested many mocking frameworks but I am partial to Sinon.js, so I will use it for the purpose of this post. Sinon.js is pretty lightweight, standalone yet powerful mocking tools that has no dependencies and can work with any unit testing framework. Sinon.js is available through NuGet:
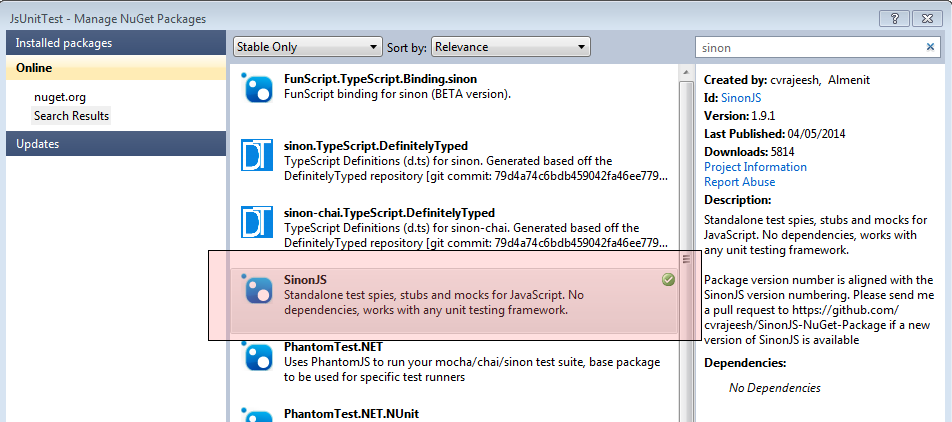
The successful install will only add one file: sinon.js in the Scripts folder.
4. Mocking with Sinon.js####
Sinon.js comes with great documentation and there are plenty of examples and tutorials on the net. However, let’s assume that you have a method that performs an ajax GET request and returns the result to another method which parses the results and displays them on the page. How do you mock this? Sinon.js to the rescue. Sinon.js provides a few of ways of faking ajax calls, but my favorite one is the "fake server” – documentation here
Back to our test page, we need to add a bit more code to test the method. Notice that for this example, I include the code to be tested and the test methods in-line for simplicity. Obviously, your tests will reference a number of files that contain the actual JavaScript code. Add a reference to the sinon.js file:
<script src="@Url.Content("~/Scripts/sinon-1.9.1.js")" type="text/javascript"></script>
To use the fake server, we also need to do some plumbing, i.e. test setup and teardown. Add the following code at the top of the test script:
module('Test Module', {
    setup: function () {
        this.server = sinon.fakeServer.create();
    },
    teardown: function () {
        this.server.restore();
        delete this.server;
    }
});
This code will create a fake server prior to running each test case and then tear it down and deleted once the test is complete. Nice and clean.
Next, we will use this server to intercept a web call to a specific url and send a fake response. First, add the method to be tested:
var methodToBeTested = function() {
        $.ajax('url.youneedto.mock.com')
     .done(function (data) {
         if (typeof console == "object") {
          console.log("Success - " + data);
          }
          return data;
     })
     .fail(function (xhr, textStatus, error) {
        console.log(xhr.statusText);
        console.log(textStatus);
        console.log(error);
    });
}
Now, let’s write the actual test for this method and see how we can mock the ajax call:
 test("should make an ajax call", function() {
    this.server.respondWith("GET", "url.youneedto.mock.com", [200, { "Content-Type": "application/json" }, JSON.stringify('hello world')]);
    methodToBeTested();
    this.server.respond();
    ok(this.server.requests.length === 1, "One request was executed");
    ok(this.server.responses.length === 1, "One response received");
    });
Run the tests and you should get the following for the test we’ve just added:

How did this work? First, we created a mock server in the setup of the unit test.
this.server = sinon.fakeServer.create();
Then, inside the test itself, we added the mock behavior for the server. This was done with this line:
this.server.respondWith("GET", "url.youneedto.mock.com", [200, { "Content-Type": "application/json" }, JSON.stringify('hello world')]);
This line tells the server that when a GET request to the "url.youneedto.mock.com" is made, it should be intercepted and a mock response with a 200 (i.e OK) should be return with a json payload of "hello world". As you can see it is very easy to intercept the ajax call and return a complex json/xml object that matches your test requirements.
Finally, we have to call this.server.respond() in order to return the mock response to the ajax call. After that, we can write our assert statements to validate the overall operation.
Sinon,js is very powerful and there are a lot of ways you can use to achieve the above result, so I would advise you to take a good look at the documentation in order to fully take advantage of this framework’s rich features available.
Happy coding...