I'm currently working on an inherited .NET Core project and I'm loving the experience. I'm still using the project.json project format instead of the newer *.csproj & msbuild one. For now I'll leave it as it is but going forward I'll use the new format for subsequent ASP.NET Core projects.
The project also makes use of the newest [EF Core](https://docs.microsoft.com/en-gb/ef/" target="_blank) so it's all running on the edge of the .NET technology. EF Core Code First is great but the tooling is still rough around the edges. Some things are not there or some of them are not feature complete.
So my problem in this instance was working with migrations against an existing database and model. In the old EF6x world, I could use this command:
add-migration MyMigrationName -ignoreChanges
to setup my first migration script against the existing database and data. This command creates a baseline, a starting point to allow us to apply further schema changes through migrations. Unfortunately, this is one of the EF Core features that's missing. The -ignoreChanges parameter is not available. Below, I explain my workaround and hopefully this can help you as well if you are faced with the same problem.
First, you need to add the tooling to the necessary projects. And there's a caveat here. The EF Core commands need to run against an executable/runnable project. In other words, EF Core tools can't run against a class library. You need a .NET Core console app or ASP.NET Core website. However, you still need to install the EF Core tools to your DB project (if this lives outside your application project, which is common on larger projects).
Add the appropriate NuGet package under the "tools" section in the project.json as per the example below:
"tools": {
    "Microsoft.EntityFrameworkCore.Tools": {
      "version": "1.0.0-preview2-final"
    }
  }
Next, on your website or console app (ASP.NET [Core]) you need to add the following NuGet packages in the "references" and "tools" sections respectively.
The tooling version may change by the time you're reading this.
"dependencies": {
    /* Other dependencies omitted */

    "Microsoft.EntityFrameworkCore.Design":  "1.0.0-preview2-final"
  },

  "tools": {
    "Microsoft.EntityFrameworkCore.Tools": {
      "version": "1.0.0-preview2-final"
    }
},
Add your baseline migration
Add your first baseline/blank migration to give you a starting point. Open the command line in order to use the .NET Core CLI and type ensuring you provide a meaningful migration name:
dotnet ef migrations add <MigrationName>
Now go to the file created under DbProject\Migrations\<MigrationName>.cs and remove all the code inside the Up() method. This will ensure that the migration will run against your database without altering your existing schema (assuming there are no changes). You can leave the Down() method as is. Next, you want to run this migration against your database so type and run the following command:
dotnet ef database update
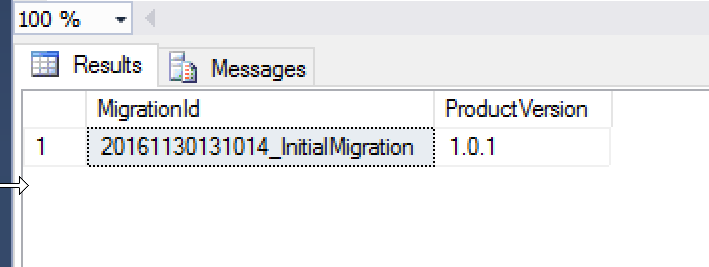
Once this command executes, you should see the following table created in your target database:

Add your first schema migration
With the baseline in place, we can go ahead an implement our code changes. This is where you can add new tables, columns etc to your code-first model. Once you're happy with the code changes, you need to apply these changes to the database to be able to run and test your code. To do this, we need to add another migration using the same commands as before:
dotnet ef migrations add <MigrationName>
Open the newly created migration file found here DbProject\Migrations\<MigrationName>.cs and ensure that the Up() method does what it needs to do. You need to make sure that the code is right and that all your schema changes are reflected.
If you're happy, you can go ahead and apply the changes to the database using the following command:
dotnet ef database update
This command will update your database using the latest migration (or all migrations not recorded in the EFMigrationsHistory database table. This means that you can create multiple migrations and apply them in batch mode or individually as per the [documentation](https://docs.microsoft.com/en-us/ef/core/miscellaneous/cli/dotnet" target="_blank):
Command: dotnet ef database update [arguments] [options]
Arguments: [migration] The target migration. If '0', all migrations will be reverted. If omitted, all pending migrations will be applied.
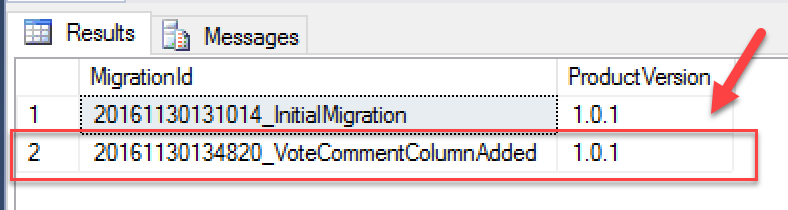
At the end of the update, your EFMigrationsHistory should look like this:
You now have a working process for adding and applying migrations to an existing project. Feel free to let me know in the comments if you have any questions.