A friend recencly asked me whether he should use Azure for hosting his site and whether it was easy to get started with it. Although I was quick in saying yes, also realised that Azure is still a bit confusing, especially if you're new to the whole "cloud" idea or never used hosting services before.
In this post, I will try to debunk some of these fears and show you how easy it is to get started with Azure. We will treat it as an "Azure for Dummies" post and take it really slow in order to help you get your first website up and running in no time.
1. Should I run my website on the Azure platform?
This is a very valid question and as with every other platform and hosting provider, there are pros and cons that come with this choice. First, the pros:
Pros
- Azure is currently the cheapest cloud provider
- Azure grows rapidly and new services become available very frequently
- You can use the Azure Pricing Calculator to find out if the service you are after is affordable, before you even sign up for an account
- It offers excellent documentation
- Once you sign up, you are in full control of your account tier (free, pay as you go etc). You can move up and down without any problem, though if you pay in advance for a length of time on a specific tier, it would make sense not to downgrade your service level (though you still can!)
- As soon as you sign up, you get a certain level of services for free. For example, a little known secret is that you get 10 free websites for free. But the offer doesn't stop there. You actually get 10 free websites per datacenter and now with 12 datacenters around the globe, you, yes you guessed it right, get 120 websites for free!
- If you are an MSDN Subscriber, then even better! For you, there is free credit starting at £50.00 (in the UK) and other preview services available to play with.
Cons
- Too many services to chose from.
- Too many service levels/tiers to choose from.
- The Azure Portal, even on it's 3rd iteration, is still a bit confusing and some people "lose their cheese" as things are always moving and evolving (good thing).
- If you are not careful, you can easily use the wrong tier and get charged even if you didn't intend to in the first place
- Some of the free services have obvious limitations. For example, you cannot use a custom domain name or SSL with the free website tier.
- Azure support is not free
- It takes time to get accustomed to the dashboard/portal
- Sometimes the documentation is a bit out of date as things are moving so fast.
Overall, I strongly believe that Azure's pros far outweigh the cons and I feel that it is an excellent platform that can accommodate all needs. The fact that you can scale from zero to mega corporation shows the flexibility and the strength of the service.
Nonetheless, enough with the review. Let's see how you can get started.
2. Getting your Azure account in order
If you don't have a Microsoft account (it used to be Live Login, MSDN account etc), go get one as you will need it. With your Microsoft account in place, we need to navigate to the Azure sign up page:
http://azure.microsoft.com/en-gb/pricing/free-trial/
Log in with your Microsoft account and select the Free Trial option as per the example below:
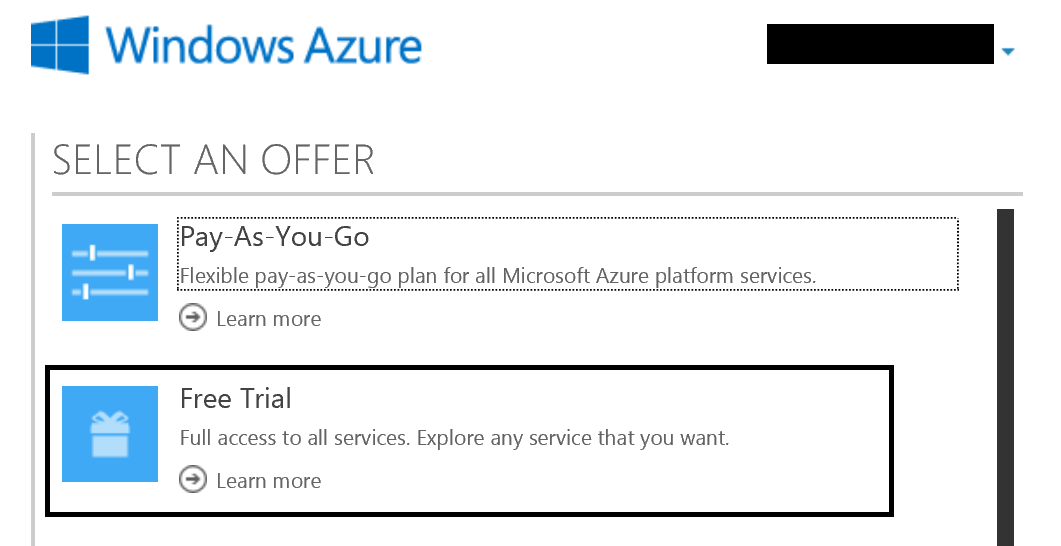
Then you need to register your details such as your name, telephone number for verification and a credit/debit card. Agree to the terms and conditions, click on the "Sign up" buttons and now you are a proud owner of an Azure account!
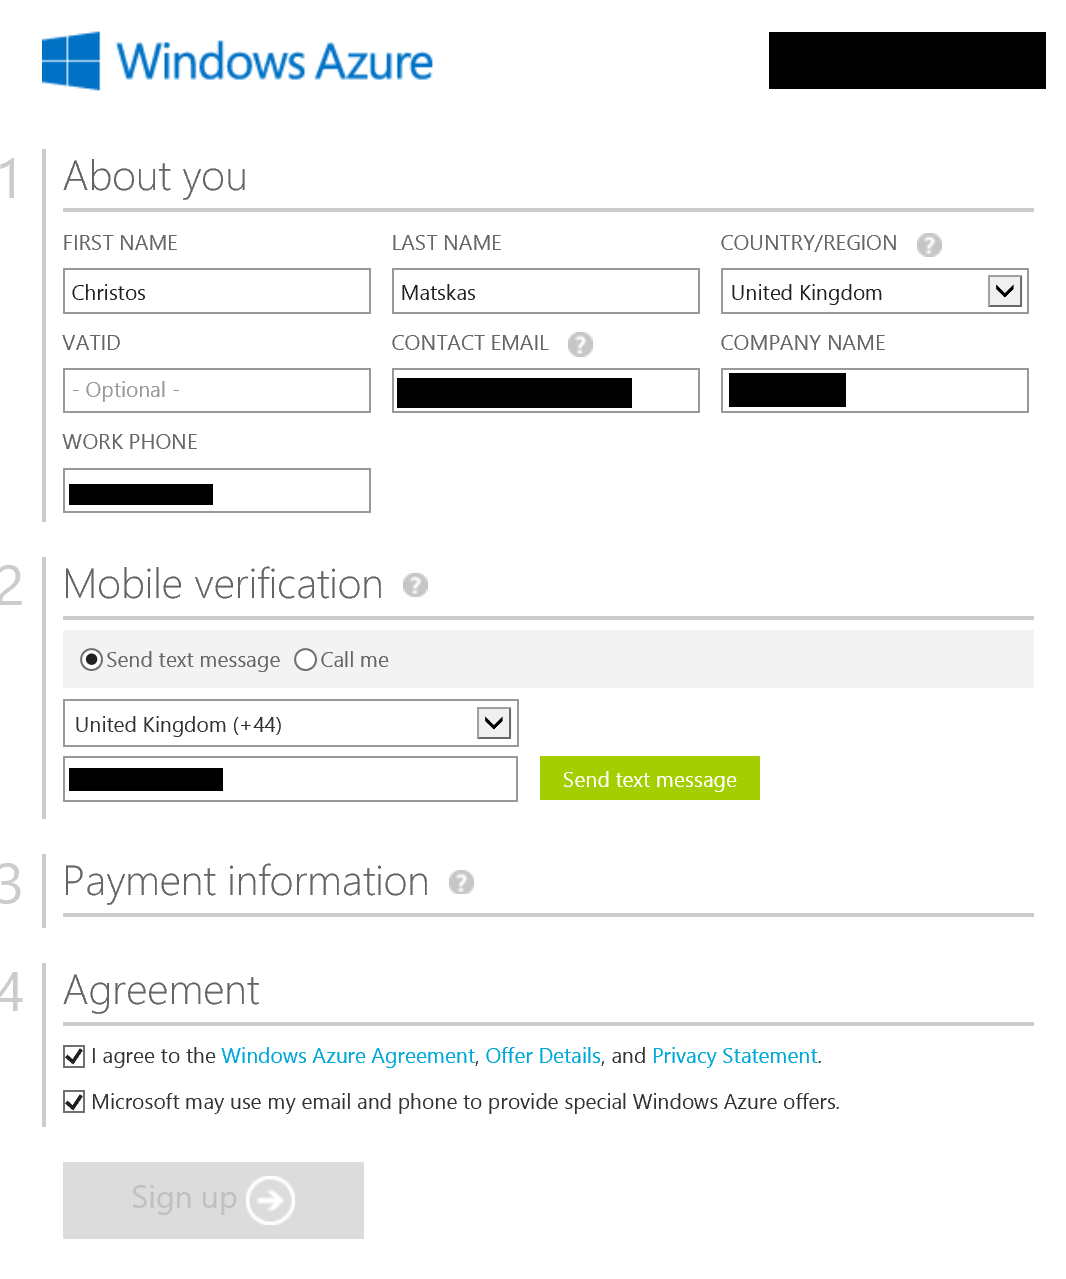
IMPORTANT: the card details are only required in order to validate your account. No charge will incur unless you specifically configure this, as we will see later on.
Once your sign up process is complete, you will be presented with the following screen, which is default the Azure Dashboard:

This is the new Dashboard (v3). Most of the services have been migrated across, but there may still be a few features that require you visit the old portal. I reckon that this will not be required for much longer, but at the time of writing (Nov 2014), things are what they are. The dashboard has a Windows 8 UI look and feel and everyting revolves around tiles. Personally, I like the new layout this is subjective.
3. Create you first Azure Website
Azure Web Apps (formerly know as Azure Websites) are one of the PaaS (Platform as a Service) offerings. In other words, Azure owns the hardware and is responsible for OS upgrades, updates, uptime etc. All you care about is the type of software you want to run on this infrastructure, be it .NET, Python, PHP, etc. All the nitty gritty details are abstracted so that you can focus on getting your site up and running as quickly as possible and making it look nice and fast. For someone new to the game, this is really great! And for those that want to tweak things to the last detail, you are also in luck because Azure has a lot to offer to the power users/developers/designers.
To create anything new, click on the big yellow + at the bottom left of the screen. This will open a new window. Select "Everything" at the top and you will be presented with the following templates/options:
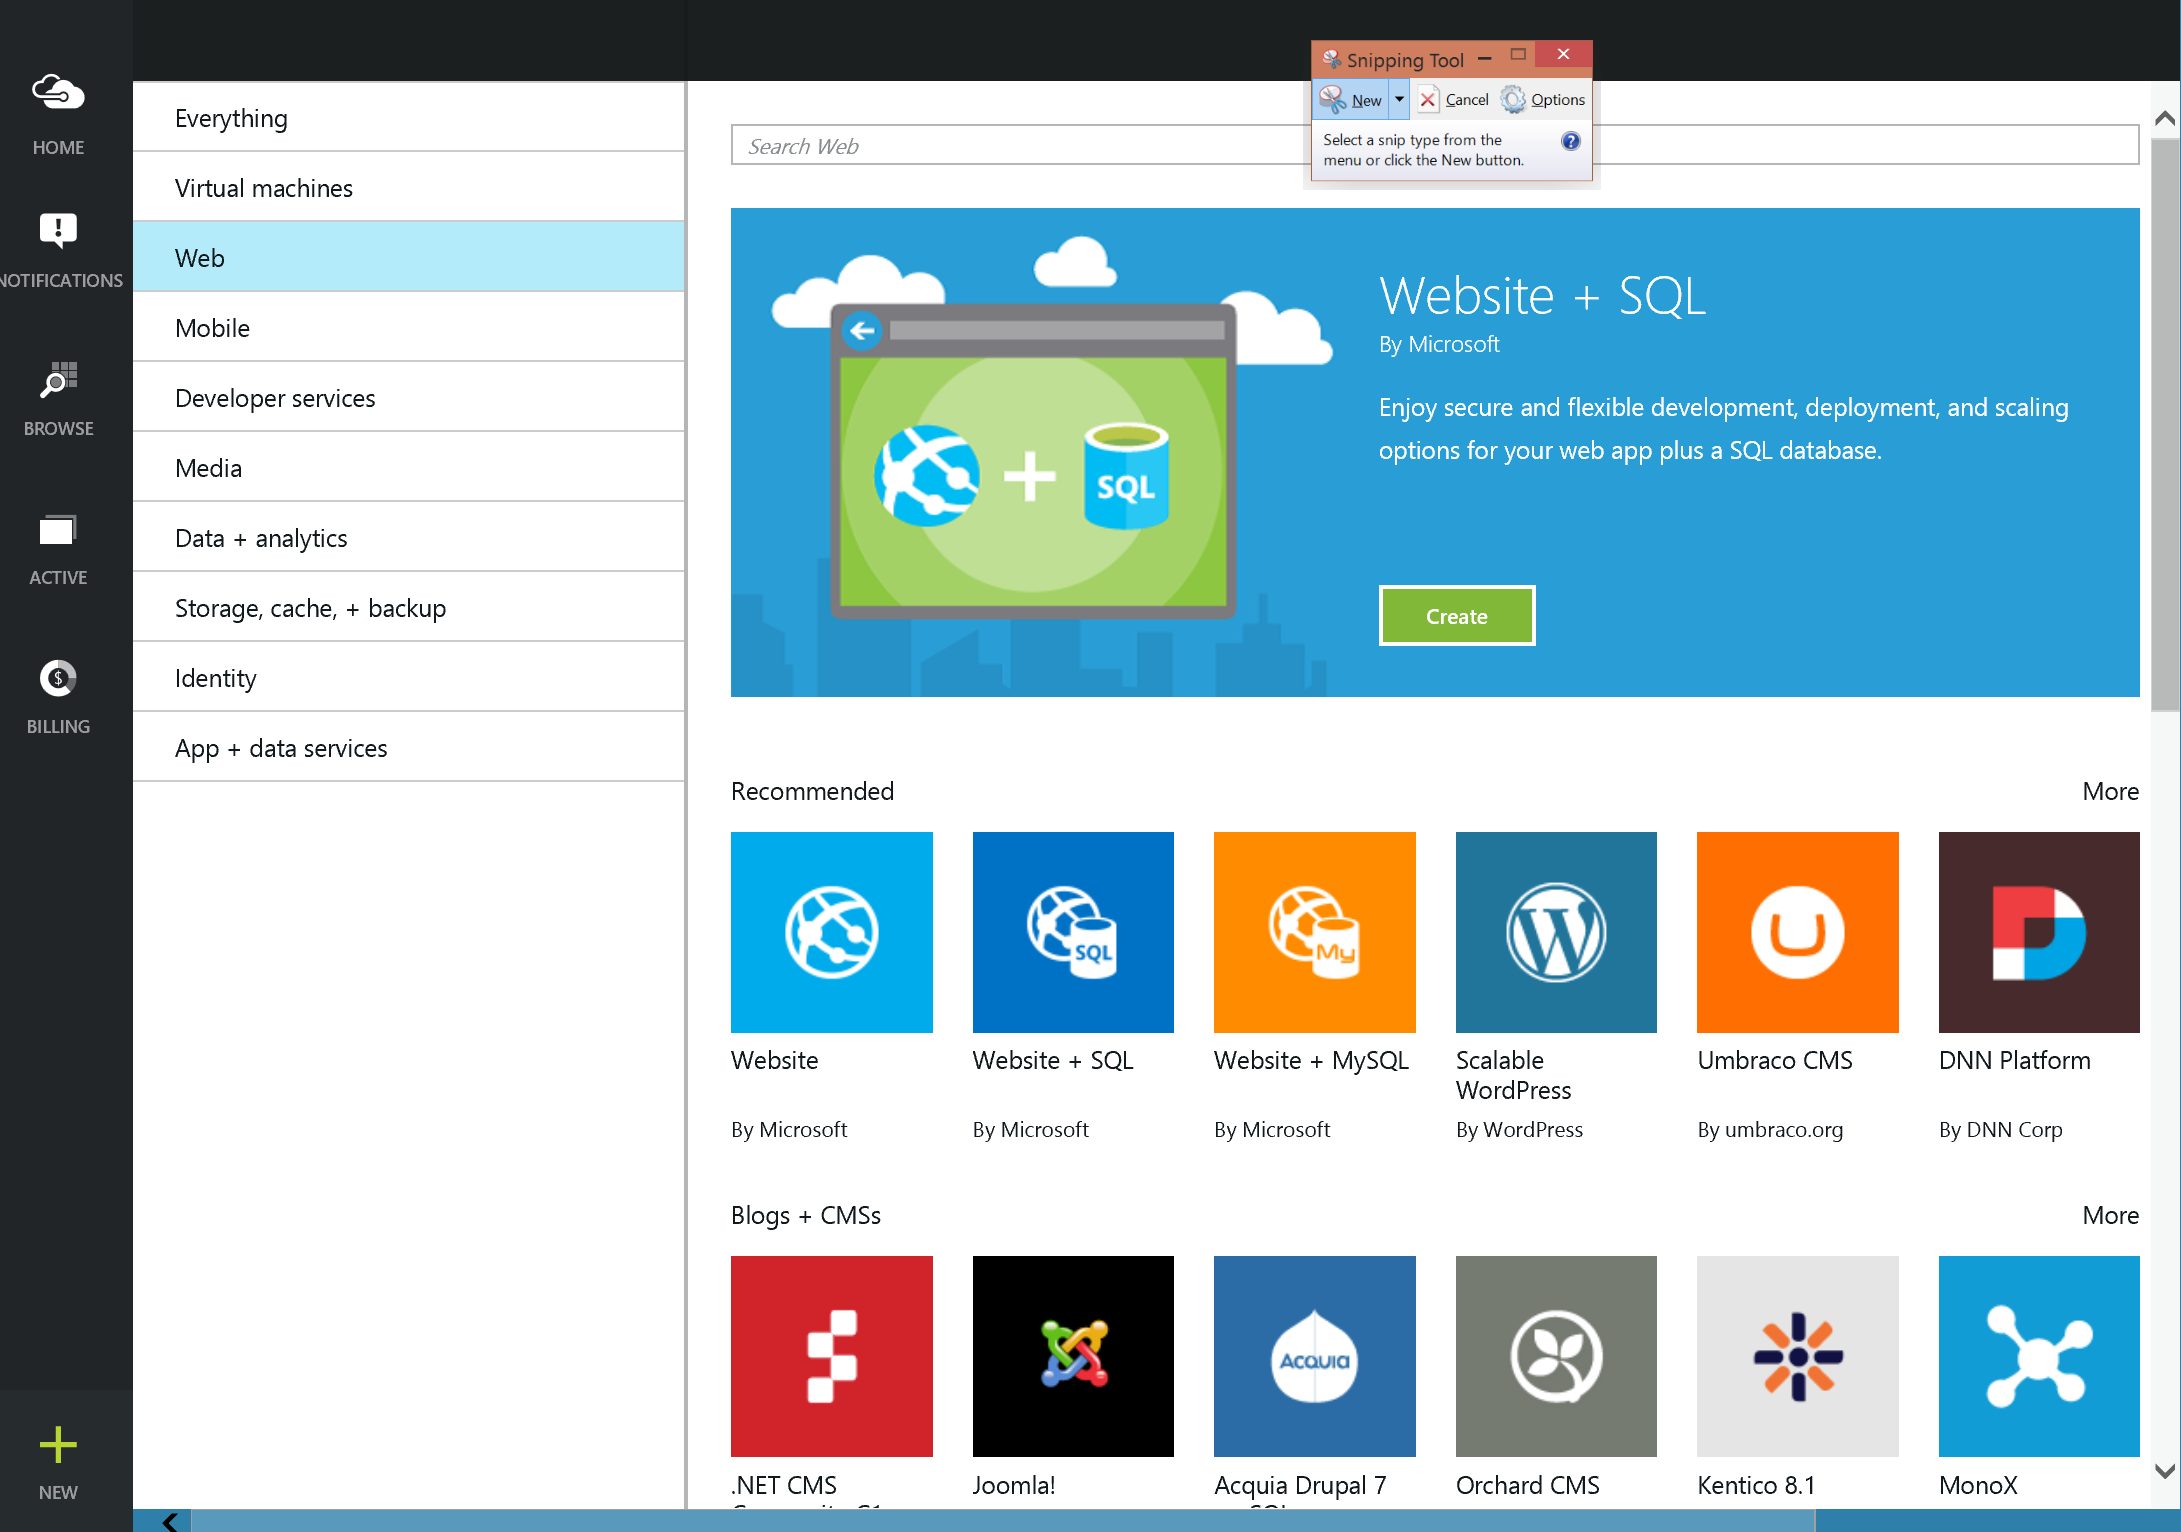
There is a number of available templates to choose from, so in this case I will go with Umbracco (the same process, however, applies to all other choices). Click on the Umbraco-CMS tile and then click on "Create". This will present you with a new flyout where you need to configure the website settings. Some of these settings are important as they determine where the site should be deployed, the monthly cost based on resources used etc. The first set of configuration options you will see are these:
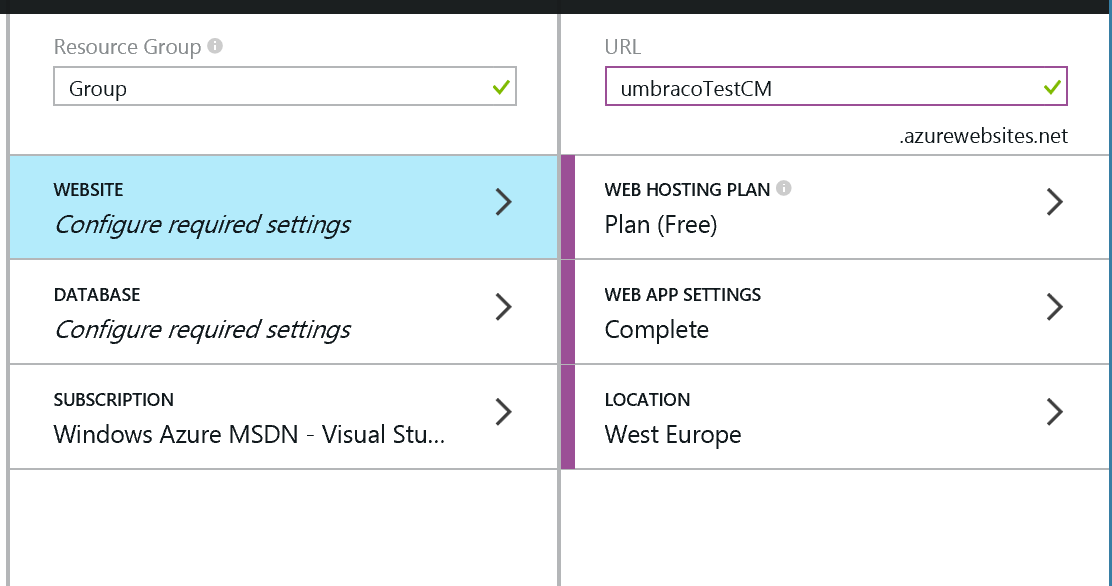
Start with the plan because this is what counts the most (in terms of money). Click on the Web Hosting Plan, then click on the All Pricing Options and scroll to the bottom where you can find the Free tier. This should be more than enough to get you started.
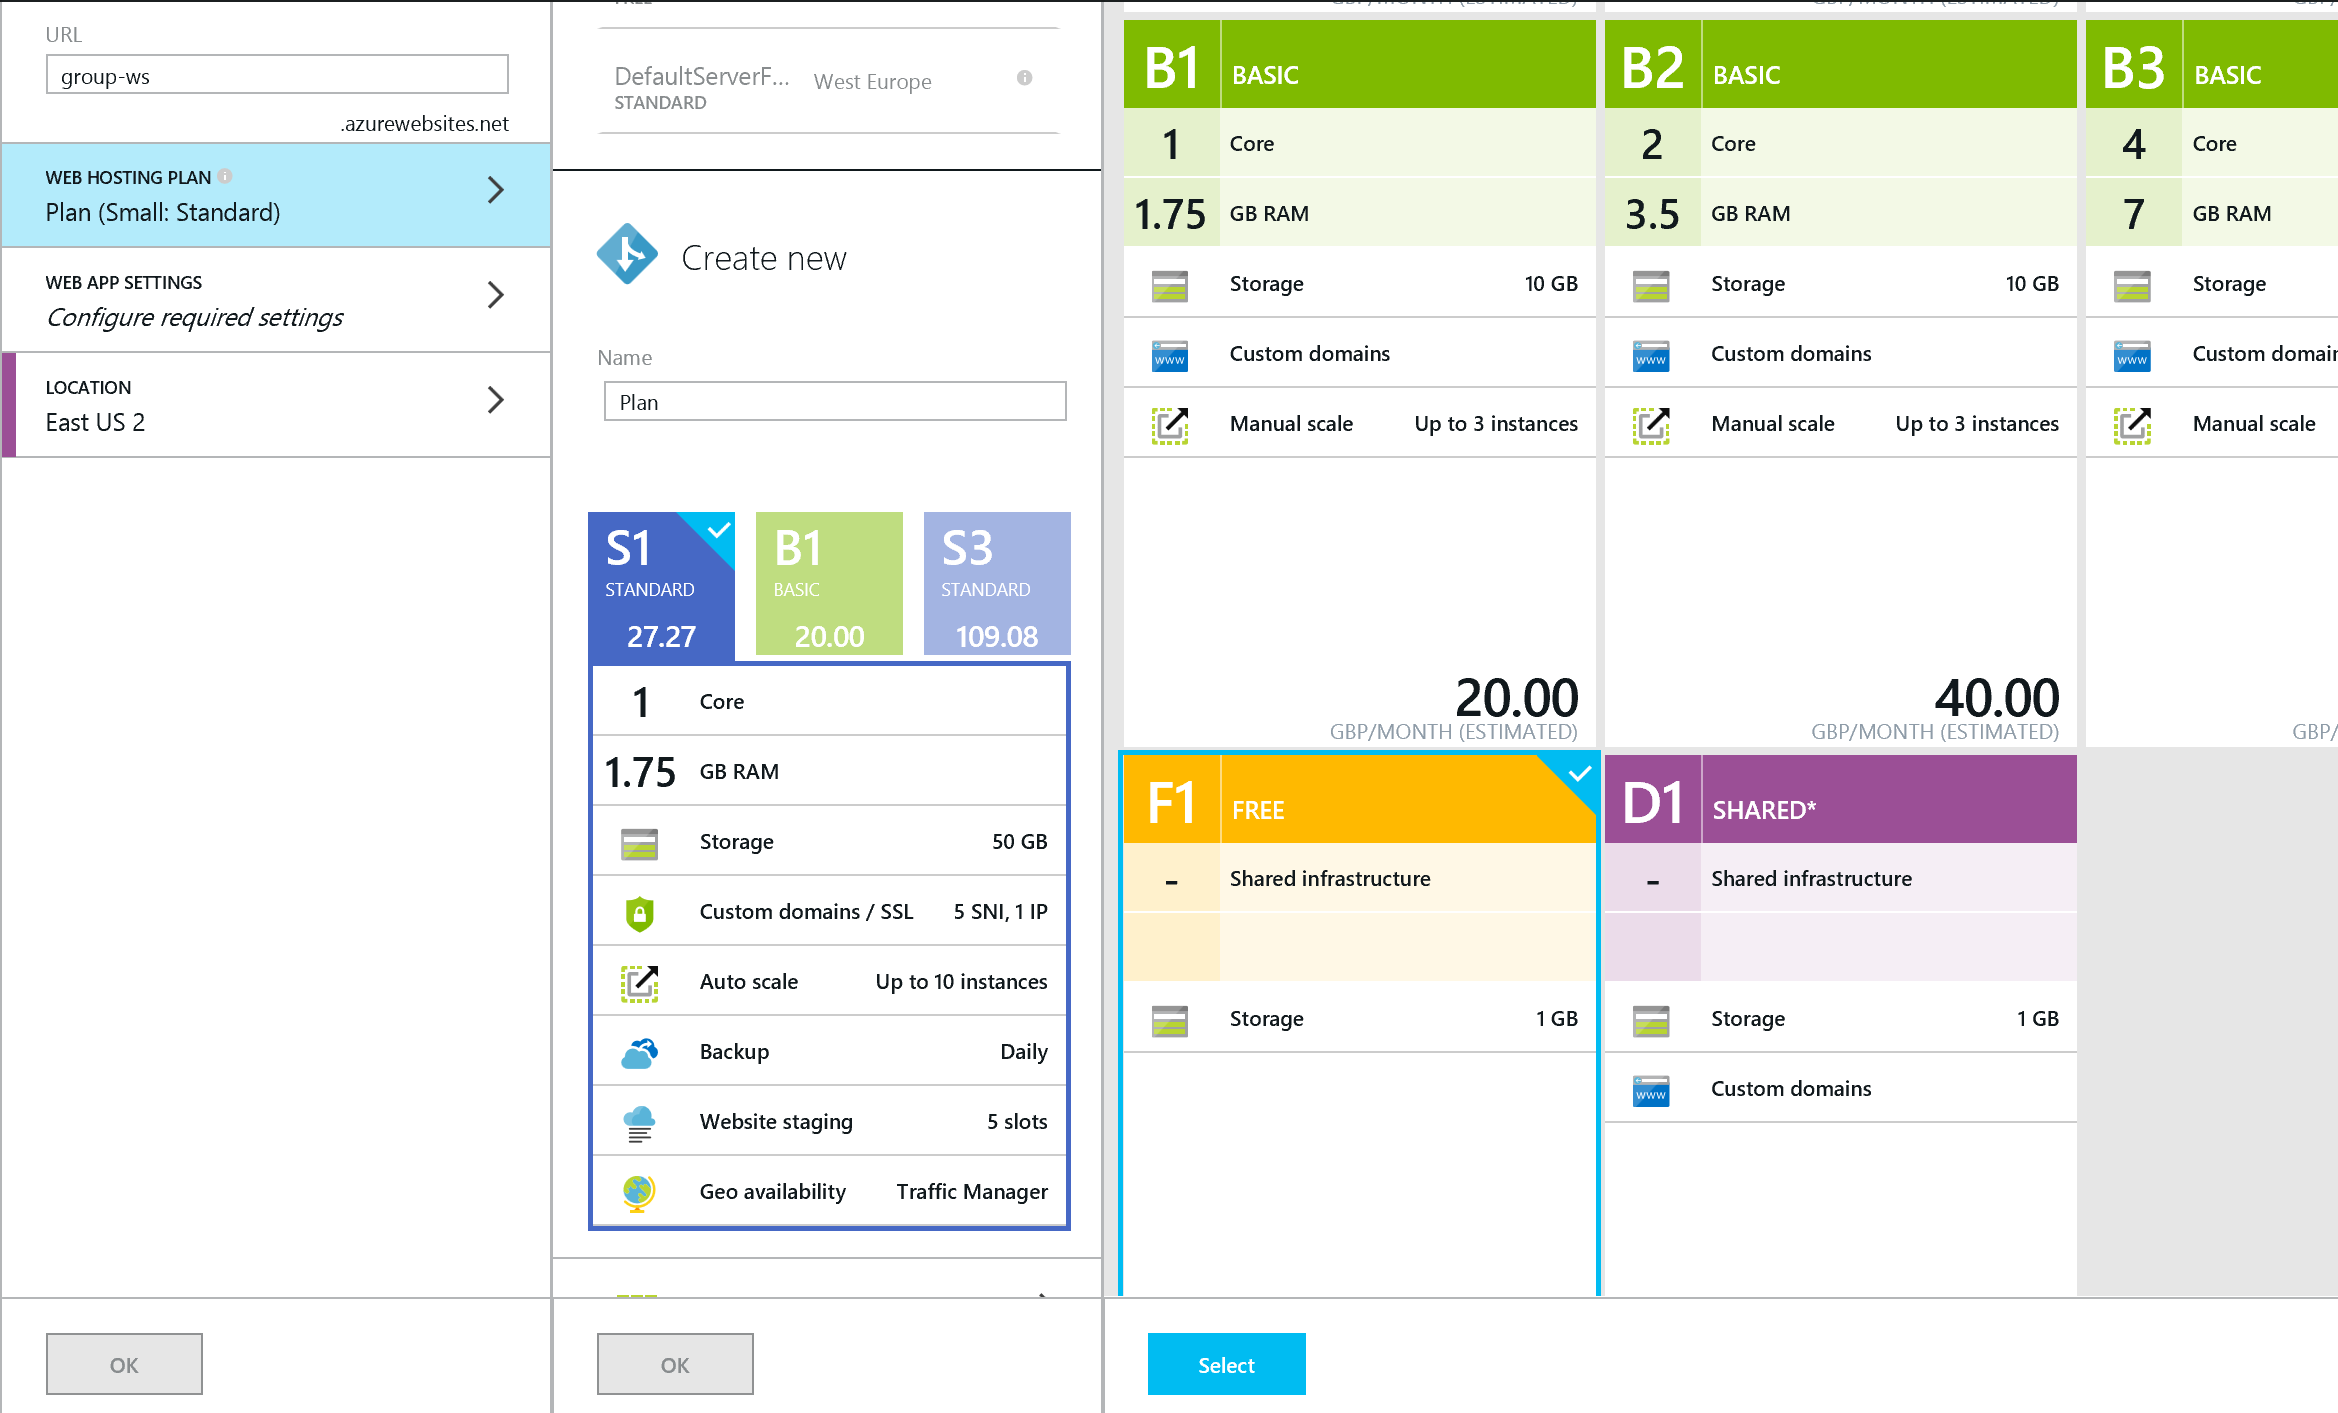
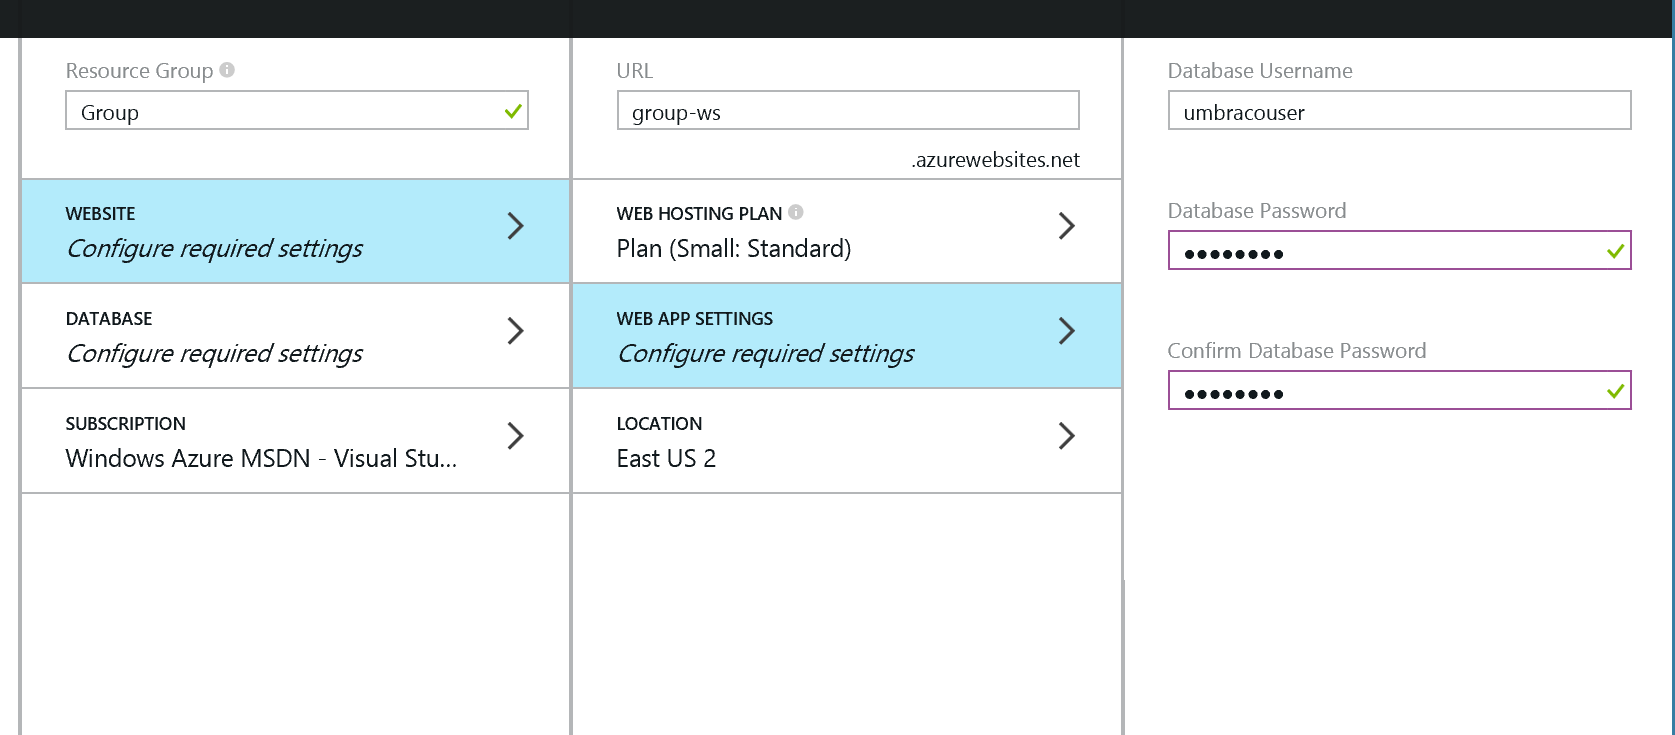
Make sure you click on "Save" before moving on to the next step. Then click on the Web App Settings to configure the database account name and password.
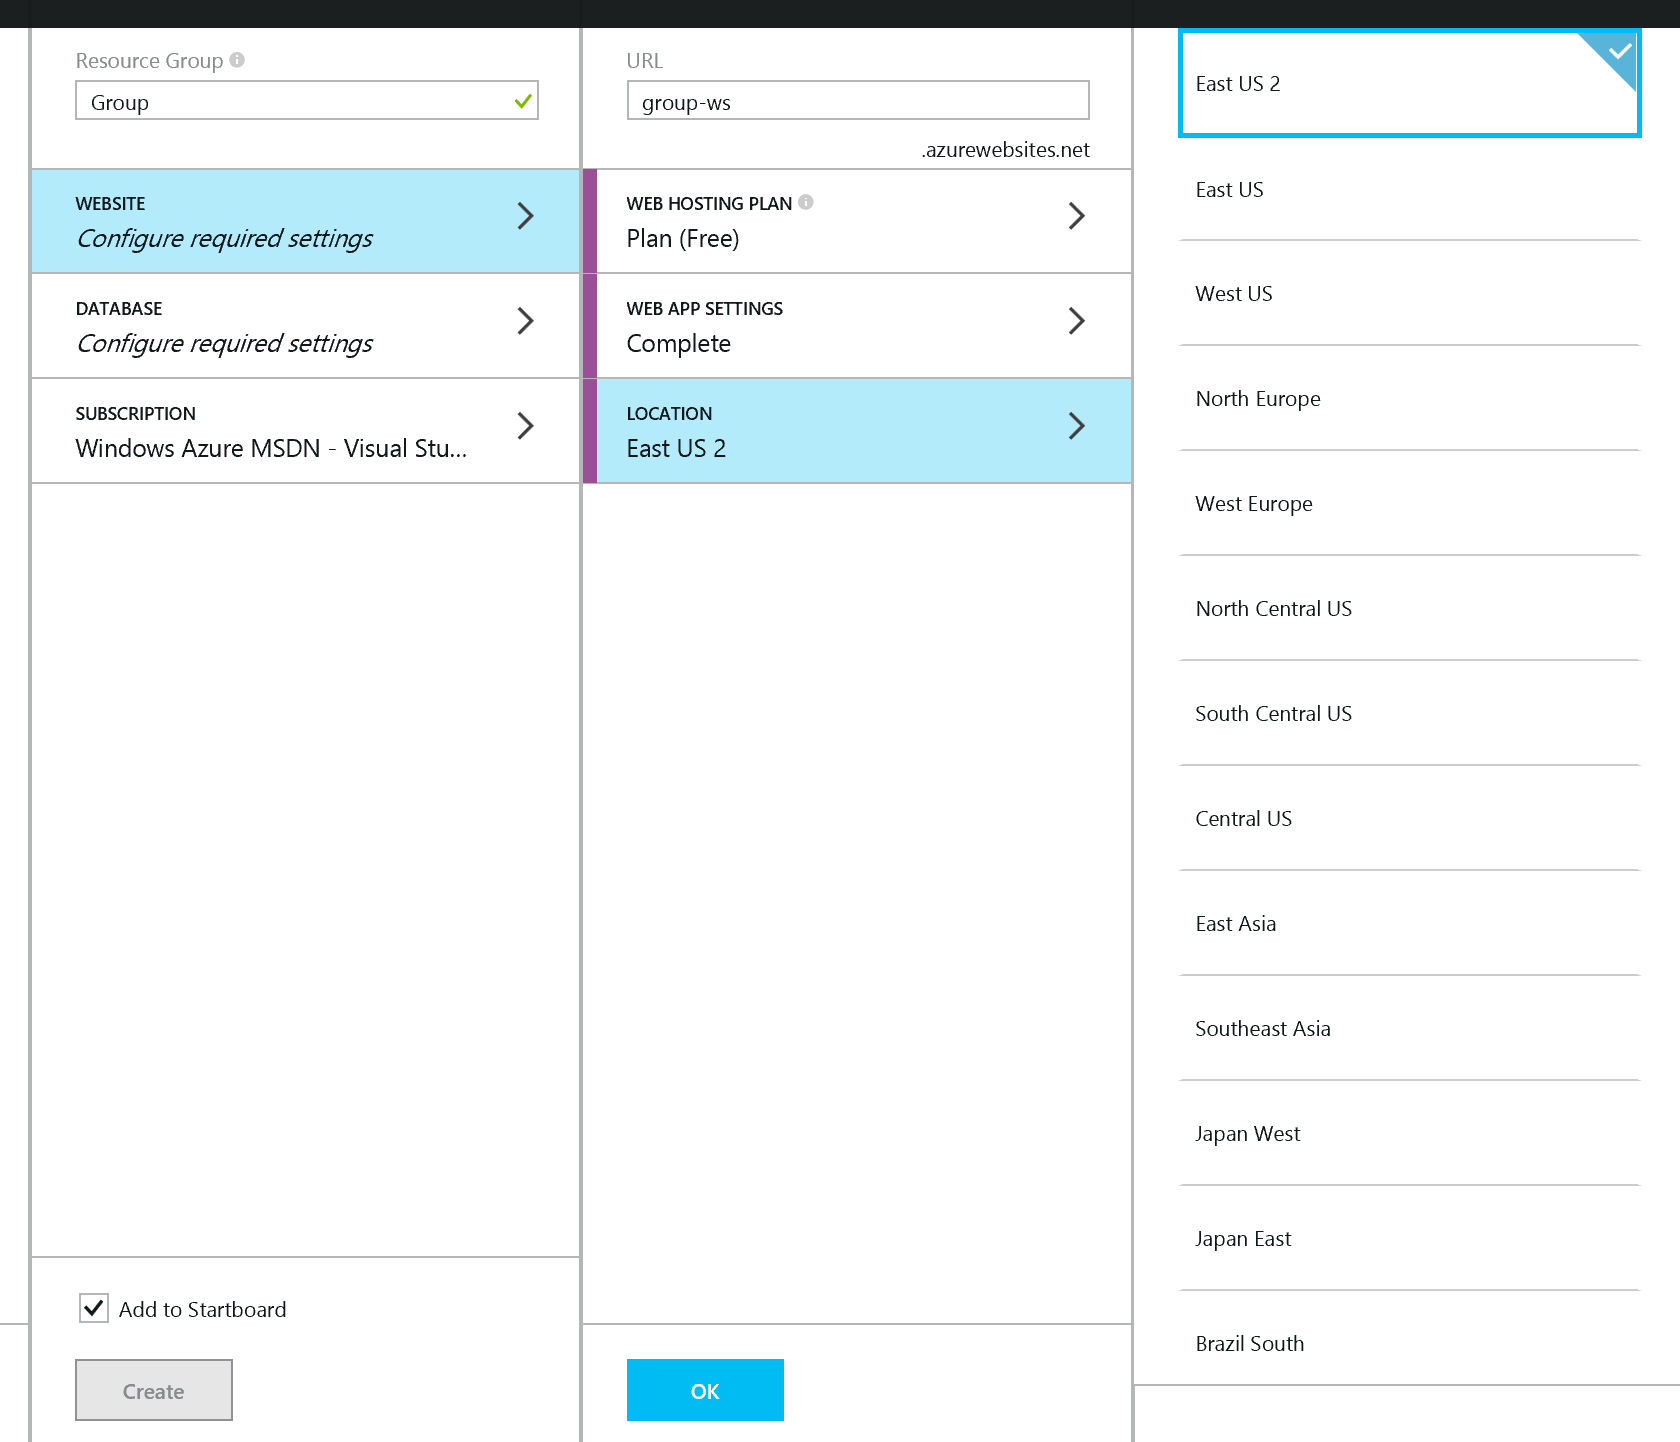
Finally, ensure you chose the right Location. If you are based in Europe and you expect most of your traffic to be primarily local, select a european datacenter.
Next you need to configure the database. Not all websites require a database, but most CMSs do. Begin with the Price tier and select the basic tier to host your site's data. The cheapest option works out at £3.50 per month, which is as much as you pay for a medium coffee at Starbucks. That's cheap, if you ask me.
Ensure that you've selected the right region. You also need to make sure that the database resides in the same region as your website in order to get optimal performance. Configure usernames and passwords and click on "Save".
Advice: If you are getting lost with all the username and passwords, then this is a good time to start using a password manager tool - PasswordDefence is my preferred one, but there are others to choose from as well.
Once you are done with all the settings (5-10 mins), you can click on the "Create" button. This will go and create your database, deploy your site, create the appropriate ACLs and endpoints and within a few minutes your shinny new site will be available to access.
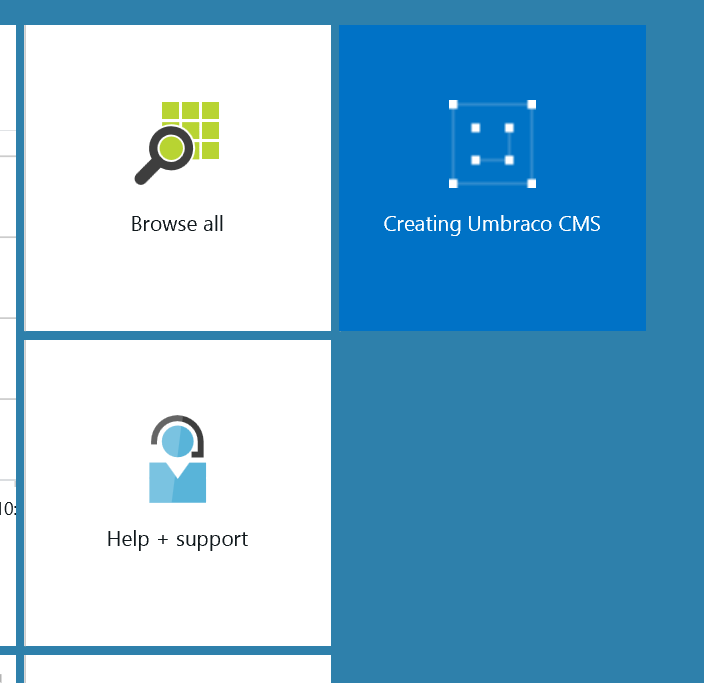
As soon as the creation process completes, you should see a new tile on the dashboard as per the example below:
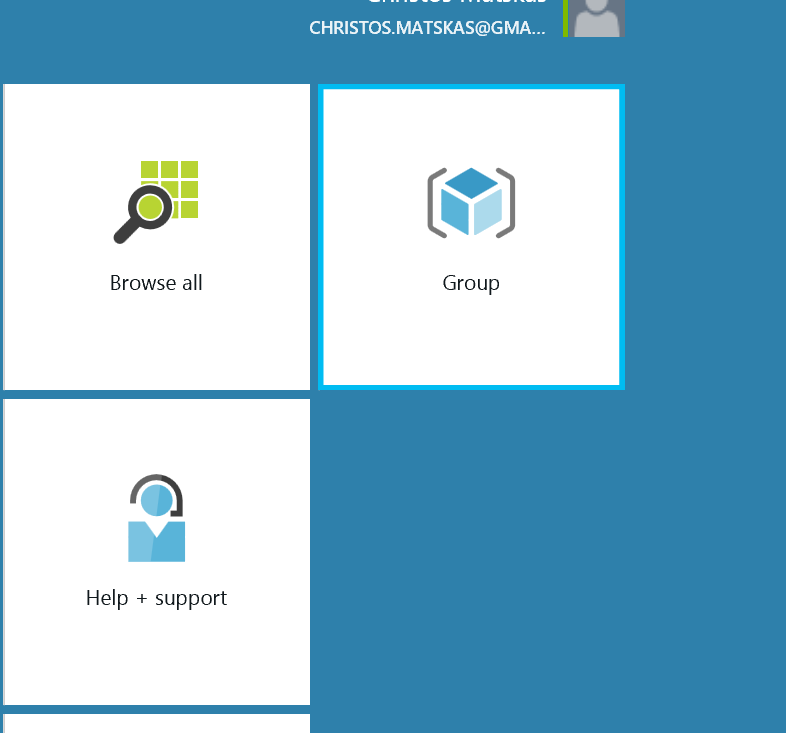
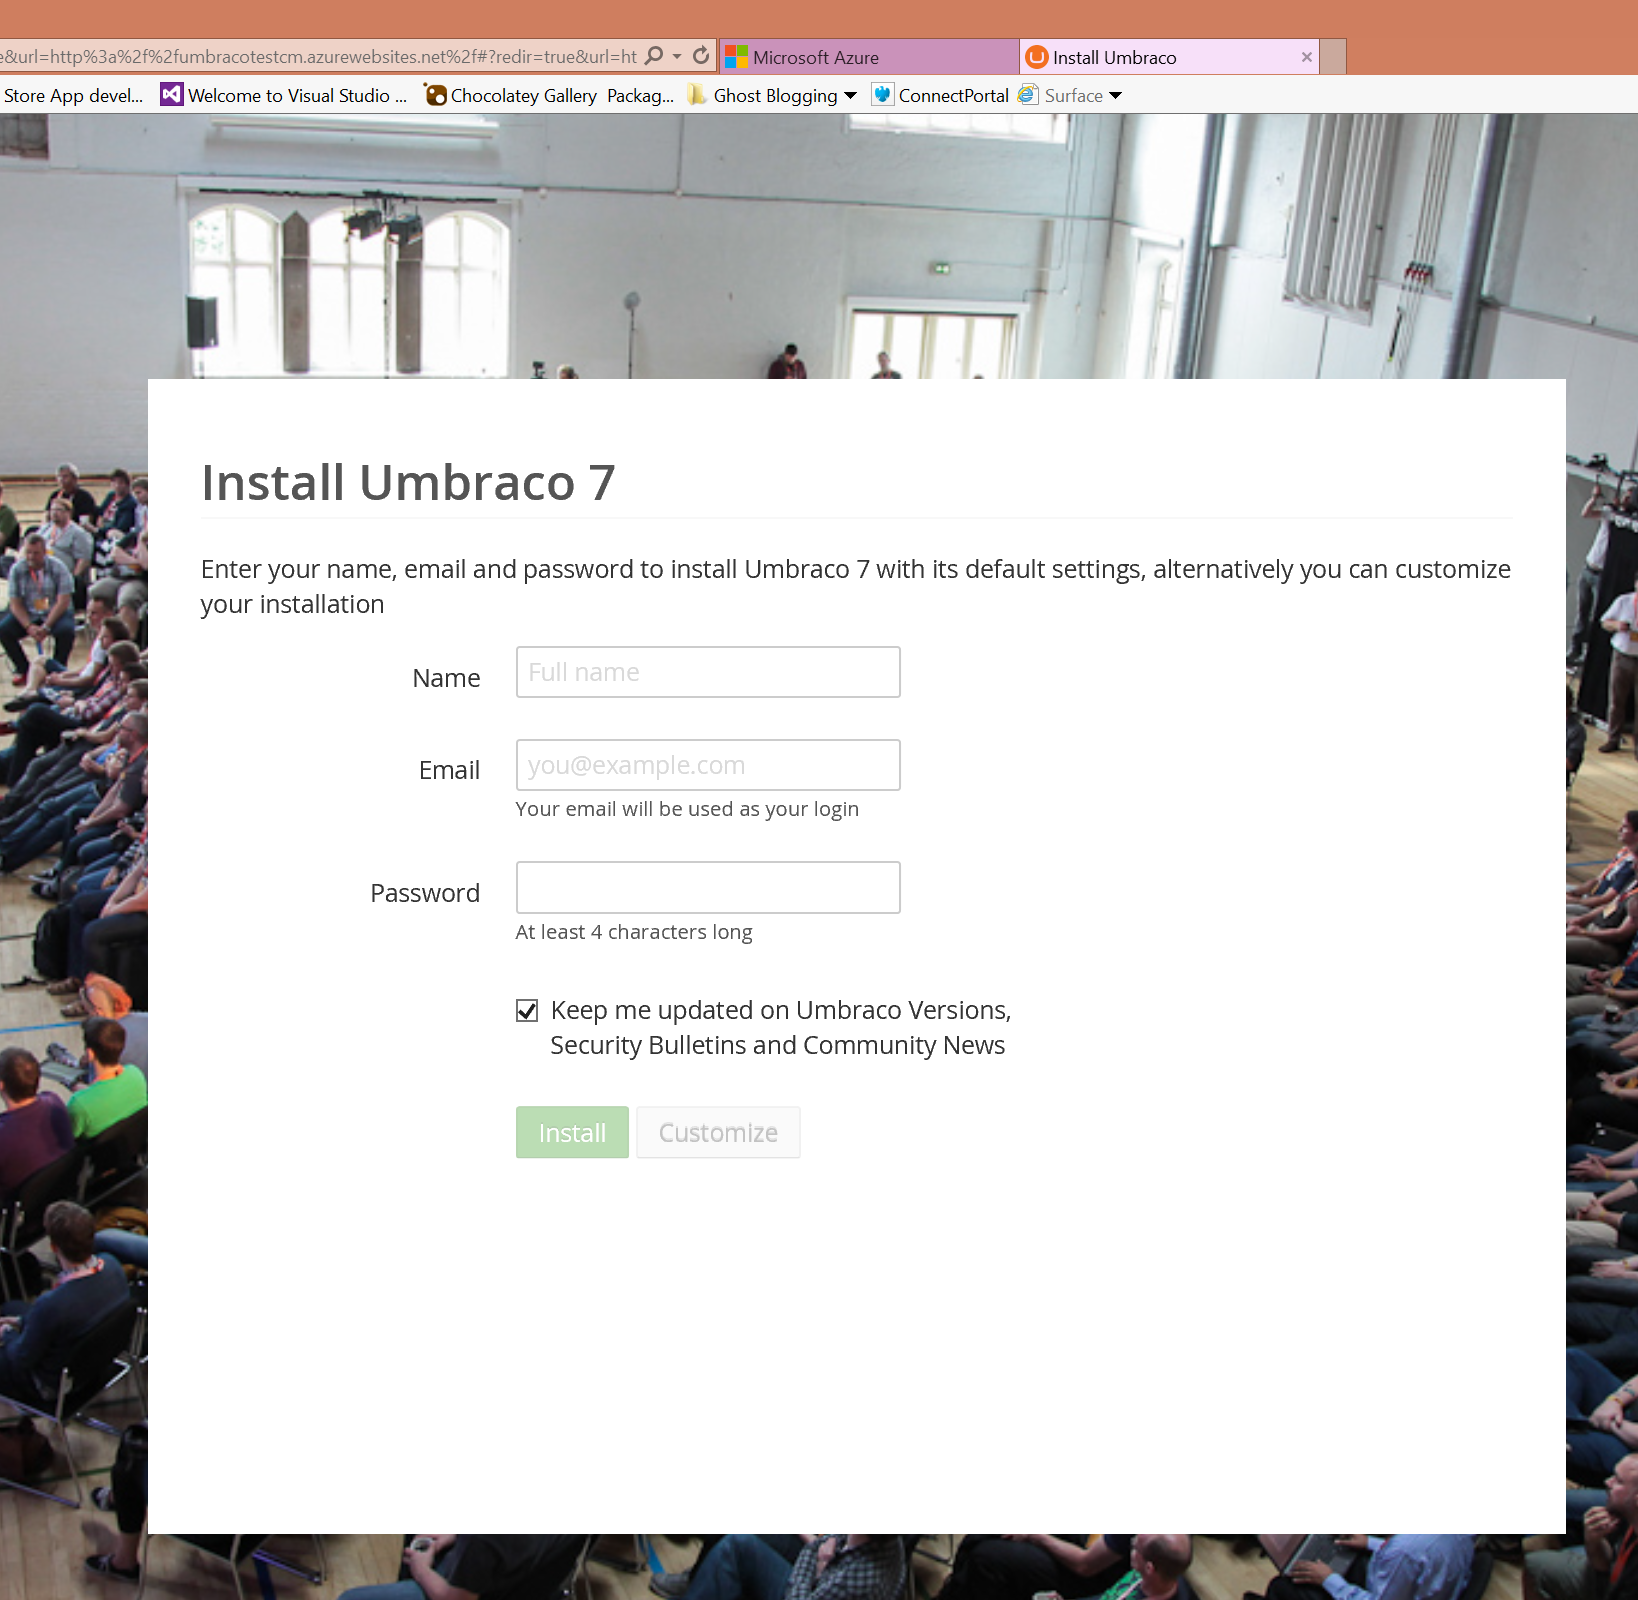
I named mine "Group" (silly me). I expect that you will choose a more meaningful name. Clicking on the newly created tile will allow you to drill down to you site where you can monitor, edit and add features as you see fit. You can also "Browse" to the new site. All the available operations are located on the toolbar at the top of each window pane. To open up the new site on the browser, I can click on the "Browse" option for "umbracotestCM" site. My new, beautiful Umbraco site is now available!
Task status: complete.
Time taken: 10mins.
As you can see, Azure makes it very easy to create and deploy a website using the built in templates. Alternatively, you can create a totally new website using WebMatrix or Visual Studio which can be better tailored to your needs. The moral of the store is: as far as Azure is concerned, there are plenty of options to meet a wide range of needs.
Let me know your experience with Azure and if this post helped you get started with Microsoft's cloud infrastructure. As always, feel free to raise any Azure related questions in the comments.