Update: The current example of processing payments is NOT PCI-compliant as the card details are posted to the server. A better approach is to use the
Stripe.jsto generate the token and then process the payment - thanks to Christian Bryant for raising it in the comments.
Take me to the PCI-Compliant option now
As a web developer you are bound to have come across a requirement to implement some form of online payment processing for a site. This can be achieved using any number of third party providers such as Sage or PayPal etc. Although most of these vendors have good and solid APIs, the implementation of said API is a lot less straightforward. In most cases you have to jump through a number of hoops, pay expensive upfront fees and even after all this, the implementation workflow is awful (PayPal I'm looking at you!).
Fortunately, there is a new kid on the block and it promises to offer what the others cannot! Stripe is an incredibly simple and easy to use platform with a powerful API that takes care of all the complexities of online payments. So far, I have had the opportunity to use Stripe on a couple of sites and it has been a total breeze using both the javascript and the .NET libraries.
Note before you invest any time, ensure that Stripe is available in your country or the country where the site will be running.
For this example I will show you how to integrate Stripe with an ASP.NET MVC application in 7 simple steps.
Step 1
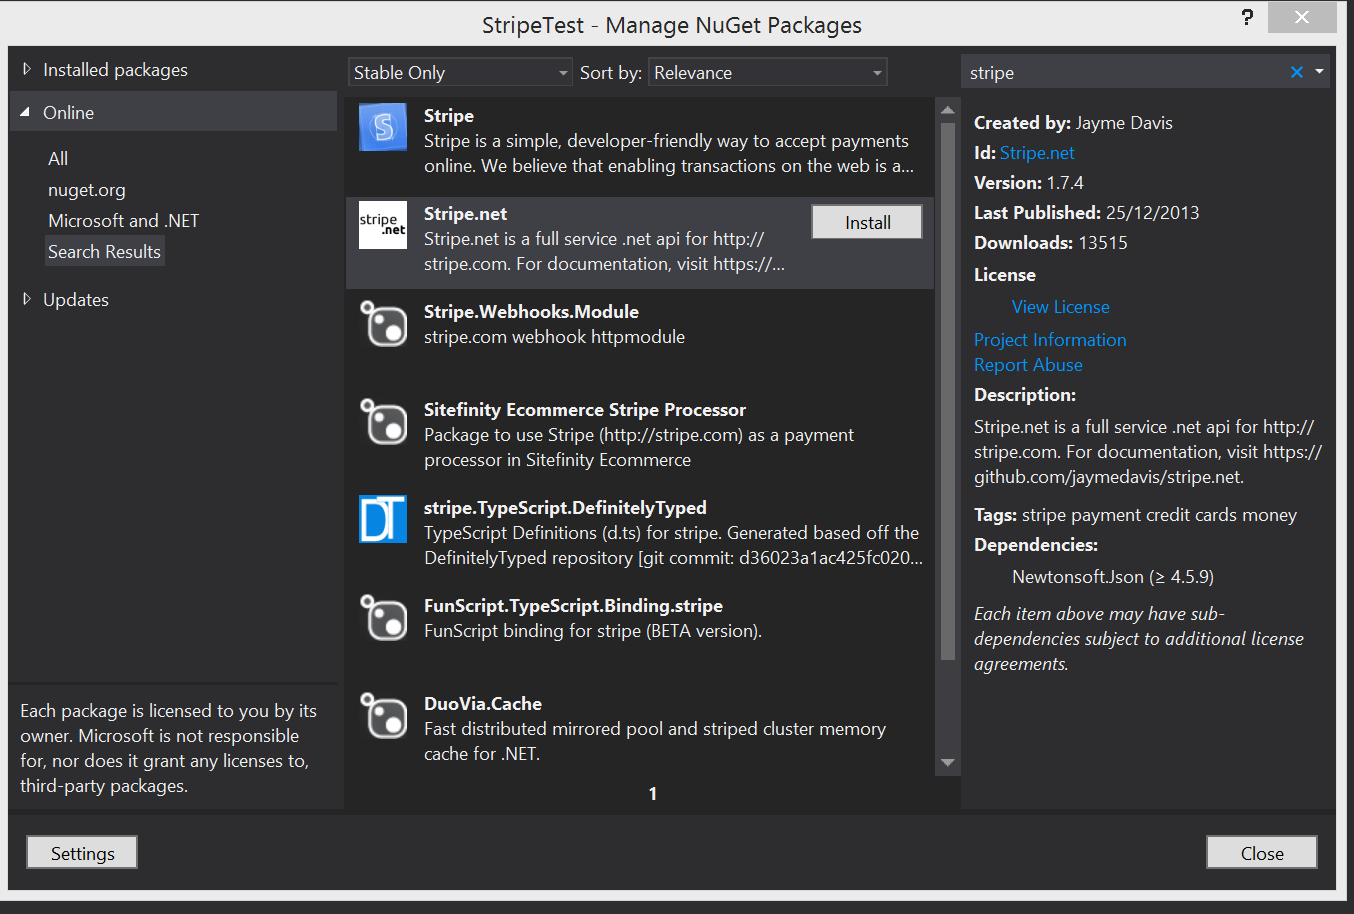
Let’s start by adding the latest Stripe.NET library to our project using NuGet.

Step 2
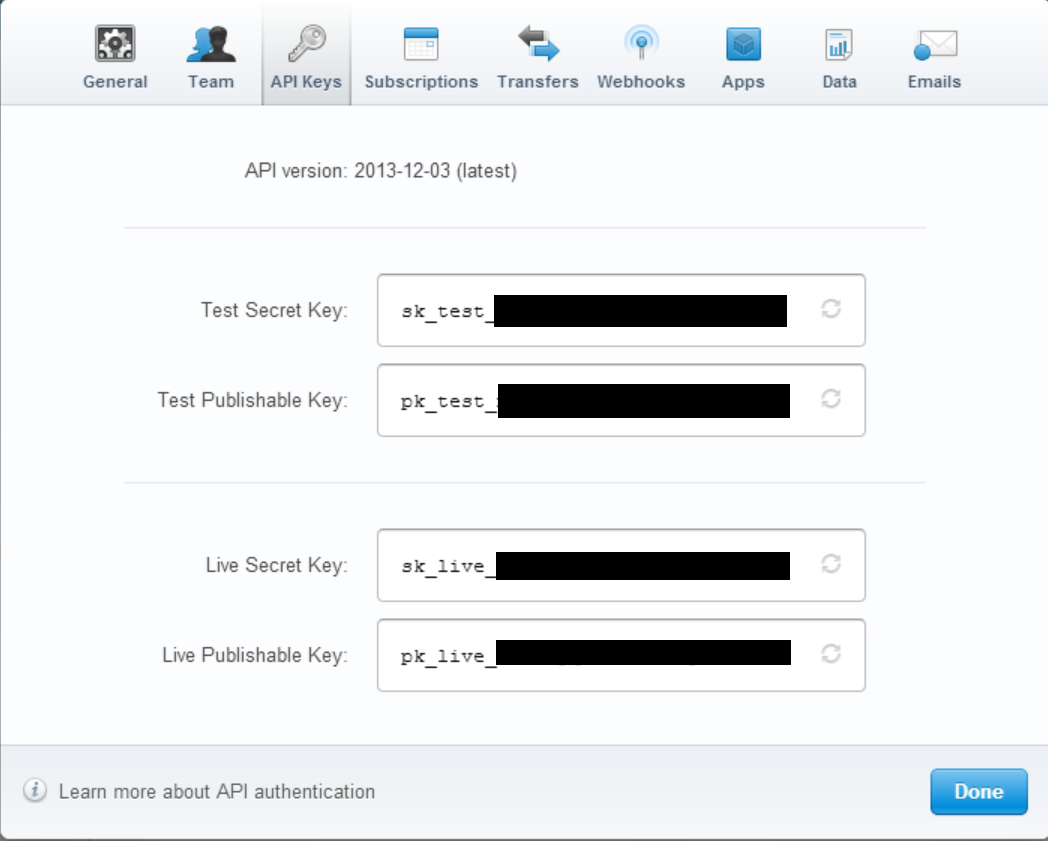
Next head to the Stripe site to register for a free account and get your API keys here.

To use Stripe on your site you will need to reference the stripe.dll in your controller or where your code will be running e.g. on the razor page etc.
using Stripe;
Step 3
Add your Stripe public key to the web.config as per below:
<appSettings>
    <add key="webpages:Version" value="2.0.0.0" />
    <add key="webpages:Enabled" value="false" />
    <add key="PreserveLoginUrl" value="true" />
    <add key="ClientValidationEnabled" value="true" />
    <add key="UnobtrusiveJavaScriptEnabled" value="true" />
    <add key="StripeApiKey" value="Your Public Key" />
  </appSettings>
Note make sure you replace the StripeApiKey value with your public key!
Step 4
Now we are good to go with the actual implementation and calls to the Stripe API. There are several ways to process a payment and Jayme Davis has done an excellent job documenting the .NET Api on GitHub. The fastest and easiest way to make a charge, especially if you don’t want to store any payment details on your site, is to use a Stripe token and a Stripe charge.
The client details necessary for the payment are captured through a standard web form which posts back to the controller a ViewModel which gets validated both on the client and the server side. Upon successfully validation, I perform two asynchronous calls to the Stripe service to get a token and then use the token in order to make the charge. The code below is an example how to do this:
Step 5 - Get the token
private static async Task<string> GetTokenId(ClientModelModel model)
{
	return await System.Threading.Tasks.Task.Run(() =>
	{
		var myToken = new StripeTokenCreateOptions
		{
			CardAddressCountry = model.CardAddressCountry,
			CardAddressLine1 = model.CardAddressLine1,
			CardAddressLine2 = model.CardAddressLine2,
			CardAddressCity = model.CardAddressCity,
			CardAddressZip = model.CardAddressZip,
			CardCvc = model.CardCvc.ToString(CultureInfo.CurrentCulture),
			CardExpirationMonth = model.CardExpirationMonth,
			CardExpirationYear = model.CardExpirationYear,
			CardName = model.CardName,
			CardNumber = model.CardNumber
		};

		var tokenService = new StripeTokenService();
		var stripeToken = tokenService.Create(myToken);

		return stripeToken.Id;
	});
}
Step 6 - Make a charge
private static async Task<string> ChargeCustomer(string tokenId)
{
	return await System.Threading.Tasks.Task.Run(() =>
	{
		var myCharge = new StripeChargeCreateOptions
		{
			Amount = 50,
			Currency = "gbp",
			Description = "Charge for property sign and postage",
			TokenId = tokenId
		};

		var chargeService = new StripeChargeService();
		var stripeCharge = chargeService.Create(myCharge);

		return stripeCharge.Id;
	});
}
Note: you don’t have to make the calls async but I believe it's good practice, especially when dealing with third party providers.
Step 7 - Process the payment
You can use the two methods within an async ActionResult as per the example below:
public async Task<ActionResult> BuySign(BuySignModel model)
{
	var errorMessage = string.Empty;
	var validationError = string.Empty;
	var chargeId = string.Empty;

	if (ModelState.IsValid)
	{
		try
		{
			var tokenId = await GetTokenId(model);
			chargeId = await ChargeCustomer(tokenId);
		}
		catch (Exception e)
		{
			errorMessage = e.Message;
		}
	}
	//...rest of the code omitted for clarity
}
That’s all you need in order to charge a client’s credit or debit card. However, you should note that Stripe offers a lot more than basic payments such as:
- Plans
- Customers
- Coupons
- Cards
- Invoices
- Recipients
- Transfer
- Application Fees
- Events
Testing
Testing is also extremelly simplified with Stripe. When registering, you get a set of live and test keys for your site. You develop your site as normal using the test keys and when you are ready to deploy to production, you swap the test with the live key and you are good to go. Stripe also has a nice test page with card numbers you can use to validate your payment process. No sandbox, no separate test accounts etc. I don't think it can get better than this!
Happy coding...