Hello friends. Did you hear the news? Did you read the announcement? There's a new [awesome] Azure Management Fluent API for C#. The [announcement](https://azure.microsoft.com/en-us/blog/simpler-azure-management-libraries-for-net/" target="_blank) went out today and as soon as I saw it I knew I had to give it a try! But first, let's see what the team had to say about the release:
One C# statement to authenticate. One statement to create a virtual machine. One statement to modify an existing virtual network, etc. No more guessing about what is required vs. optional vs. non-modifiable.
And it's all true. Every single statement in that paragraph. The new SDK allows you to manage your resources (the most important ones for now) using a fluent API. You now have 5 different options for managing your Azure infrastructure:
- Azure PowerShell
- Azure .NET SDK
- ARM Templates (mainly for deployment)
- Azure CLI
- Azure Fluent .NET SDK [New]
The Fluent API is amazingly easy to work with and with Intellisense in your disposal, it's incredibly easy to create resources. What's even better? It's cross-platform as it's built on top of [.NET Core](https://www.microsoft.com/net/core" target="_blank)! All you need is a couple of NuGet packages, Visual Studio Code and you're good to go! So let's get started.
Create a Service Principal
Before we can start with the Fluent API, we need to create a [Service Principle](https://azure.microsoft.com/en-us/documentation/articles/resource-group-authenticate-service-principal/" target="_blank) which will be use to authenticate and run the scripts against Azure. This process hasn't changed, but the way we use the service principle has. The whole oAuth workflow has been streamlined and simplified.
To create the service principle we'll use PowerShell
-
Login to Azure
Login-AzureRmAccount -
List and select the right subscription
Get-AzureRmSubscription
Select-AzureRmSubscription -SubscriptionId <your SubscriptionId>
- Create an application in Azure AD
$app = New-AzureRmADApplication -DisplayName "<YourApplicationName>" -HomePage "<AnyUniqueURL>" -IdentifierUris "<AnyUniqueURL>" -Password "<YourStrongPassword>"
-
Create the service principle
New-AzureRmADServicePrincipal -ApplicationId $app.ApplicationId
Once your service principle is created, you should get a similar output:

-
The final step assigns the appropriate permissions to the service principle
C:\Users\chmatsk> New-AzureRmRoleAssignment -RoleDefinitionName Contributor -ServicePrincipalName $app.ApplicationId.Guid
In this case, I assigned Contributor rights to the account in order to allow it to create new resources. You may wish to keep your PowerShell window open as you'll need to grab a couple of IDs. Alternatively, you can still find this information in the portal.
Authentication with the Fluent Azure Management API
I did this work on my Mac and then I redid it on Windows so that I could take some snapshots. At least I proved that it's cross platform. To run any script using the new API, we need to authenticate first. For this we have 2 options:
- An authentication file
- Inline during initialisation
I chose the authentication file to keep the code to a minimum. The file has a predefined format and all you need to do is assign the right values to the properties below. I'll try to decipher some of the language here as there's a mismatch with what you have in Azure normally.
Note: the authentication file option is experimental and may not stick around until the API is officially released.
Open a simple text editor and paste the following:
subscription=########-####-####-####-############
client=########-####-####-####-############
key=XXXXXXXXXXXXXXXX
tenant=########-####-####-####-############
managementURI=https\://management.core.windows.net/
baseURL=https\://management.azure.com/
authURL=https\://login.windows.net/
graphURL=https\://graph.windows.net/
- subscription: this is your SubscriptionID
- client: this is the ApplicationID we used to create the service principle earlier. You'll find it in the PoSH script or the Azure Portal
- key: this is the Password we used to create the application
- tenant: can be found in the PoSH script or the Azure Portal
The last 4 lines should remain as they are unless you're not using the Azure public cloud (highly unlikely). Side note: the special characters in the URIs are properly escaped. Save the file somewhere handy. The syntax for logging in with the file is:
var azure = Azure.Authenticate(<path to credential File Location>).WithDefaultSubscription();
Alternatively, if you choose to provide these properties inline then the code should be changed to this:
var credentials = AzureCredentials.fromServicePrincipal(client, key, tenant, AzureEnvironment.AZURE);
var azure = Azure.authenticate(credentials).withSubscription(subscriptionId);`
Using .NET Core to manage Azure
Fire up the command line/bash and type the following:
mkdir <new directory>
cd <new directory>
dotnet new
code .
In 4 little steps we created a new .NET Core console application and opened it in VS Code for editing. I know, I could use Vim or something else wildly unusable/hipster/cool. However, I'll stick with the IDE and Intellisense for this because this is the WHOLE POINT!
Open project.json and add the following dependencies:
"dependencies": {
   "Microsoft.Azure.Management.Fluent": "1.0.0-beta3",
   "Microsoft.Azure.Management.KeyVault.Fluent": "1.0.0-beta3",
   "Microsoft.Azure.Management.Compute.Fluent": "1.0.0-beta3"
  },
Make sure you run dotnet restore although VS Code will prompt you accordingly to restore if you forgot about this step. Now, let's write some code. In my example below, I create a KeyVault and 5 VMs. The VM creation, which was run in parallel, was impressively fast! You can find the code below:
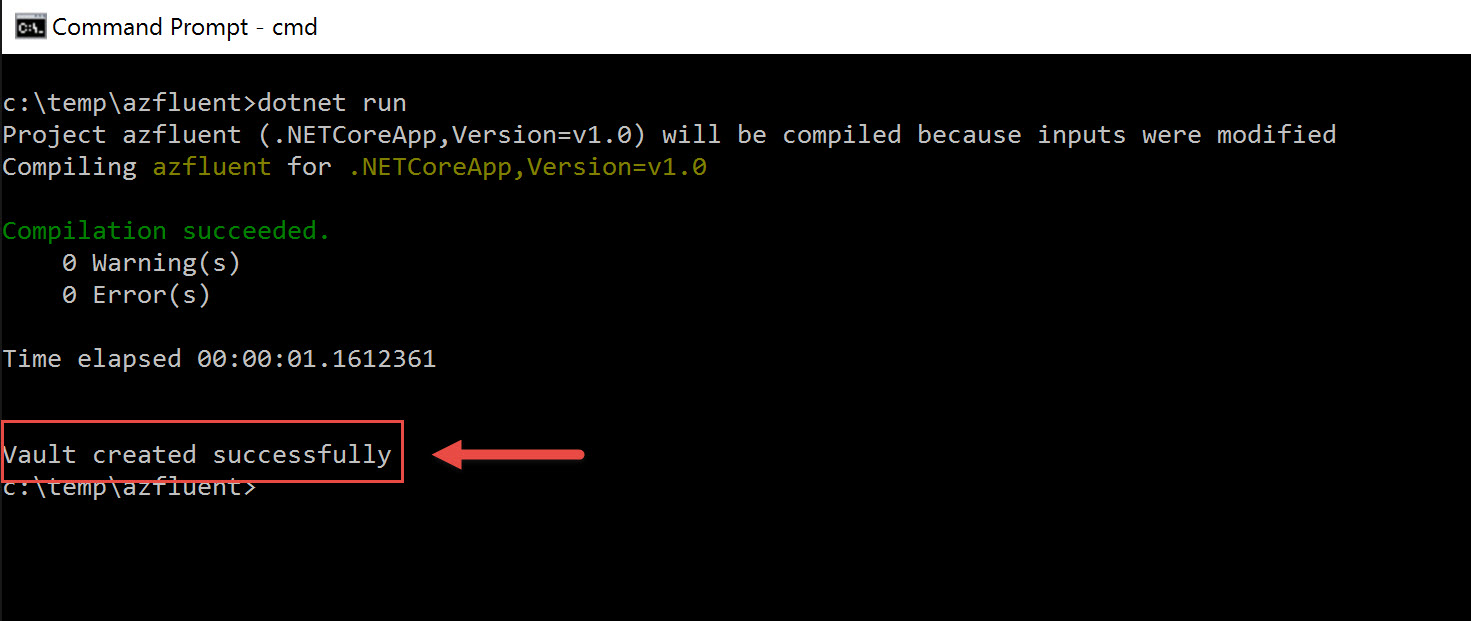
Sample output from creating my KeyVault:
That's all there is to it. I found the whole experience extremely straightforward and I played around with various resources to get a feel on the API. This is by far my preferred way for managing my Azure Infrastructure.
If you want to give a go but you don't have an Azure account, we have you covered for that too. Just head to our [Dev Essentials](https://azure.microsoft.com/en-gb/pricing/member-offers/vs-dev-essentials/" target="_blank) site and grab yourself free $25 of monthly Azure credit among many other offers.