[Azure Logic App Service](https://azure.microsoft.com/en-us/services/logic-apps/" target="_blank) or simply Logic Apps are a great integration and workflow orchestrator. Think of IFTTT for the enterprise (and for non-enterprise projects of course). Logic Apps, like Azure Functions, offer a great set of tools which are built-in on the Azure portal. These tools allow you to create, run and monitor your integration workflow using a variety of connectors, conditions and actions. When creating Logic Apps in the portal you have the option to switch between the designer and the code editor with ease.
However, a web browser is not the best medium for development and collaboration. When you work in a team, you want to be able to work with Logic Apps locally, check the code in source control and share it with the rest of the team. Recently, the team released a new [Logic Apps extension for Visual Studio](https://marketplace.visualstudio.com/items?itemName=VinaySinghMSFT.AzureLogicAppsToolsforVisualStudio" target="_blank) that allows you to do just that. Local development and testing of Logic Apps straight in VS2015 or later.
Prerequisites and installation
Before working with the Logic Apps extension, you’ll need the following installed on your local environment:
- The latest Azure SDK (2.9.1 or later)
- Azure Powershell
You can find both at the [Azure Downloads page](https://azure.microsoft.com/en-us/downloads" target="_blank)
With these installed, we can now install the Visual Studio extension. In Visual Studio go to Tools -> Extensions and Updates and search for "Logic Apps".
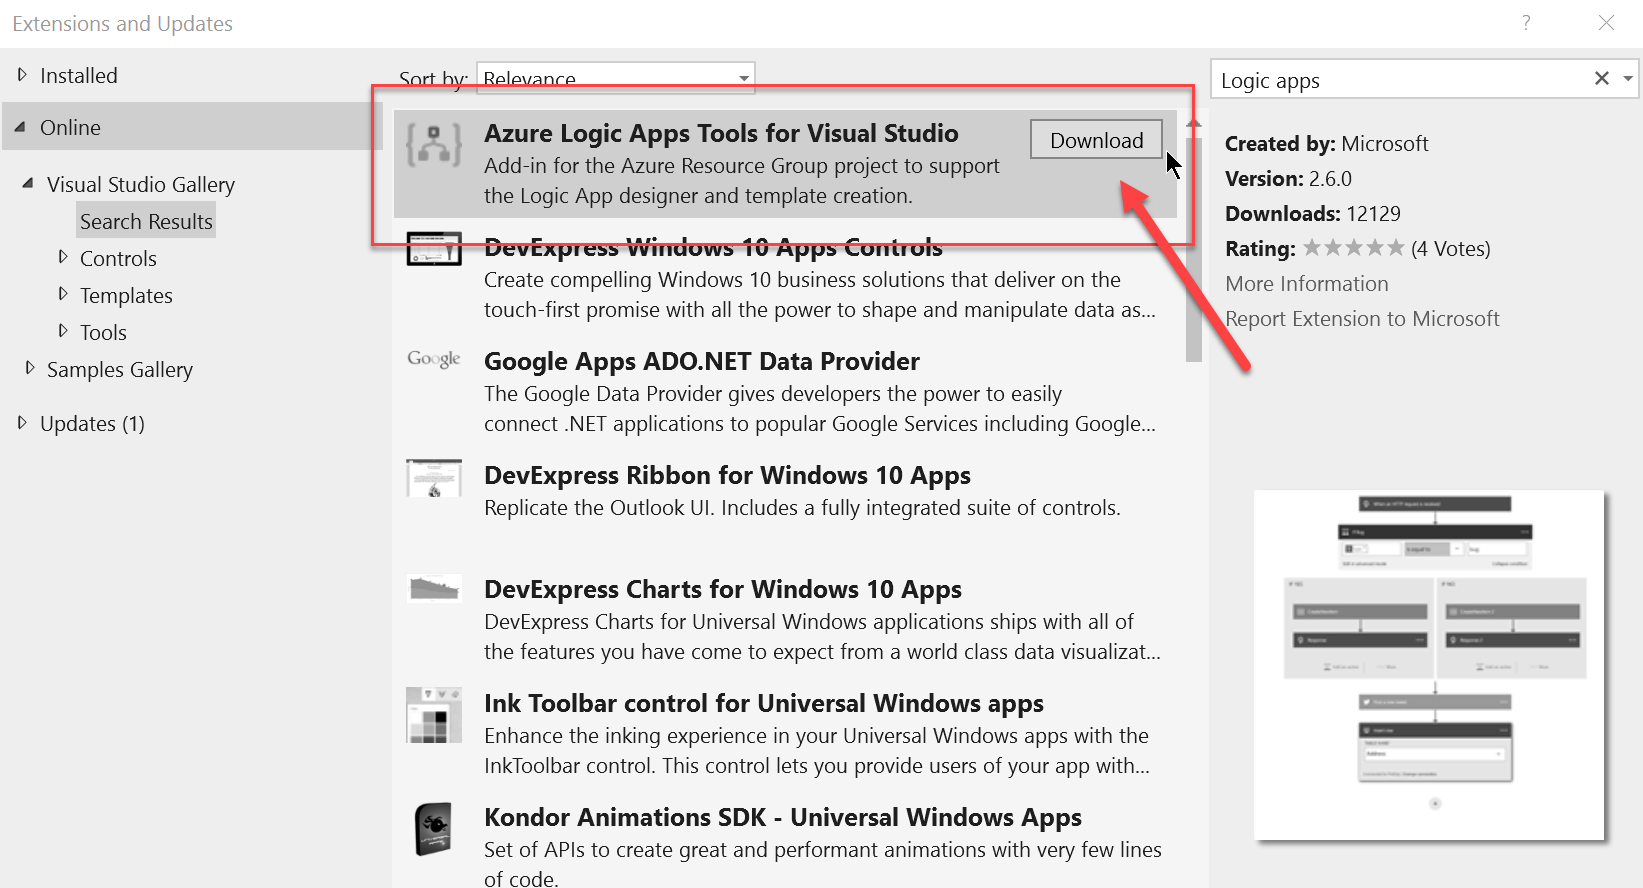
When you find the extension, press install. The wizard should guide you through the steps (i.e next -> next -> skip reading the EULA and agree automatically -> Done). A restart is required so go ahead and do it.
Working with the Logic Apps extension
OK, a little secret here. The extension, which provides the Editor, is technically a browser window that looks and feels very similar to the portal designer. Well almost. You may notice that the local tooling is slightly it’s more stable and more consistent. This is extremely noticeable when you switch between designer and editor mode in the portal (i.e the browser) as the various Logic Apps parts in JSON file may change order.
NOTE: working with the LogicApps Editor in Visual Studio requires internet access and a valid Azure subscription you can log into!
With the disclaimer out of the way, we can now create a new LogicApp project. In Visual Studio, select New -> Project -> Cloud->Azure Resource. Oddly enough, a LogicApp project can only be created using the Azure Resource Group Template.
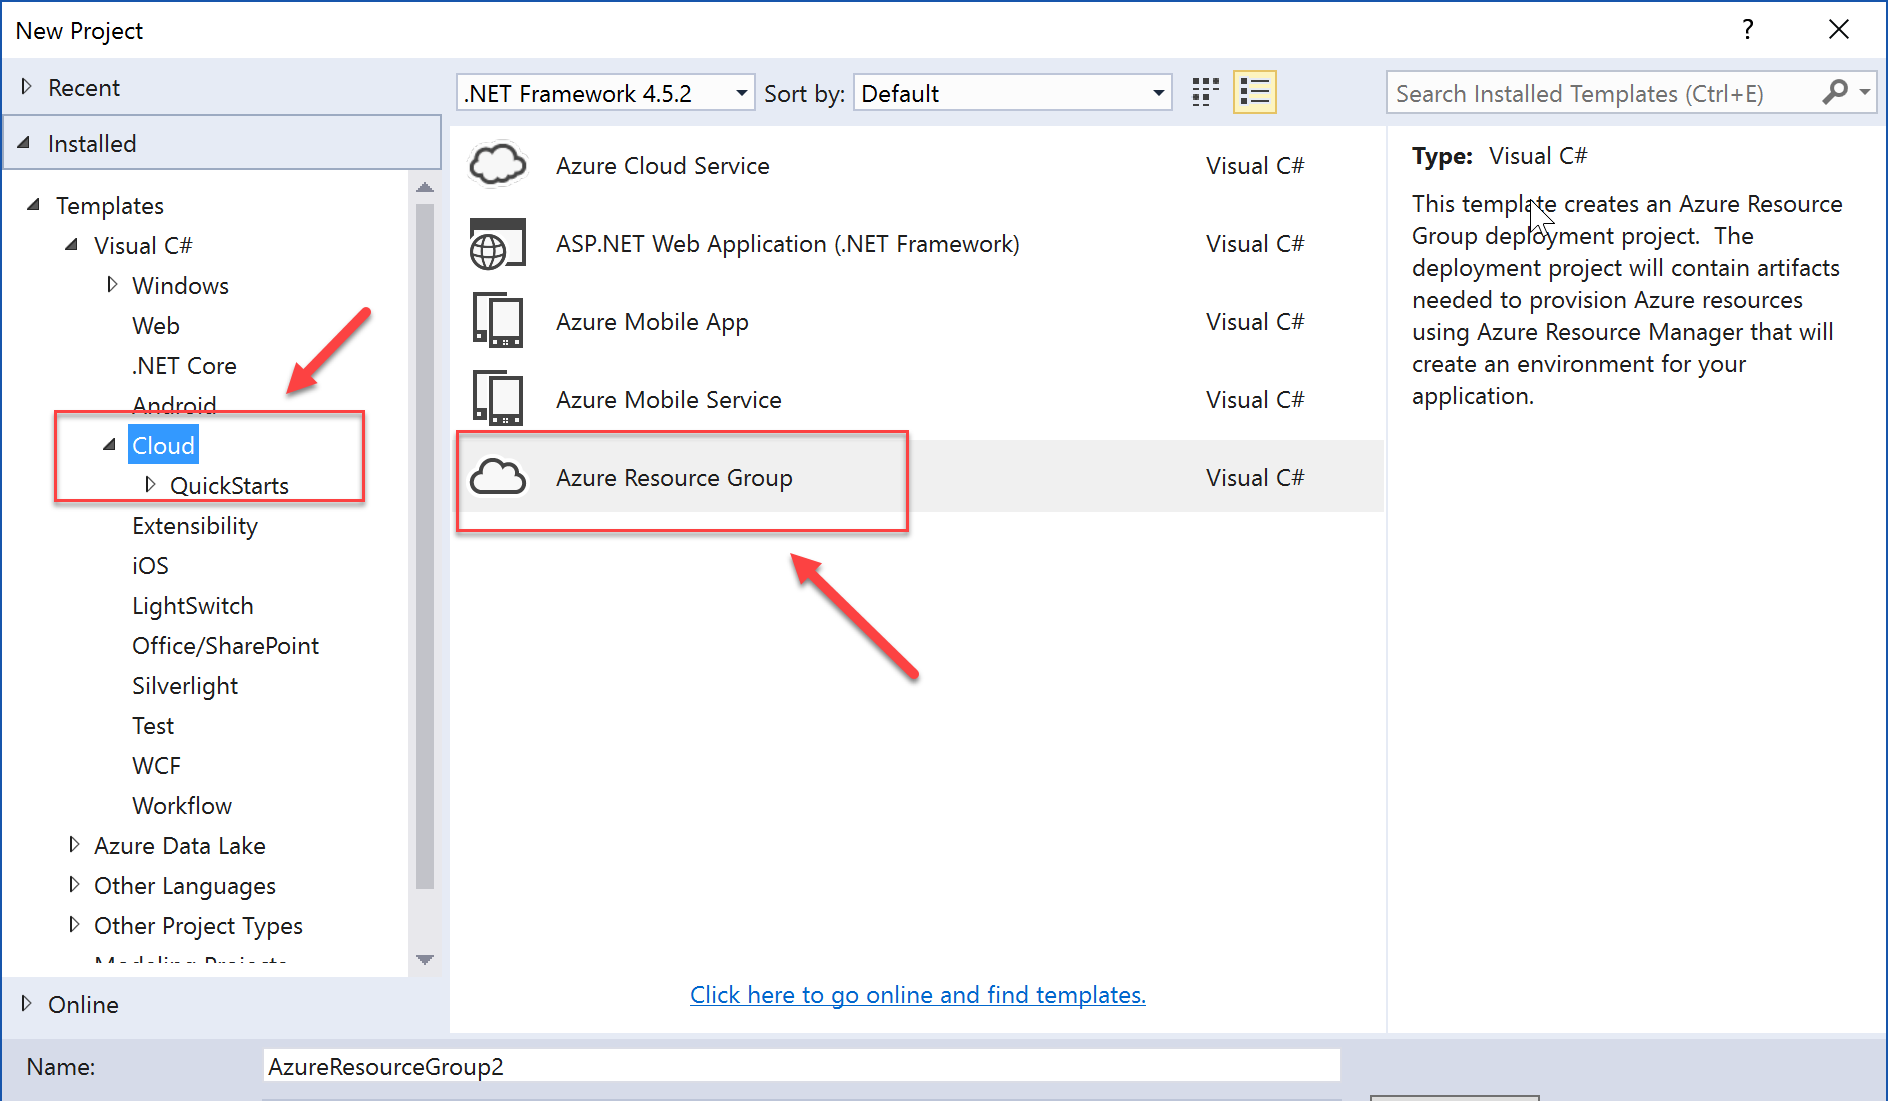
On the next step, select Logic App:

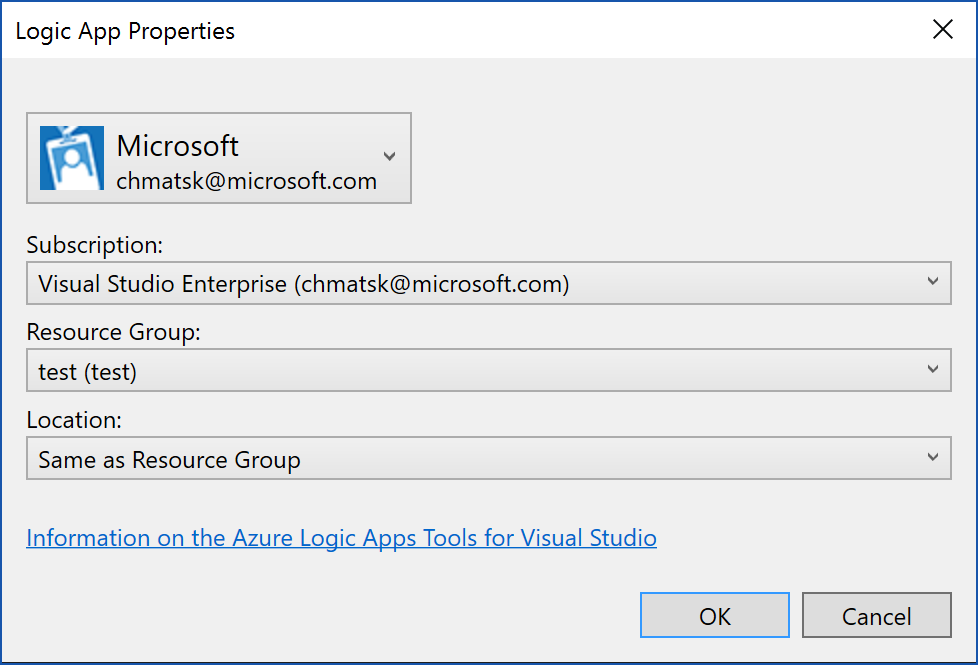
You should now be presented with a new Window where you need to insert your Azure Subscription details and select a Resource Group and location for your Logic App.
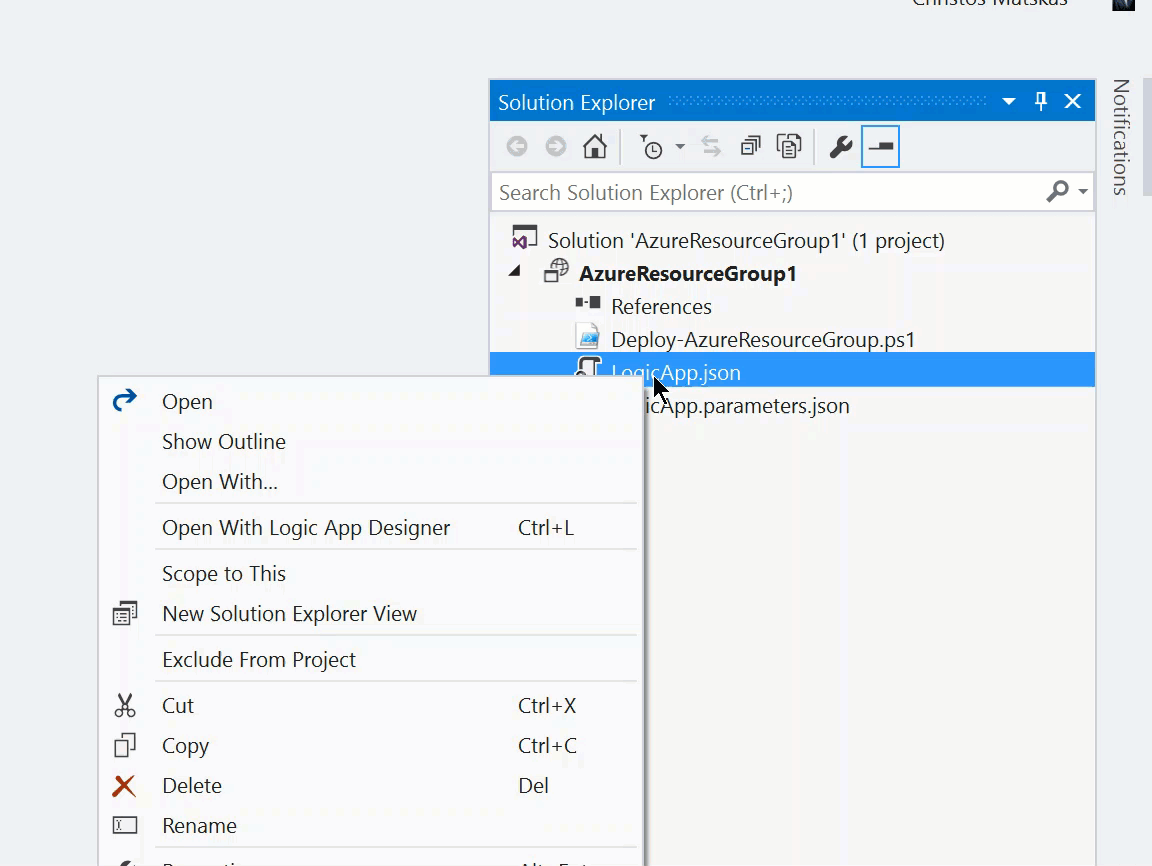
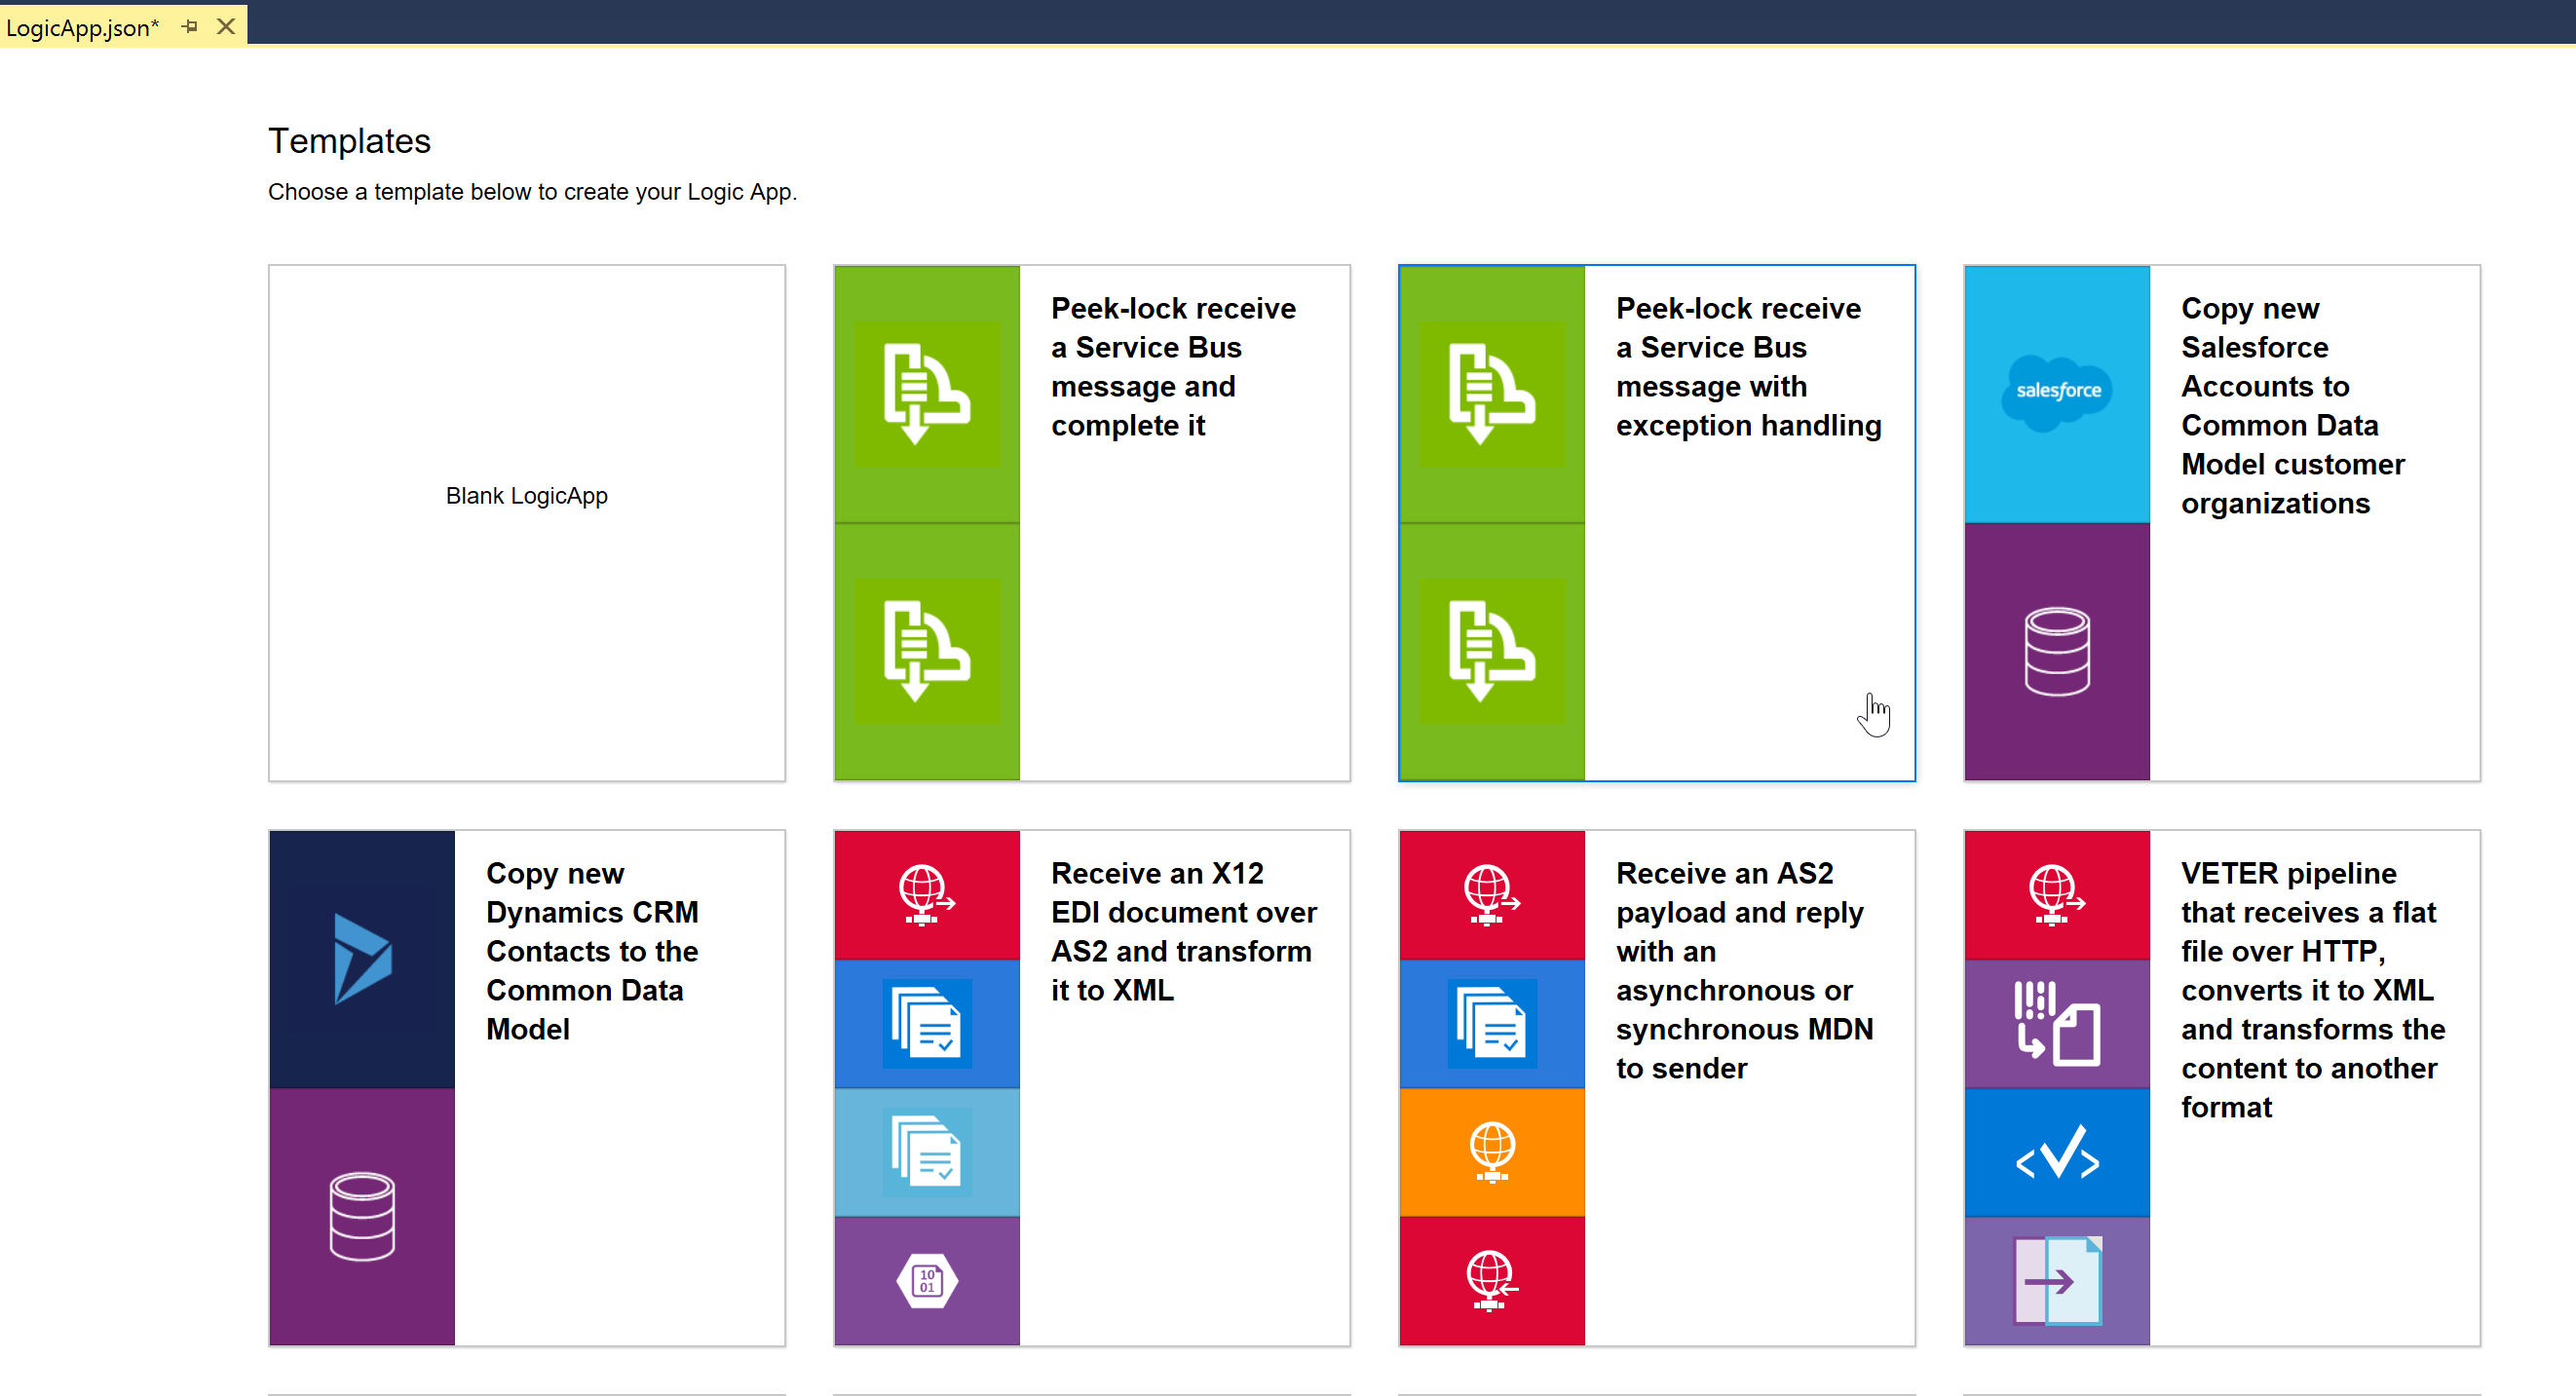
The LogicApp is nothing but a JSON file that contains the connectors and actions as you define them. There’s no code. You can create a Logic App simply by writing some JSON. However, it’s a lot easier to work on a designer over editing JSON files directly. That's where the tools adds so much value. You can right click on the Logic App JSON file in the Solution Explorer and select Open in Designer.
You can now work in the exact same way as you would do otherwise in the Portal. Add the necessary connectors and create the workflow you need.
The biggest value proposition of this tool is that you can develop and run your Logic Apps locally. This allows you to integrate the service directly into your development workflow and test that everything works as expected before even publishing anything to Azure.
Have you used this extension before? Do you have any suggestions or feedback for the team? Let me know in the comments as usual.