In this blog post (series) I'll be looking at Microsoft Identity from a developer perspective. In other words, I'll cover how to set up authentication and authorization for your solution using Azure Active Directory (AAD).
If you haven't worked with AAD before, don't worry. I'll make sure to cover the basics as we go through this journey together. AAD allows developers to register an app that can then be used to authenticate AD users and provide the appropriate roles and permissions to users to execute certain actions. As one of my colleagues says (Kyle), what developers care about in the end is the access token. So this is all it is: getting an access token.
Getting you Azure Active Directory tenant
In order for us to interact with AAD, we need an AAD tenant (see instance). There are 4 ways to get a FREE AAD to play with
- Using an existing Azure Subscription
- Creating a new, free Azure trial subscription
- Leveraging the DevEssential program
- Using the Microsoft Office Developer program
Option #1 is great, as long as you're not restricted by your admins. For example, the first time I tried to use an app that consumed the Microsoft Graph API against the Microsoft's official AD tenant, the result was less than ideal since we (developers) are locked out from messing with it. Therefore, before you start playing with your org's AAD tenant, make sure that you have the appropriate permissions or ask your IT team to spin up a developer tenant for testing.
Option #2 is great because Microsoft makes it super easy to get a free trial account by pointing your favorite browser to https://azure.microsoft.com/free. The free account gives you $200 dollars to experiment with and it includes +25 services for free. Azure Active Directory is free for ever so even after the 12-month trial period, you don't have to pay for it unless you need some premium AD features.
Option #3 - I'm still surprised by how many people are unaware of Microsoft's DevEssentials program! You get free monthly Azure credits, free services, free software and all the (this will trigger someone at Marketing) Visual Studios Visual Studio family IDEs (Windows, Mac, VS Code). And since you get a free credits for your Azure account, you also get a free Azure AD :). You can get your free DevEssentials account here
Option #4 is most likely the best because it's free and you get a 90-day rolling subscription the doesn't expire as long as you use it at least once within those 90 days. In addition, as we'll see later in the blog, it comes with sample data so that you can have a rich experience while developing your solution.
Set up your Azure AD tenant with the Office 365 Developer subscription
I decided to use the last option because:
- I wanted to try something new
- I wanted a separate AD tenant not associated with Microsoft
- I wanted sample data to play with the MS Graph library
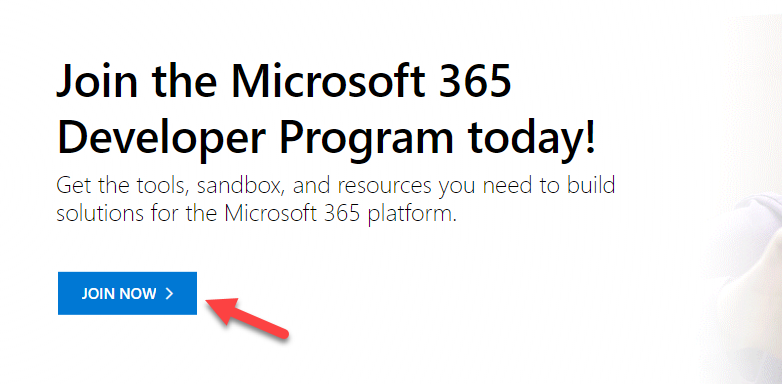
You can get your own, totally free, Office 365 Developer subscription by going to this page and click win the "Join Now" button.
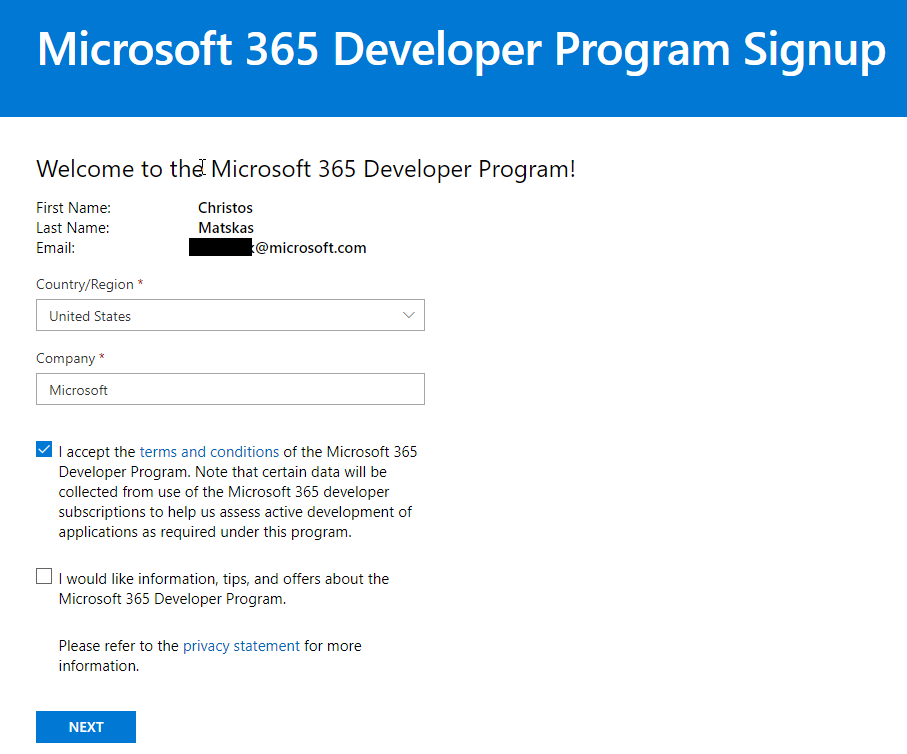
You then need to follow the sign up prompts and provide the appropriate information to set up your account:
If all goes well, you should be presented with the following screen
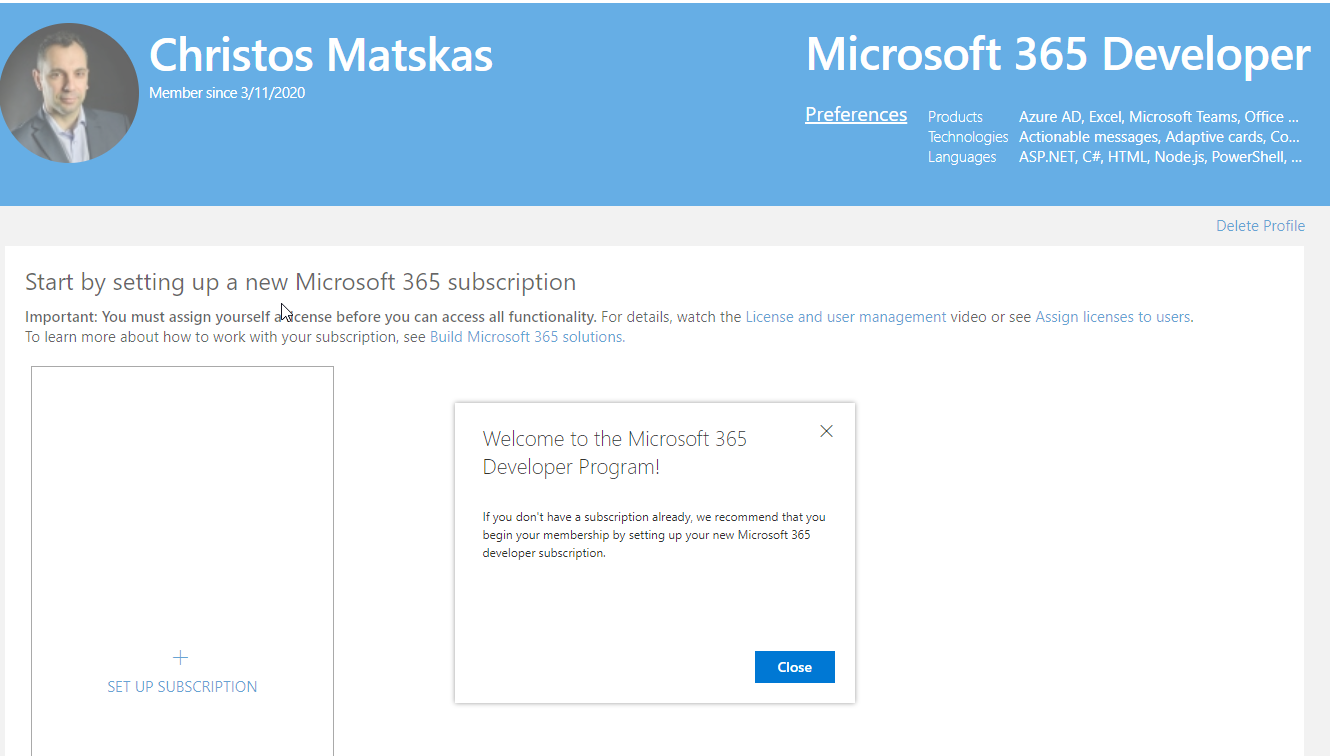
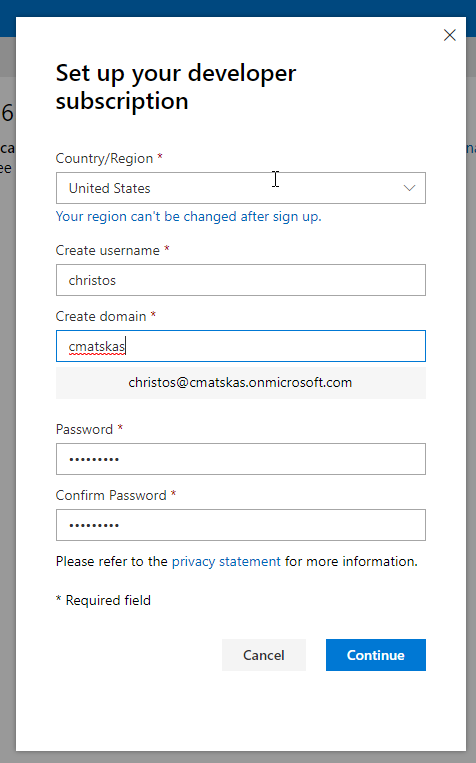
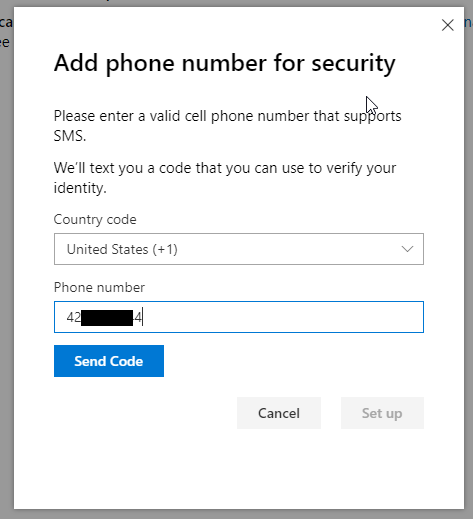
Now you need to set up your developer subscription. Follow the steps and make sure you capture your username and password as you'll be using them quite a bit from now on. I use BitWarden to keep me straight (as I'm getting older and forget things easily) but any other password manager works as well (1Password, KeePash etc)
And who said MFA is not good?
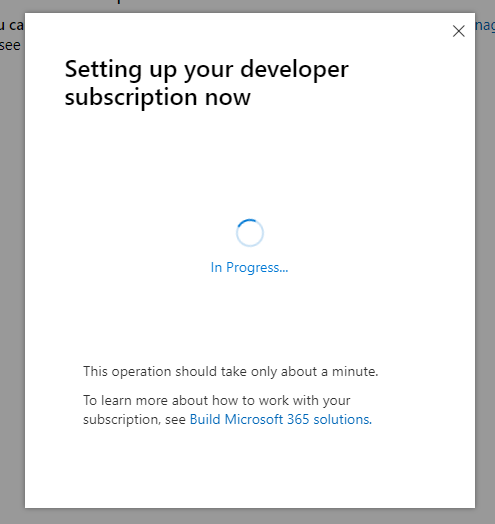
With the verification behind us, you should now be presented with a message that your developer subscription is being set up
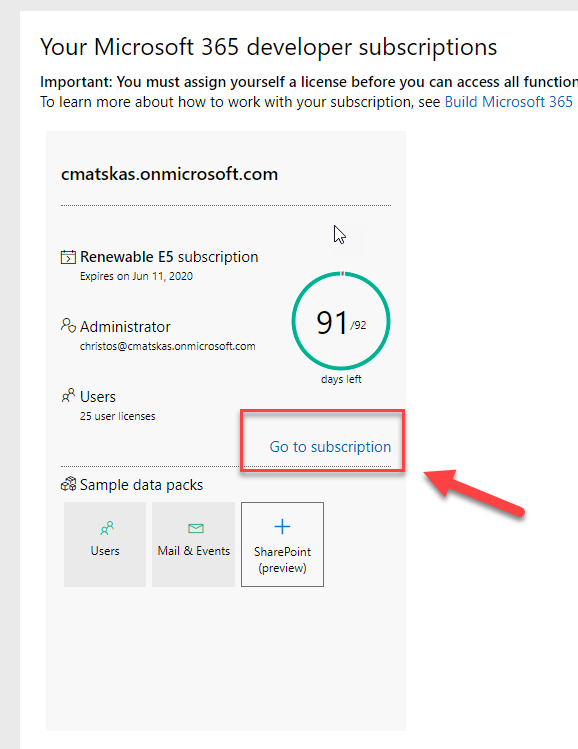
And within a few minutes your subscription should be up and running
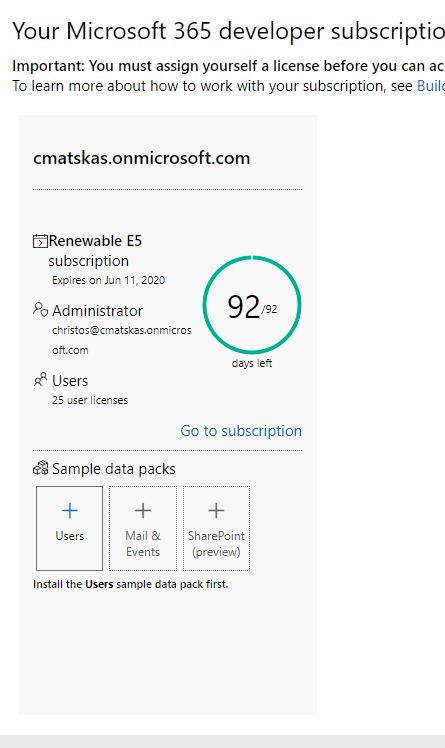
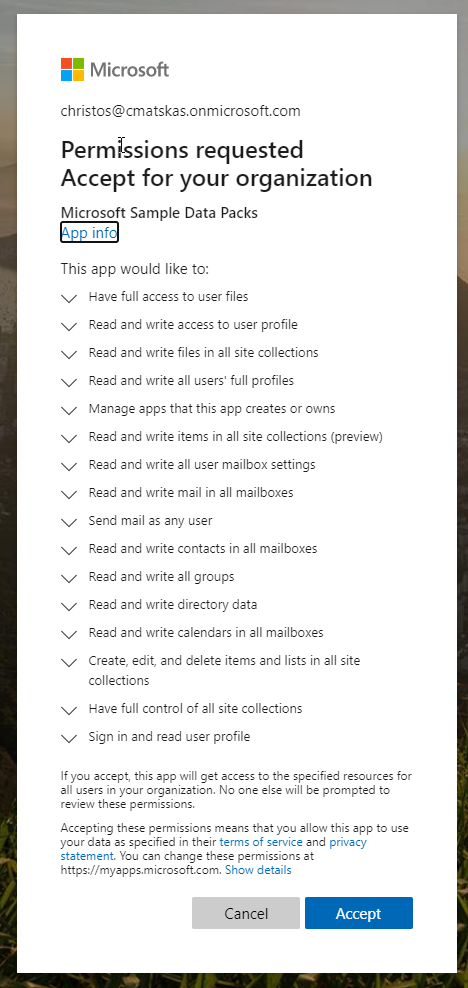
Within a few minutes we were able to set up our subscription. However, as a developer, I want to have some sample data to play with while I build my solution. Use the Sample data packs to add sample Users and Mail & Events to make your subscription more useful.
Make sure to accept the appropriate permissions and take a note of your sample users' (master) password.
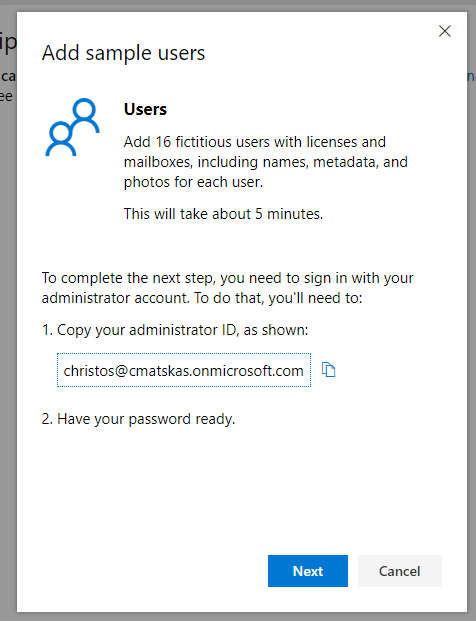
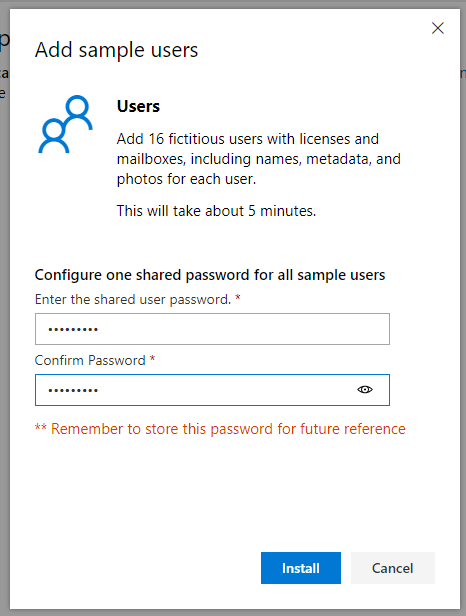
Please note that populating your subscription with sample data may take up to 5 mins but the nice thing is that you can continue working on other stuff while this is taking place. Once your data is ready, you'll receive an email to let you know that you're good to go.
When everything is set up, you can head to your Office subscription to view and manage your tenant data.
Please note that you'll need to use the <user>@<subscriptionName>.onmicrosoft.com account to log in to your office subscription. From there, click on the "Admin" box to get access to your Admin panel

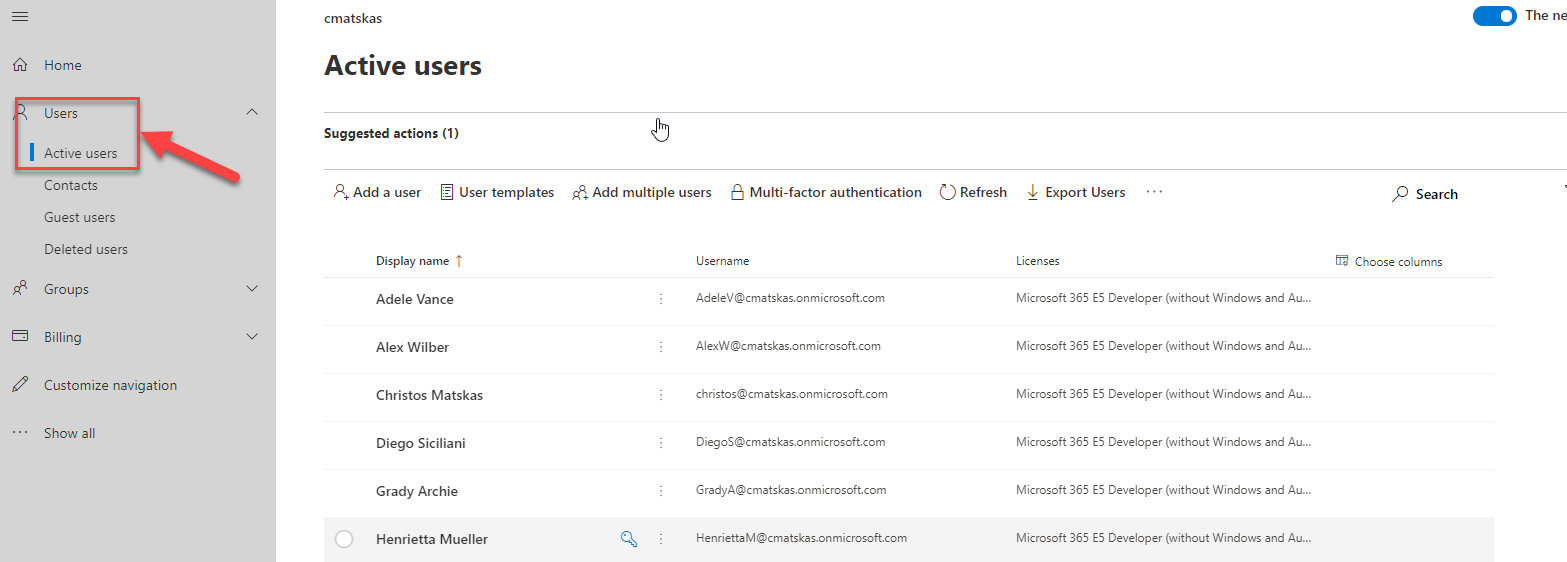
Now you can view, edit or add user data in your Office 365 Tenant:)
This is great but what we need now is to actually start interacting with our free Azure AD tenant. I was hoping to be able to jump to the Azure Portal straight from my Office 365 Admin portal but that's not the case. To be able to interact with your Azure AD account, you'll need to go to the azure portal and log in with your <name>@<subscriptionName>.onmicrosoft.com account.
Once logged in, search for Active Directory in the global search bar to access your Azure AD tenant. On the next blog post, we'll set up an application in Azure AD in order to set up our code to authenticate and access the data in our Office 365 tenant :)
Let me know how you get on setting up your tenant!
Next steps
If you're new to identity, I would recommend you check out the free resources below to get up to speed: