Another day and another opportunity to work with an exciting Azure service. This post is all about [Azure Search](https://docs.microsoft.com/en-us/azure/search/search-what-is-azure-search" target="_blank), a sleeping giant that apparently can do some pretty impressive things that not many of us know about. Azure Search is a managed search service that you can implement to provide search services to your applications. The search service comes with a powerful REST API that allows you to both managed and consume although there are equally powerful SDKs to help you achieve the same. In the end, like with most Azure SDKs, the code is just a wrapper around the native REST API :)
The 3 Search components
The Search service is an Azure resource and like any other resource, we can provision one using either ARM templates or the Portal. There are no native commands for Search in PowerShell or Azure CLI. This is not the end of the world as the provisioning is very simple and painless. In addition, Azure Search is not a resource that you're likely to be tearing down every night, especially if you have to index/crawl large amounts of data.
Azure Search consists of 3 main components:
- Index
- DataSource
- Indexer
The Index is what exposes your indexed data. It has a name and an endpoint and you use this to query an indexed or crawled datasource.
The datasource is what instructs Search about the location and nature of your data - more on this in a bit. Finally, the Indexes is the connecting link between the Index and the DataSource. There's a predefined set of datasources like SQL or Azure Table and Blob Storage along with a predefined set of data types (JSON, HTMLX, XML) that can be consumed by the service out of the box. You can get a full list of supported data formats [here](https://docs.microsoft.com/en-us/azure/search/search-howto-indexing-azure-blob-storage#supported-document-formats" target="_blank). If the data you have can't be accessed or consumed by a Search DataSource automatically, let's say your RavenDB database, you can manually feed that data to a datasource using either the REST API or one of the SDKs.
The indexer crawls the data designated by the datasource and uses a predefined schedule to push the indexed and analysed data to the Index, ready for consumption. There are lexical analysers that dissect your data as part of this process so Azure Search does most of the heavy lifting for you.
Finally, every record/blob/data row indexed by the indexer becomes a Document. If your database table contains 900 rows and the indexer has completed successfully, this should translate to 900 Documents available your index. There are [service limits](https://docs.microsoft.com/en-us/azure/search/search-limits-quotas-capacity" target="_blank) that apply to Search so it's imperative that you choose the right [service SKU](https://docs.microsoft.com/en-us/azure/search/search-sku-tier" target="_blank) ( size/capabilities) carefully.
Choose your Search service tier/sku carefully! If the chosen tier is inadequate for your needs then you will need to provision a new service at the higher tier and then reload your indexes. There is no in-place upgrade of the same service from one SKU to another.
Provisioning of a new Azure Search service
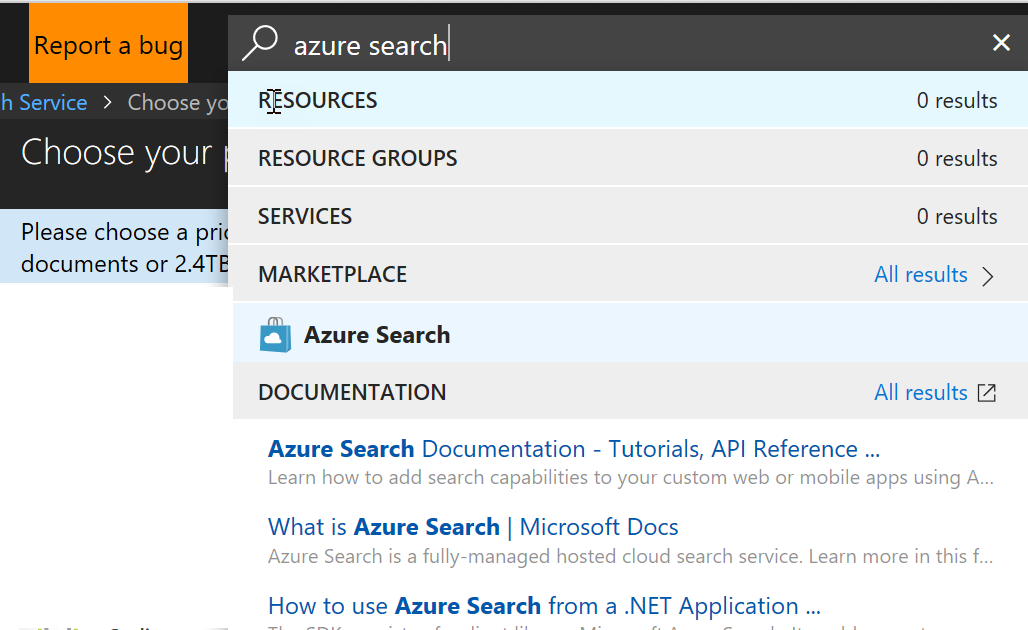
To provision a new Azure Search, go to the portal and search for Azure Search using the almighty "Search" text box at the top of the page
Next select a name for the service (lowercase, dashes and numbers), make sure it's globally unique and then add it to the right resource. At this point, you need to plan your service tier carefully and choose the right SKU.
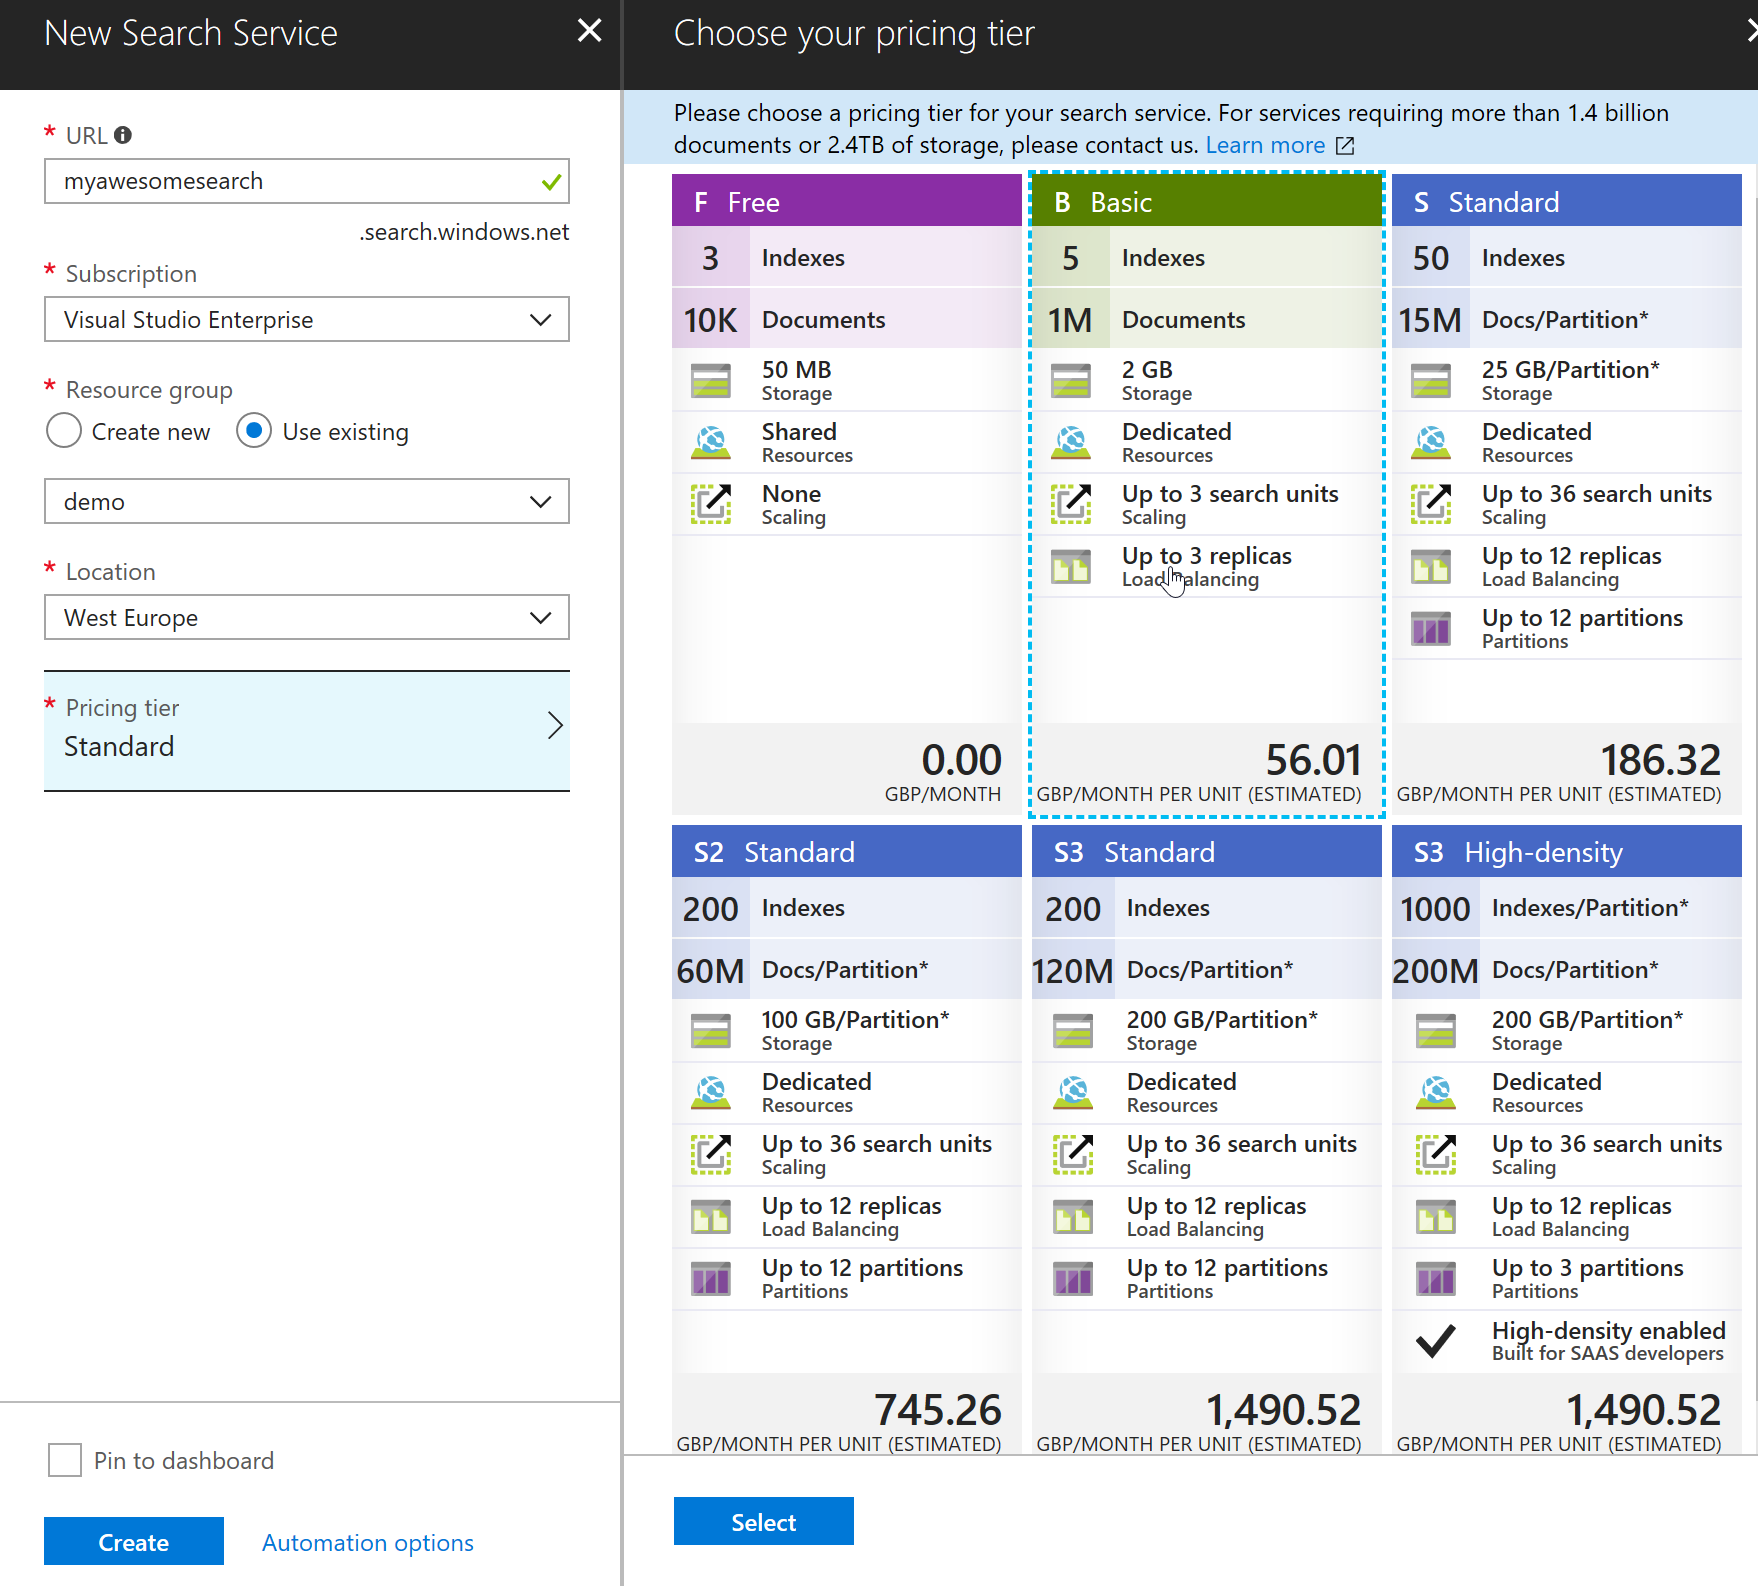
Once you're happy with the selection, press the "Create" button and let it do its magic. Within a few minutes the service should be available to use.
Creating the SQL Index using code
With the Azure Search service in place, we can now start creating the indexes that will be used by our application. Since each index is tied to one datasource, it's very likely that you'll need to create multiple indexes to pull the appropriate data. Indexes can combine multiple datasources and we'll cover this at a later blog post. For now, it's important to understand how to create a simple index and consume it. I'll use a .NET Core console application to drive this example.
First, let's create a new local directory and a new .NET Core console app using the command line
mkdir usingsearch && cd usingsearch
dotnet new console
We then need to add the necessary Azure Search NuGet package. We can again use the command line for this:
dotnet add package Microsoft.Azure.Search
Open the program.cs file and add the following method:
The index constructor is fairly basic. The full list of parameters can be found [here](https://docs.microsoft.com/en-us/dotnet/api/microsoft.azure.search.models.index?view=azure-dotnet" target="_blank). At minimum, we need to provide a name that will uniquely identify our Index and a set of fields. These fields should map to the fields pulled by our index datasource more on this later). If the default field names shouldn't be exposed and you want use different names, then we can use the FieldMappings collection property to create customer mappings. Instead of defining the fields inline, I created a separate method to keep things nice a clean. The code for the GetSqlFields() method is attached below:
The Index field collection requires that one field is defined as the Key which should be unique (like a primary key in a database table) and a number of other fields that expose the values of the underlying datasource objects. Each field can be individually configured to be Searchable, Filterable, Retrievable, Facetable or Sortable. These field properties have defaults so you don't have to explicitly define these unless you want to override the defaults.
These properties are self-explanatory but for an explanation for when to use each, you can check the documentation here
Creating the Search SQL datasource
Datasources are used to feed that data into an index. Each datasource is totally independent and isolated from other datasources. SQL DataSources can pull data from either a table or a view. Binding directly to a table comes with great benefits such us automatic change tracking. However, tables contain isolated data. If, for instance, we wanted to combine data from multiple tables, we would have to choose one of the following options:
- A table containing denormalised (flattened) data from multiple tables. This table would most likely be a read-only table. Such a table would need to be maintained manually.
- A view that combines data from multiple tables but in this scenario we lose the ability to respond to data changes automatically and the index needs to be maintained manually.
You can find more information on how to manage changes for underlying SQL datasource, have a look [here](https://docs.microsoft.com/en-us/azure/search/search-howto-connecting-azure-sql-database-to-azure-search-using-indexers#capture-new-changed-and-deleted-rows" target="_blank)
To be able to bind to a SQL Table and use the built-in change tracking, we need to first enable this in the SQL Server and then explicitly each table that needs to be tracked by a datasource. These days I use the new, shinny SQL Operations Studio, which is free, open source and runs cross platform to connect and run queries against my SQL Servers. You can downloaded it for your preferred OS [here](https://docs.microsoft.com/en-us/sql/sql-operations-studio/download" target="_blank)
With the database primed, we can move into the code necessary to create the datasource. Open your library or console application and add the following code:
The code is fairly basic and yet quite powerful in what it does. Let's break it down:
- Name: the name of the Azure Search Index Datasource
- sqlConnectionString: the full connection string to the database. I would recommend that this is a separate account with Reader only permissions and maybe 1 per datasource to further lock down security.
- tableOrViewName: the name of the table to bind the datasource to
- DataChangeDetectionPolicy: you will notice that we're using the
SqlIntegratedChangeTrackingPolicyfor change detection.
This means that when the indexer runs, it will be able to detect which data has changed since the last run using built in change tracking. You can find more information on how this works [here]( https://docs.microsoft.com/en-us/sql/relational-databases/track-changes/about-change-tracking-sql-server" target="_blank)
In many cases, an application is designed to use soft deletes instead of hard deletes. For Soft Delete to work, we need to designate a table column, e.g IsDeleted to indicate that a row needs to be removed from the index. When this column is set to true and the indexer will remove the corresponding document from the search service the next time it runs. If we wanted to do this then we could change the above code with the following statement:
{
    "dataDeletionDetectionPolicy" : {
       "@odata.type" : "#Microsoft.Azure.Search.SoftDeleteColumnDeletionDetectionPolicy",
       "softDeleteColumnName" : "IsDeleted",
       "softDeleteMarkerValue" : "true"
    }
}
Indexing/crawling the search data
For the data to become available to the index, we need to use an Indexer. An indexer can be run manually or on a schedule. We can also have multiple indexers pulling data from one datasource and pushing to another. An index can have one or many indexers and one or many datasources. As long as all datasources use the same unique key (in value, not in name) then we can combine multiple datasources, via multiple indexers, in the same index. I plan on doing a blog post on this to show you how. In the meantime, we'll use the simple 1-to-1 model to push data from one datasource to an index. The snippet below shows the code necessary to configure the SQL indexer.
Like before, we want to break down the code:
- name: the unique indexer name
- datasourcename: the name of the datasource we created earlier.
- targetIndexName: the name of the index we want to push the data to
- schedule:
IndexingSchedule(<timespan>)defines how often the indexer should run. The interval is defined asTimeSpan
Indexers contain metadata about how much they have already indexed. If the indexer has been run already then it will remember the run and will not run again. We, therefore, need to reset the Indexer and then create or update it accordingly to get the most up-to-date data.
Putting it all together
The following method creates a SearchServiceClient and then add a new index, datasource and indexer.
Running it generates the following outcome.

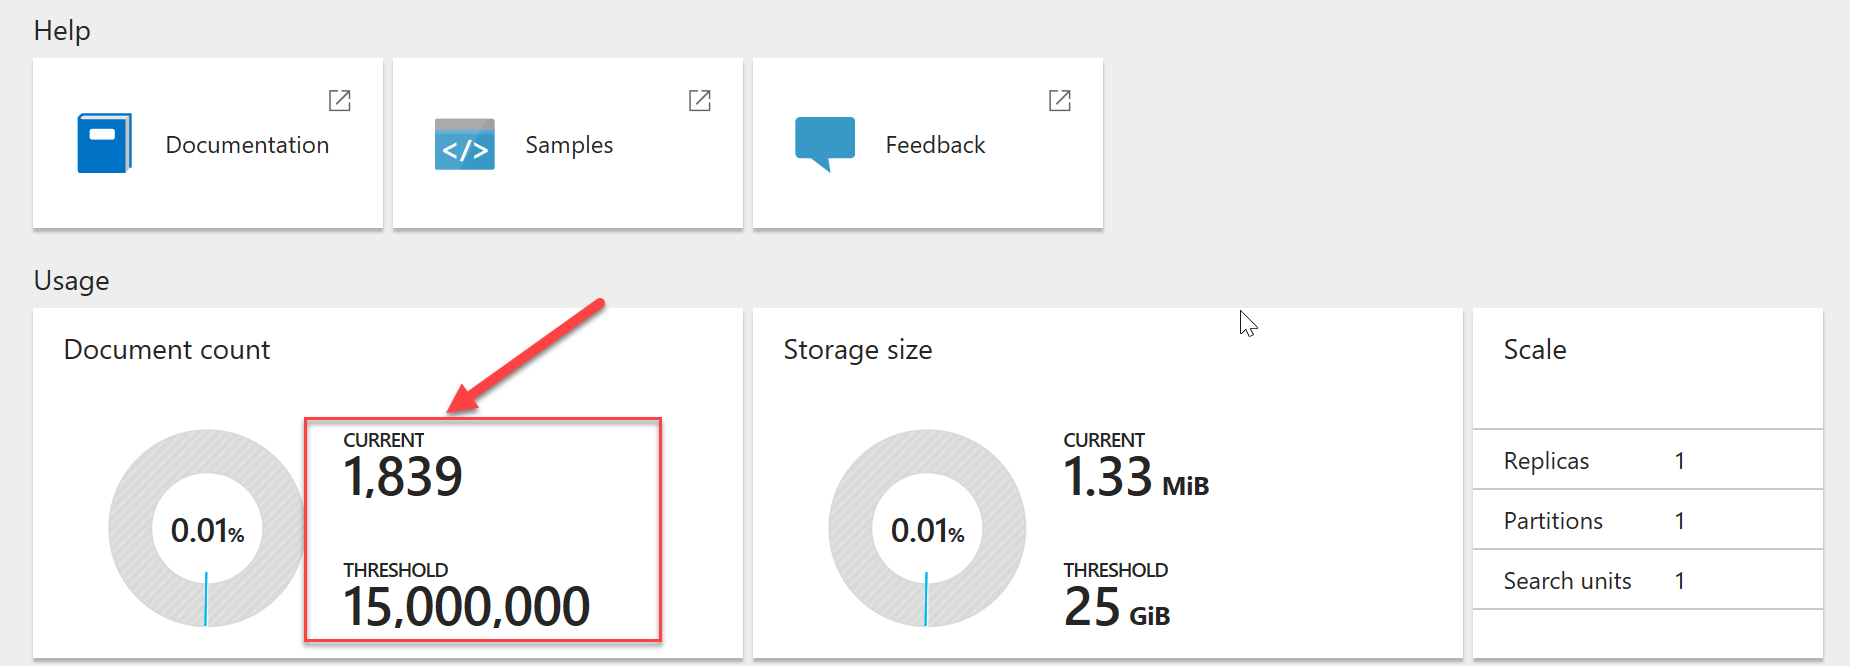
The logical assumption now is that our data is available in the Azure Search service. Let's verify this by going to the Azure Portal to check our Search service. The following picture highlights the number of indexed documents.
To test the indexed data, we can use the Search Explorer blade and run a couple of queries against our data.
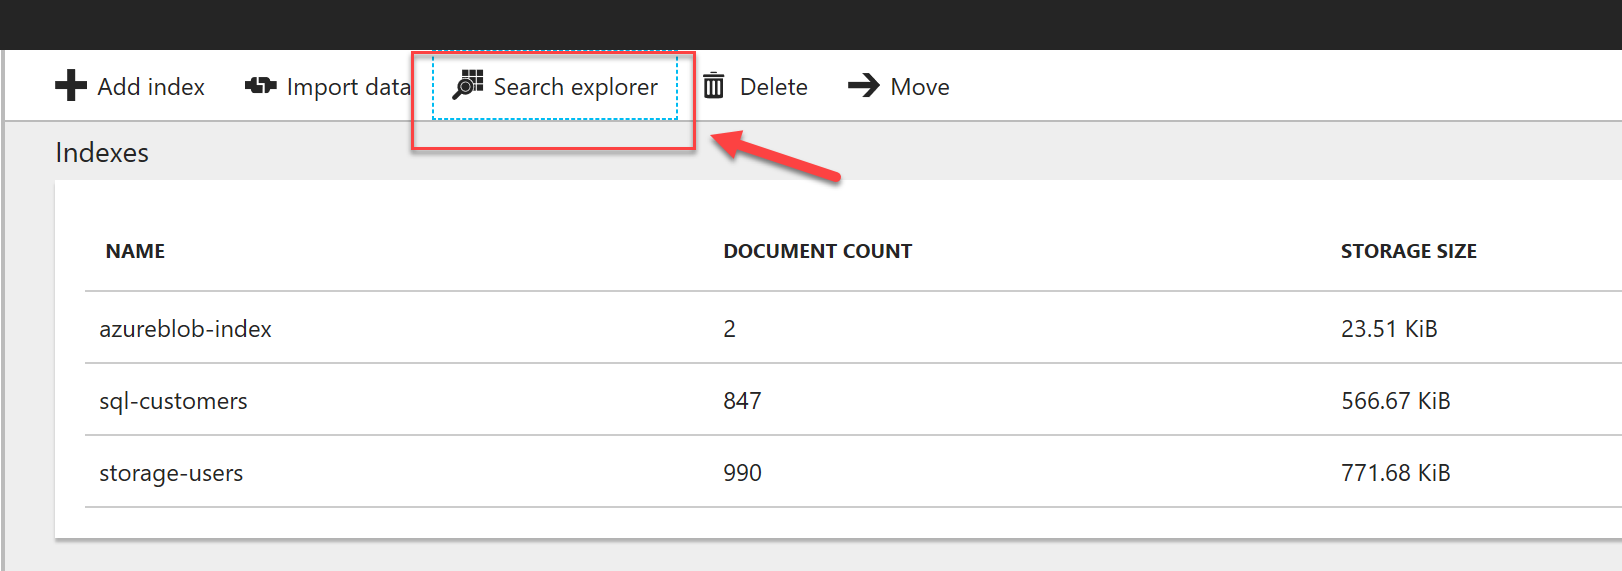
We can use some known values to test our data and some bad ones to ensure that we're not pulling random stuff. I already know that my table contains the name Alan in the FirstName column so I use this vlaue to verify that everything is working as expected.
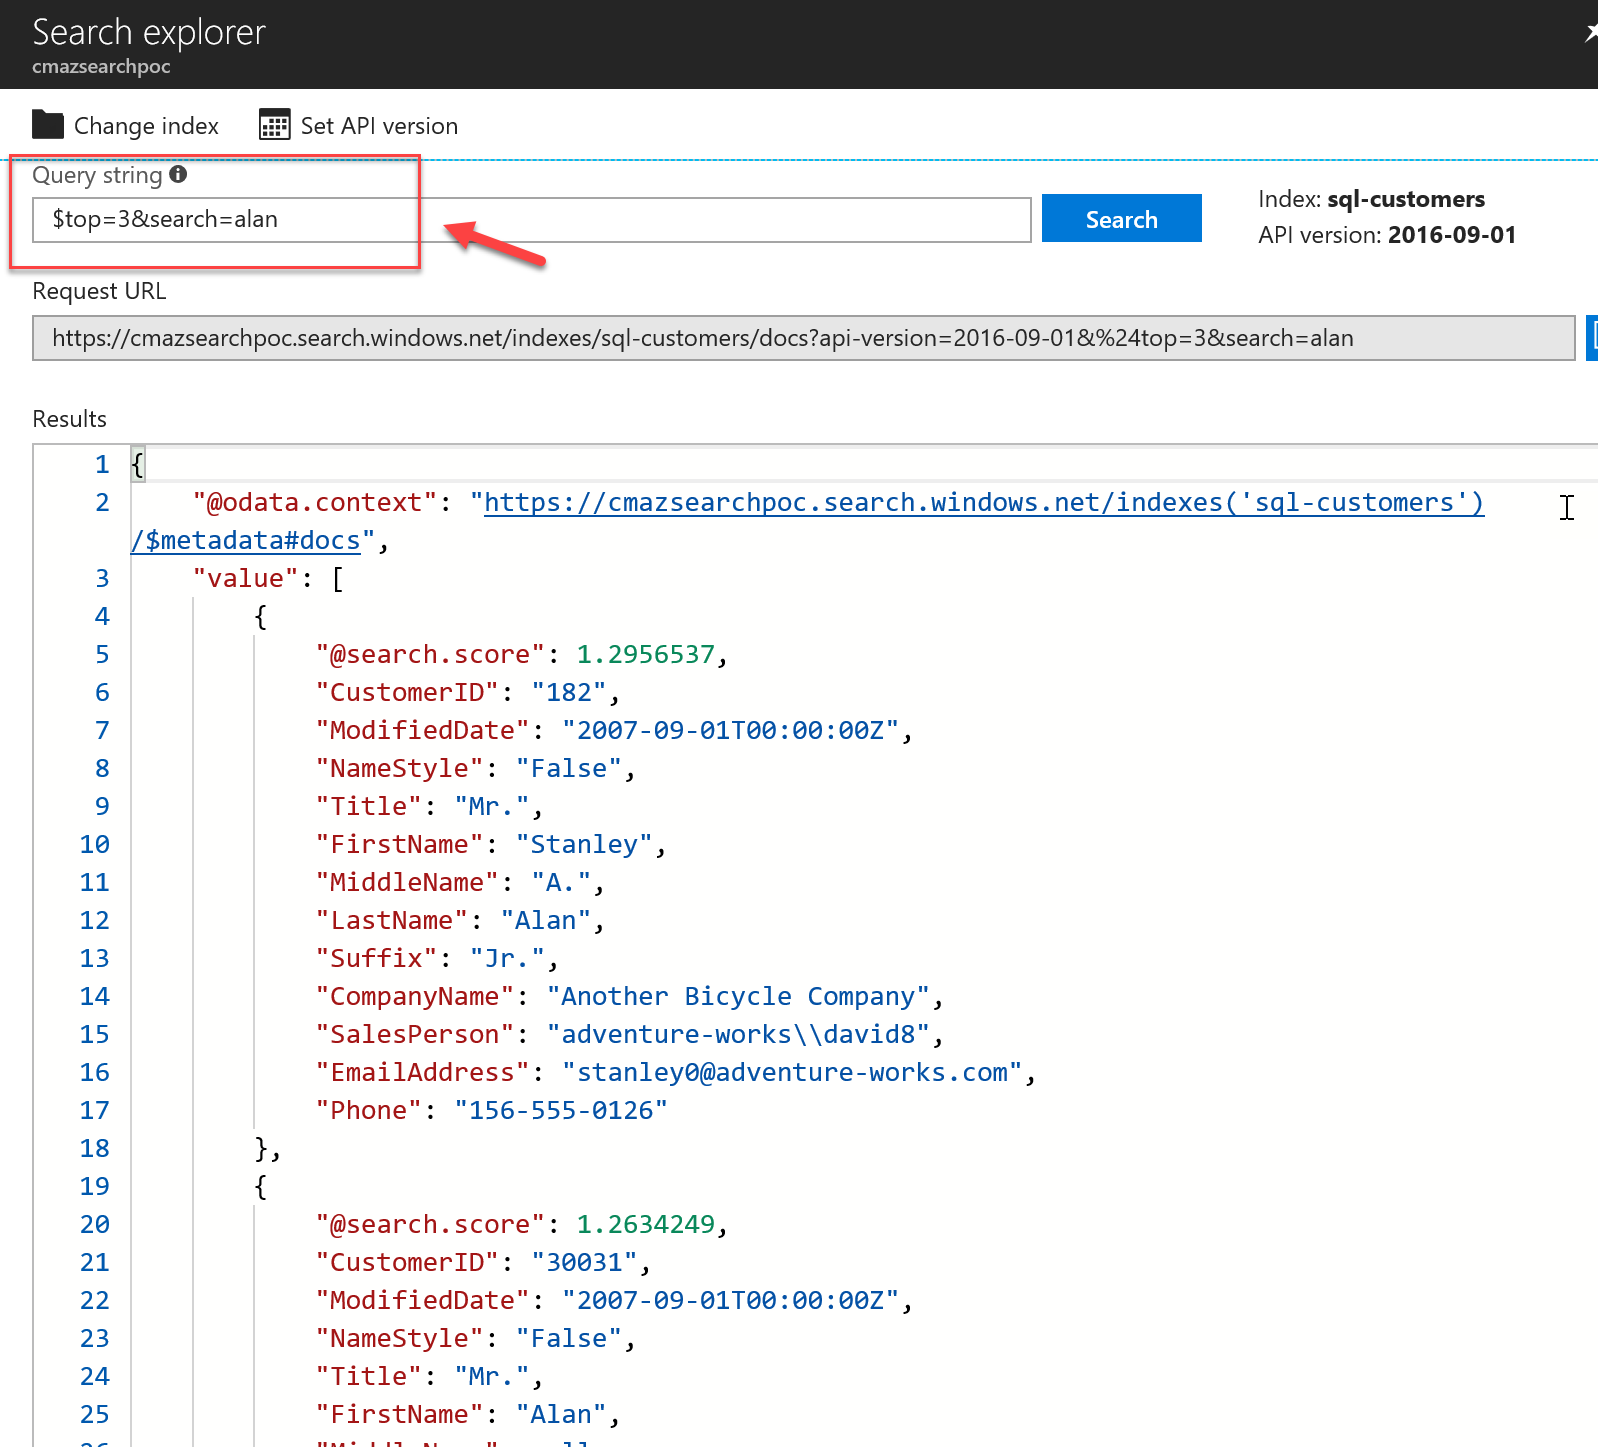
I can also use oData queries to reduce or sort the data easily from the portal. oData support details can be found [here](https://docs.microsoft.com/en-gb/rest/api/searchservice/support-for-odata" target="_blank)
I'm really happy with the results so far and we've only touched the surface of what we can achieve with Azure Search. This was the first of a few blog posts to follow so stay tuned. And as always, feel free to ping me if you have any questions on how to use this service.