PowerShell is an amazing tool used heavily to manage a plethora of Windows and Microsoft services. With the release of the latest PowerShell as a cross-platform tool, this experience has been extended to Linux and MacOS as well. You can use PowerShell to do pretty much anything, from managing Windows OS features, to configuring SharePoint and SQL to executing maintenance tasks and even run code (.NET). Yes, that's right. Because PowerShell was built with code execution and extensibility in mind, you can easily import any .NET Framework APIs and work directly with them embedding C# code inside your scripts. In addition, if you find the built-in cmd-lets inadequate, you can always extend them and create your own re-usable, deployable modules turning PowerShell into a powerhouse. Some may say that this leaves it open to abuse, but I still like the fact that we get a choice on how to write, deploy and consume scripts.
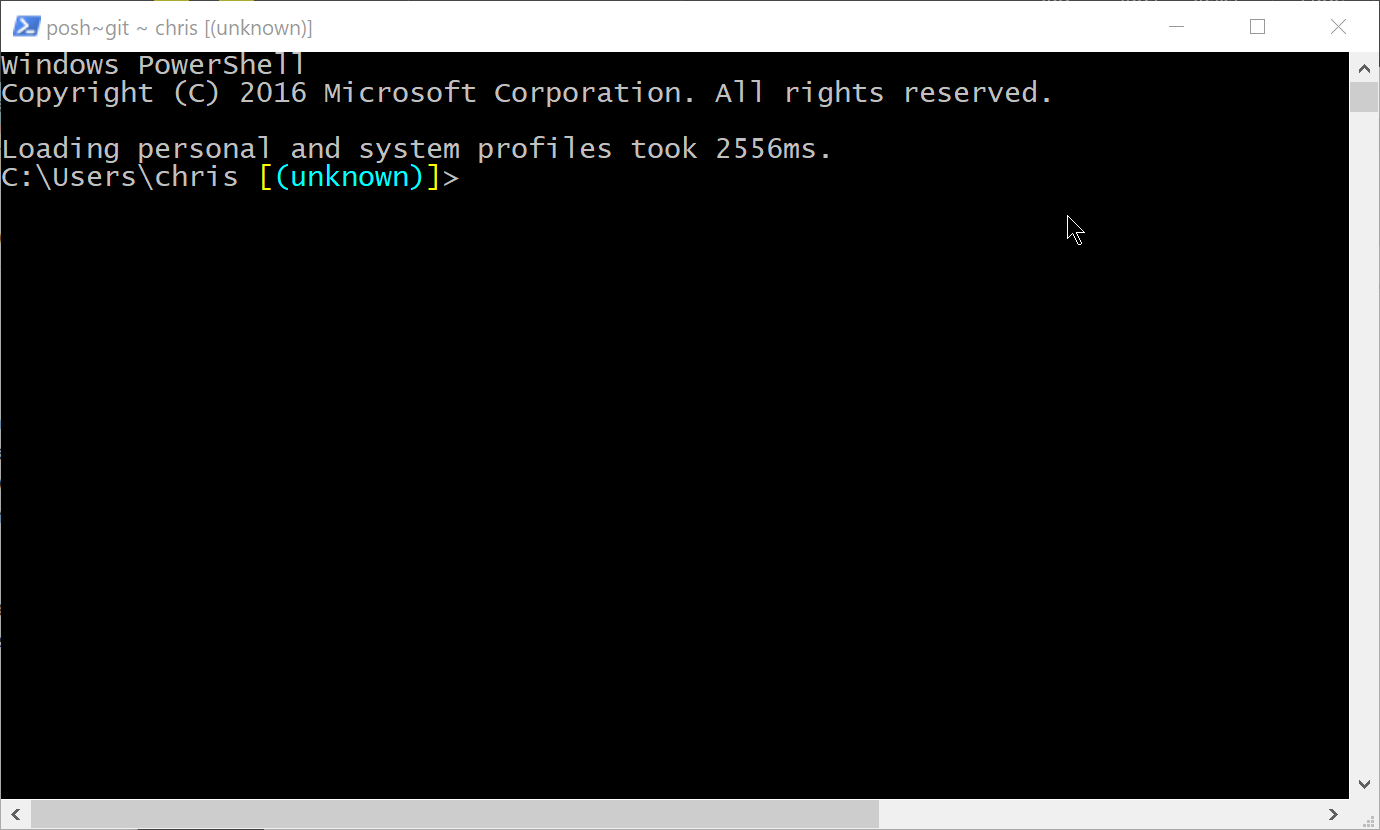
However, despite the wide adoption and heavy use, PowerShell development has always been an "experience" limited to either the console or the PowerShell ISE. If you ever got the chance to do any PowerShell work, you got to choose between this:
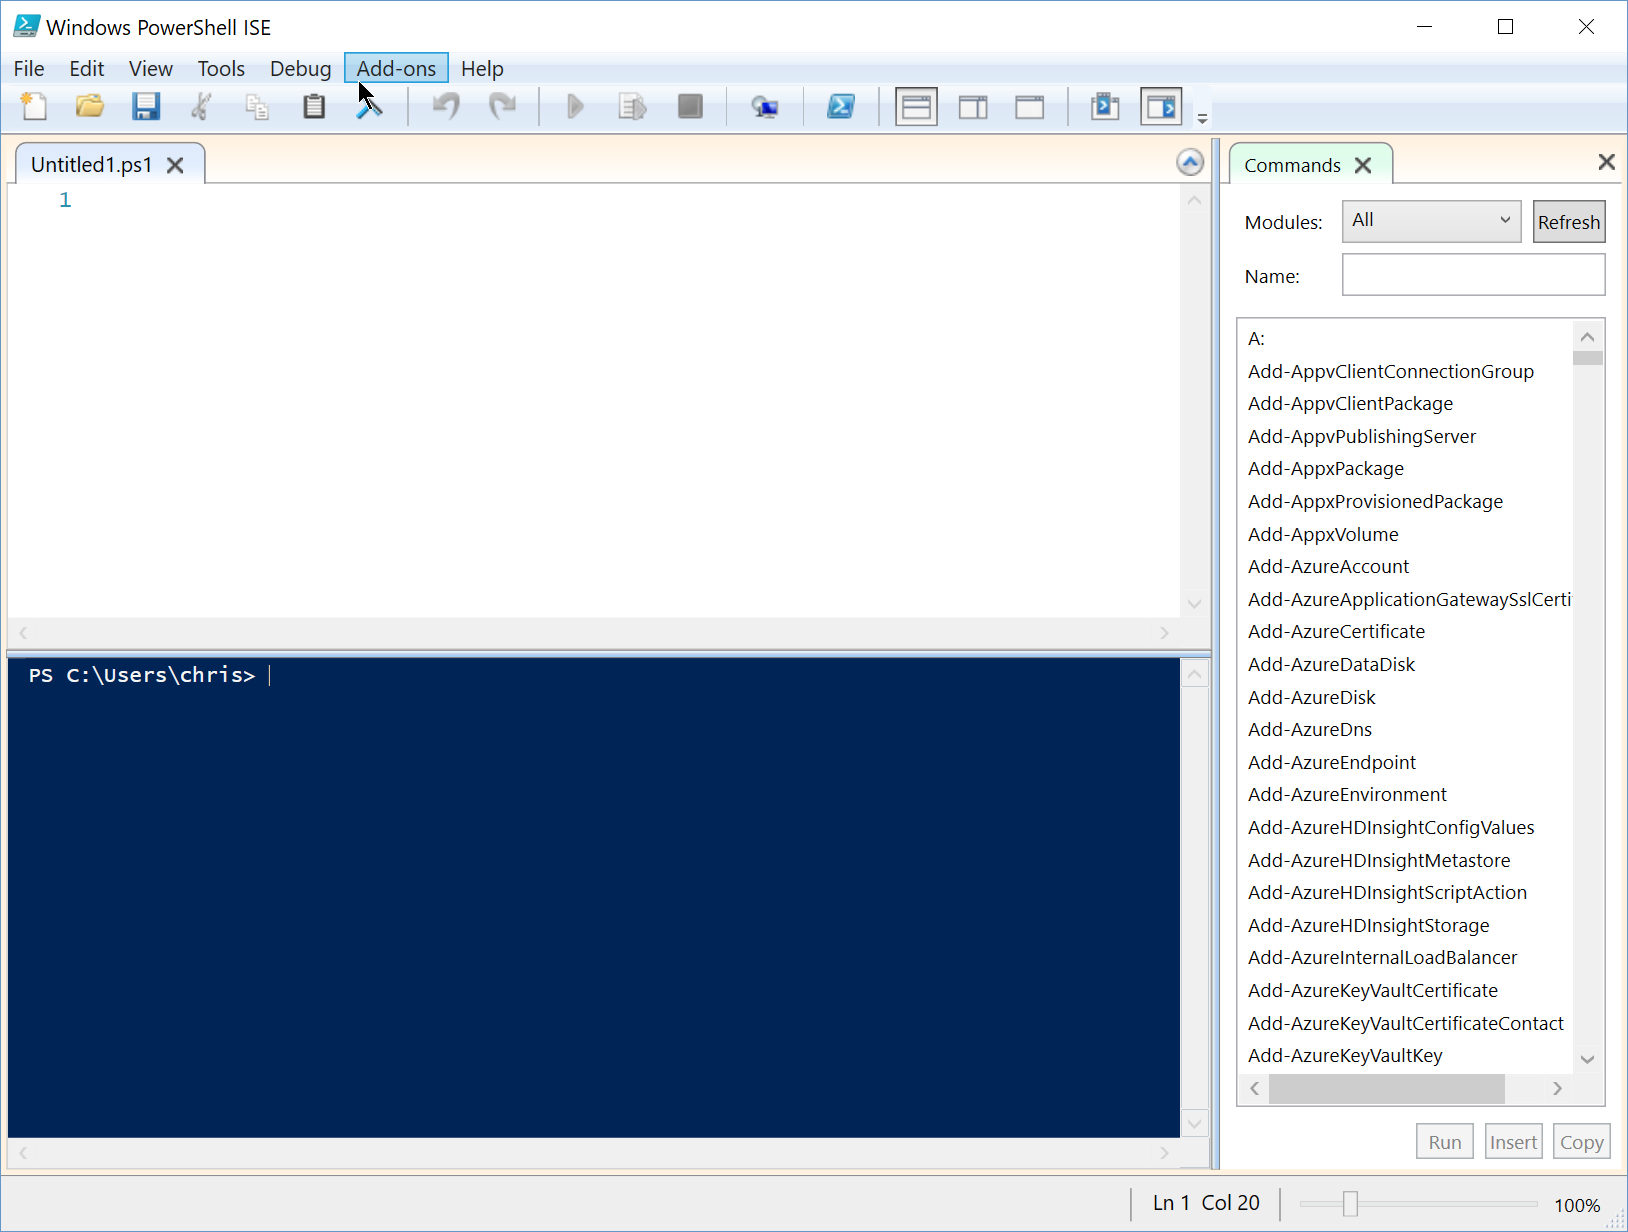
Or this
But now we have a new player that promises to change the way we work with PowerShell, making it a first class citizen, like node.js or c#. This new player is [Visual Studio Code](https://code.visualstudio.com/" target="_blank) with its new [PowerShell v1.0](https://marketplace.visualstudio.com/items?itemName=ms-vscode.PowerShell" blank="_target) extension. v1.0 is the first major release out of preview and I'm really excited because it has really transformed the way I work with PowerShell. And because both the editor and the extension are cross platform we can now achieve some amazing things even outside the Windows ecosystem.
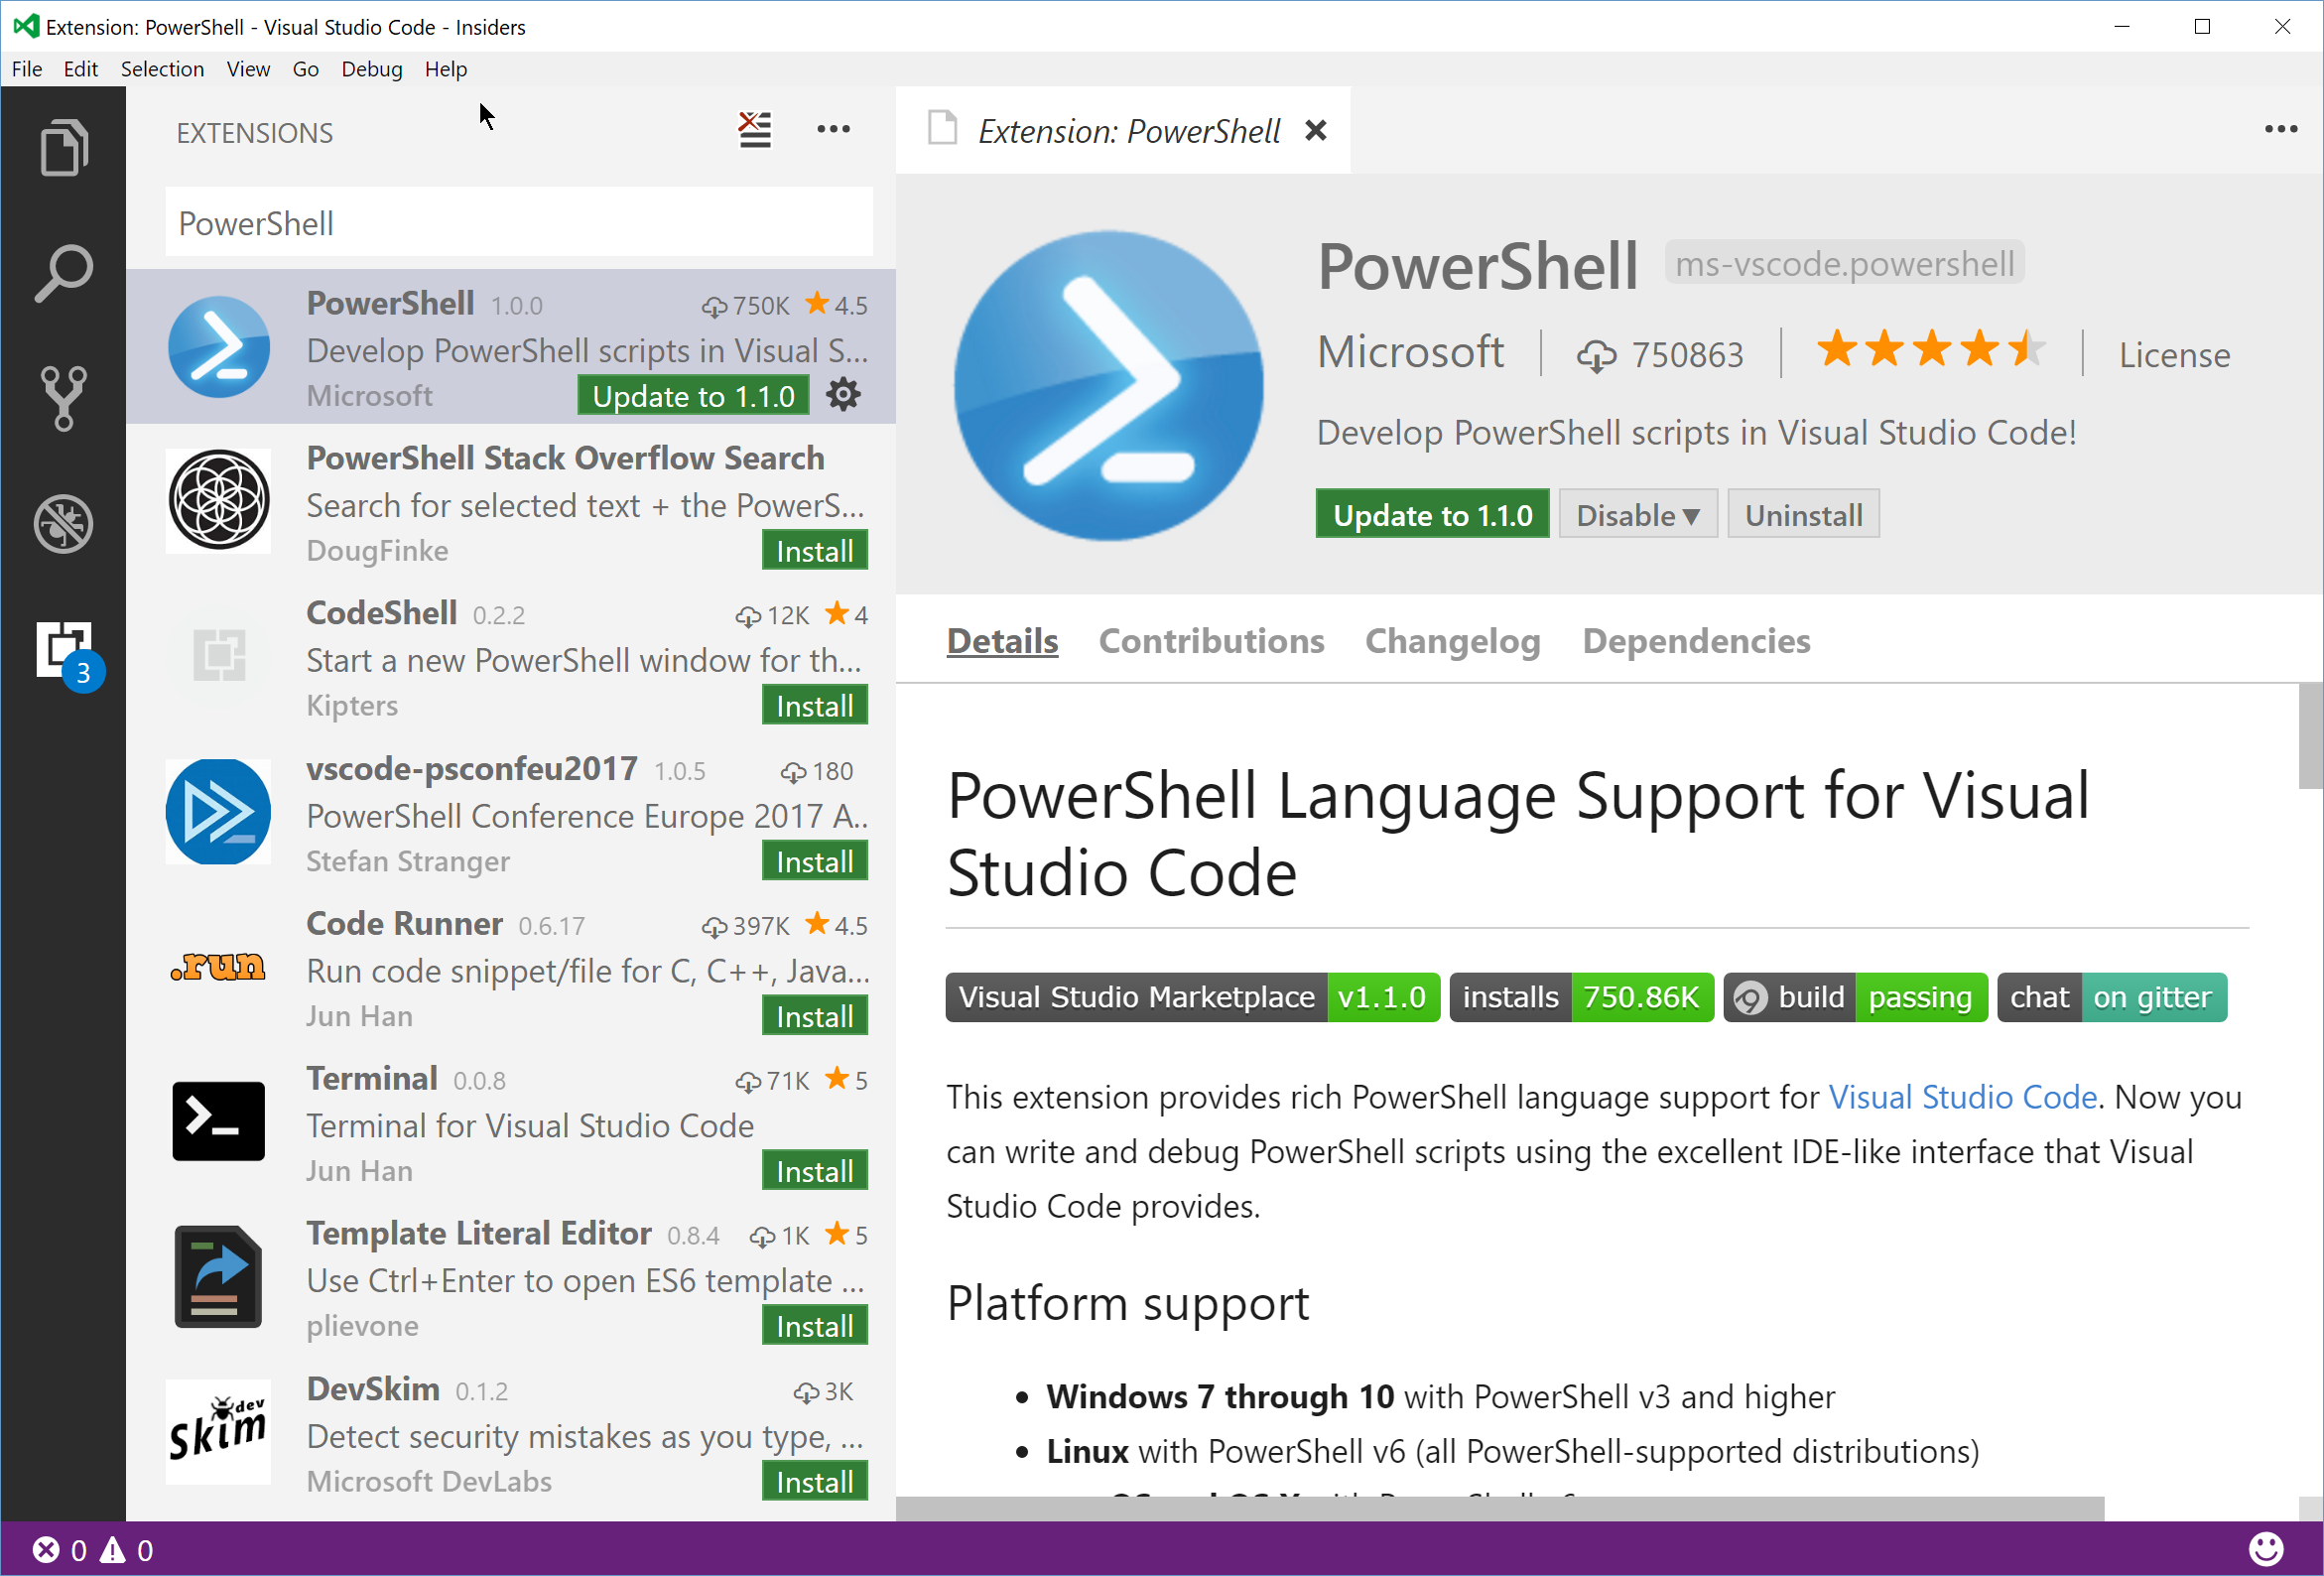
To add the PowerShell extension, you need to go to the Extension's tab in VS Code and search for PowerShell, then select Install or Update (I've already have the extension installed hence the prompt for an update.
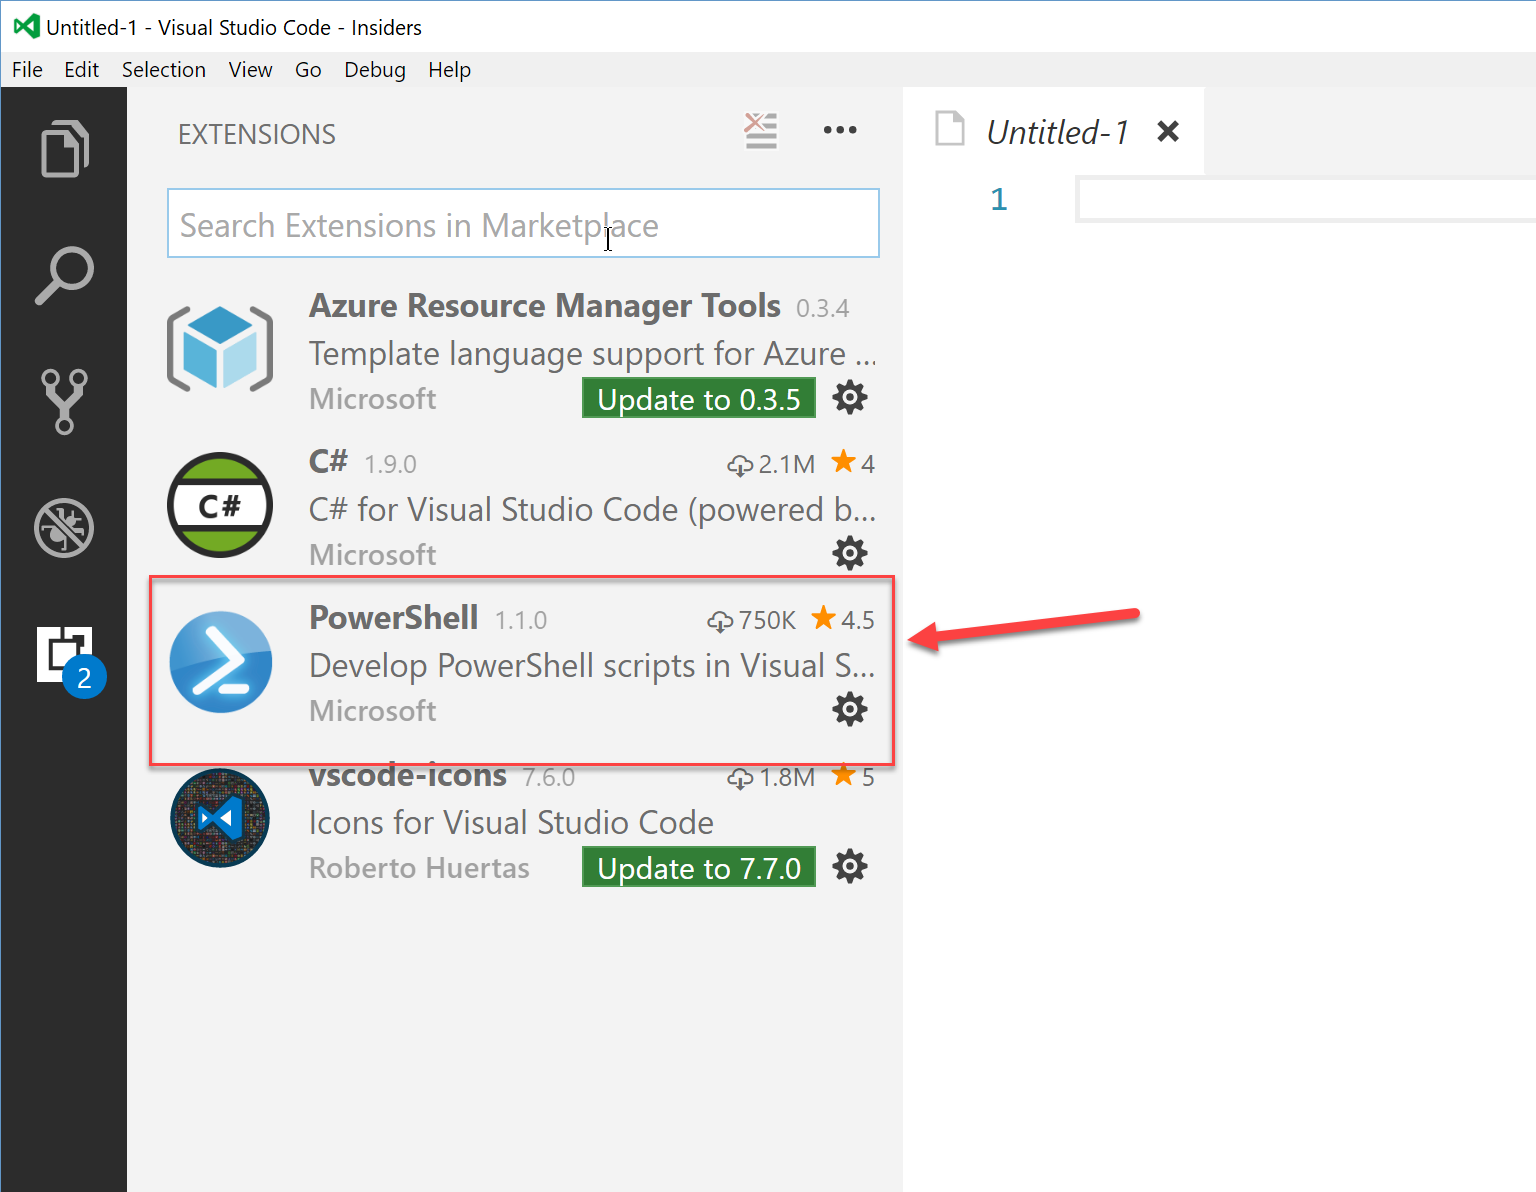
Once installed, you'll be prompted to reload VS Code for the extension to take effect. After reloading you can verify that the extension is correctly installed by checking the Extension's tab again.
Now you can go ahead and start working with PowerShell or you could take a minute to configure the editor settings.
Some of the settings you may want to consider in order to improve your PowerShell Editor experience are:
"Powershell.scriptanalysis.enable": true
"Powershell.startAutomatically":true
"Powershell.integratedConsole.focusConsoleOnExecute":false
"Powershell.enageleProfileLoading":false
"Powershell.codeformatting.<formatting default settings>":true/false
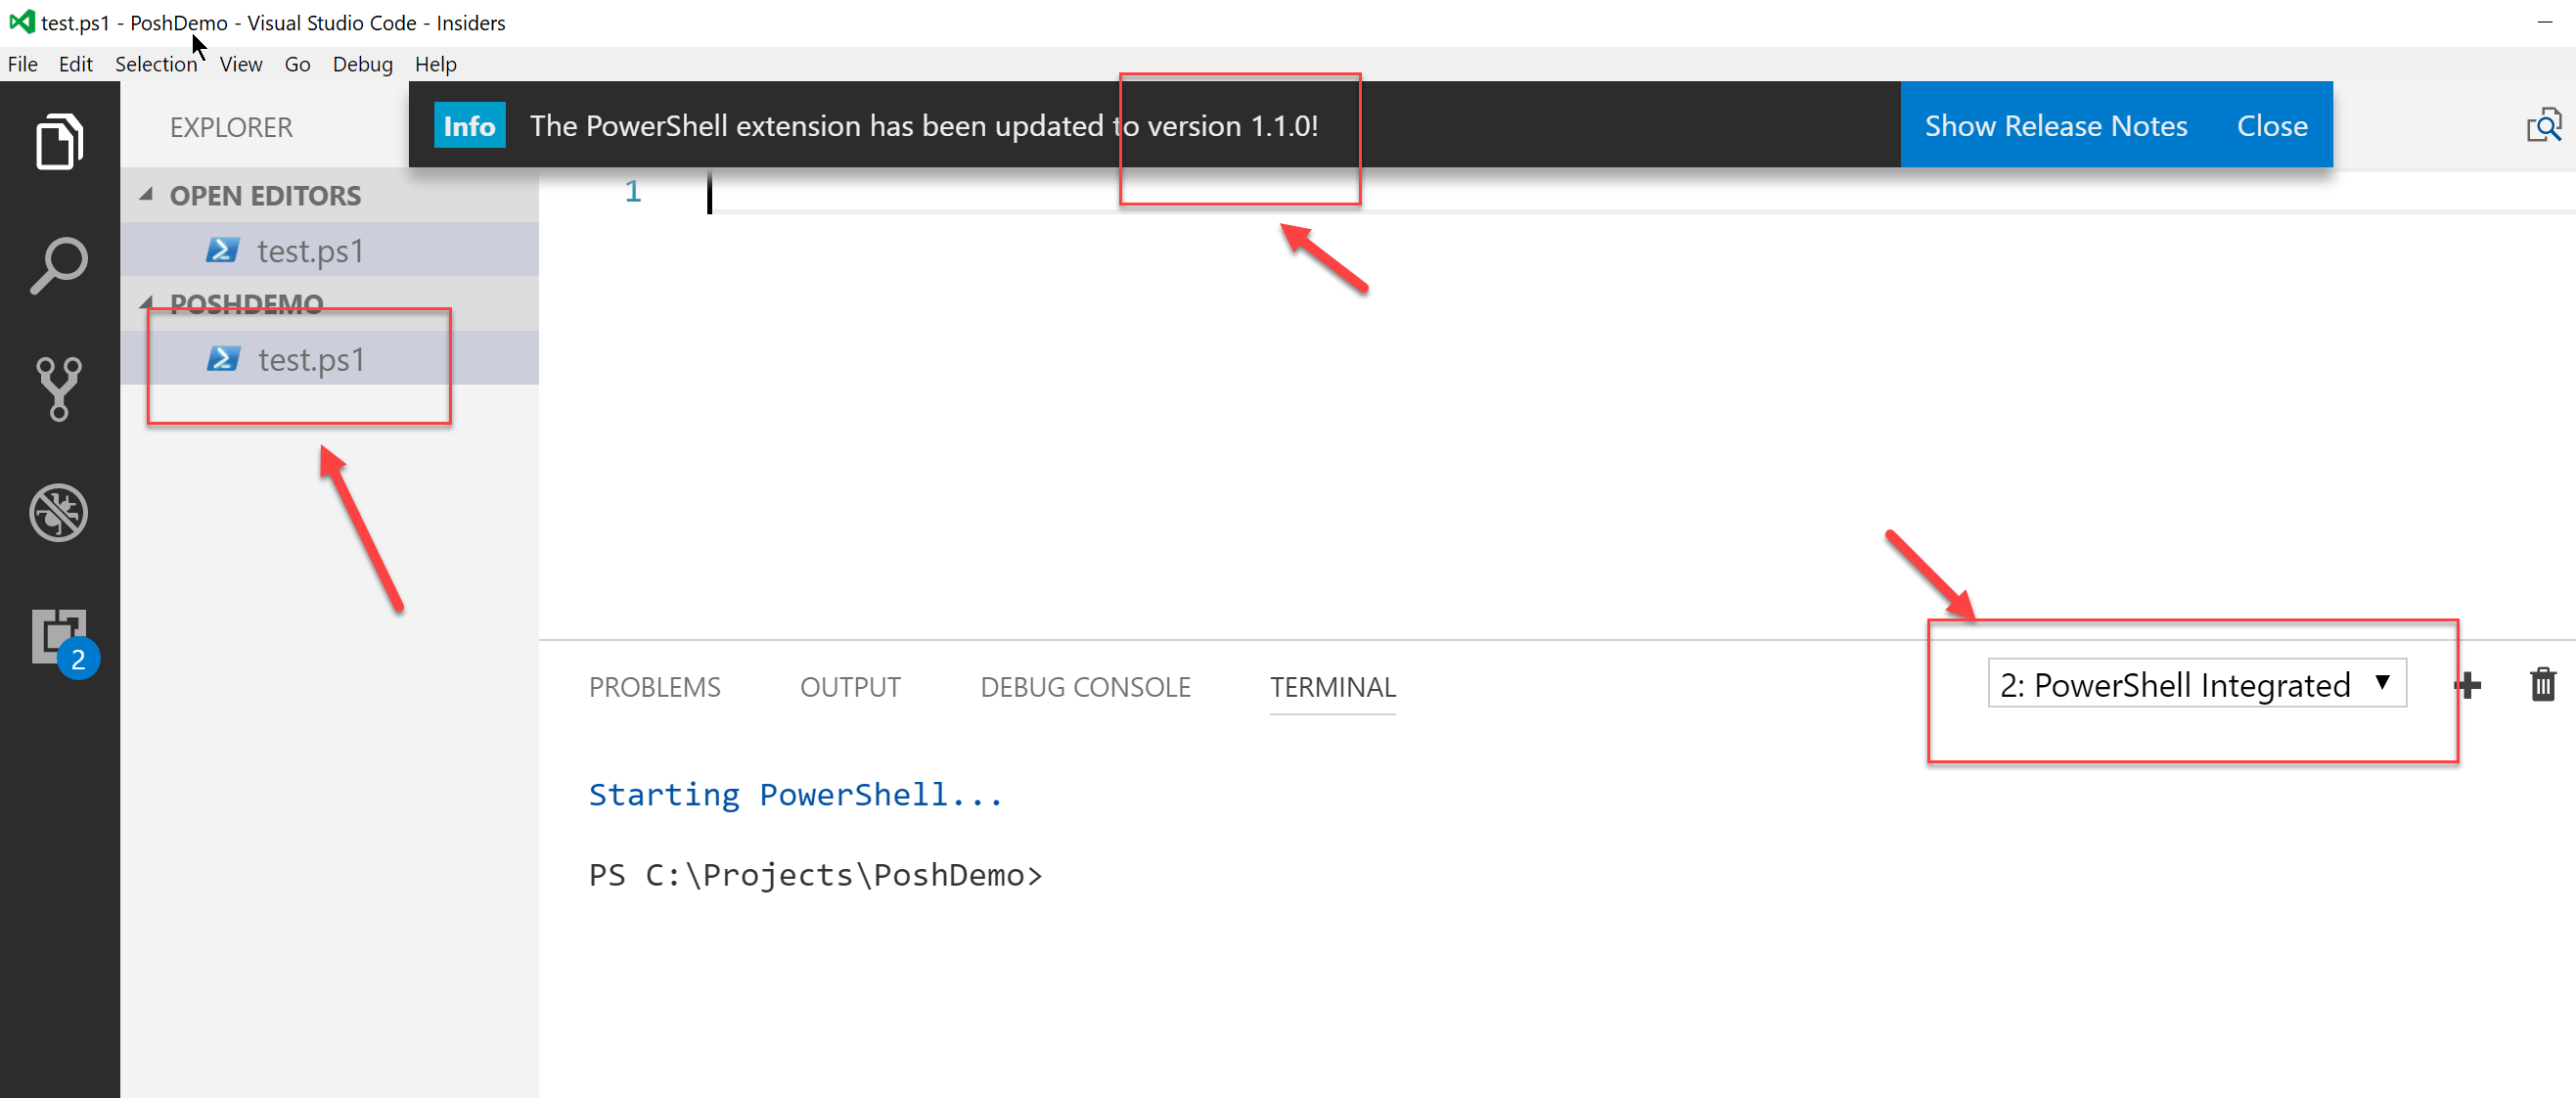
With our editor settings in place (I use mainly the default one) you can go ahead and create some awesome scripts. Add a new Powershell (*.ps1) file. You should notice a few changes inside the editor. The VS Code Command windows changed to use the "Integrated PowerShell" option, there's a notification that you're now using the latest PoSH extension with info about the release notes and, finally, you can see the new file created on the left hand side File's tab.
Some of the cool editor features you get straight out-of-the-box are:
- Syntax highlighting
- Code snippets
- IntelliSense for cmdlets
- Rule-based analysis provided by PowerShell Script Analyzer
- Go to Definition of cmdlets and variables
- Find References of cmdlets and variables
- Document and workspace symbol discovery
- Run selected selection of PowerShell code using F8
- Launch online help for the symbol under the cursor using Ctrl+F1
- Local script debugging and basic interactive console support
- Integration with [Plaster](https://github.com/PowerShell/Plaster" target="_blank) for script templating (a la Yeoman)
You can find more information about these [here](https://github.com/PowerShell/vscode-powershell" target="_blank)
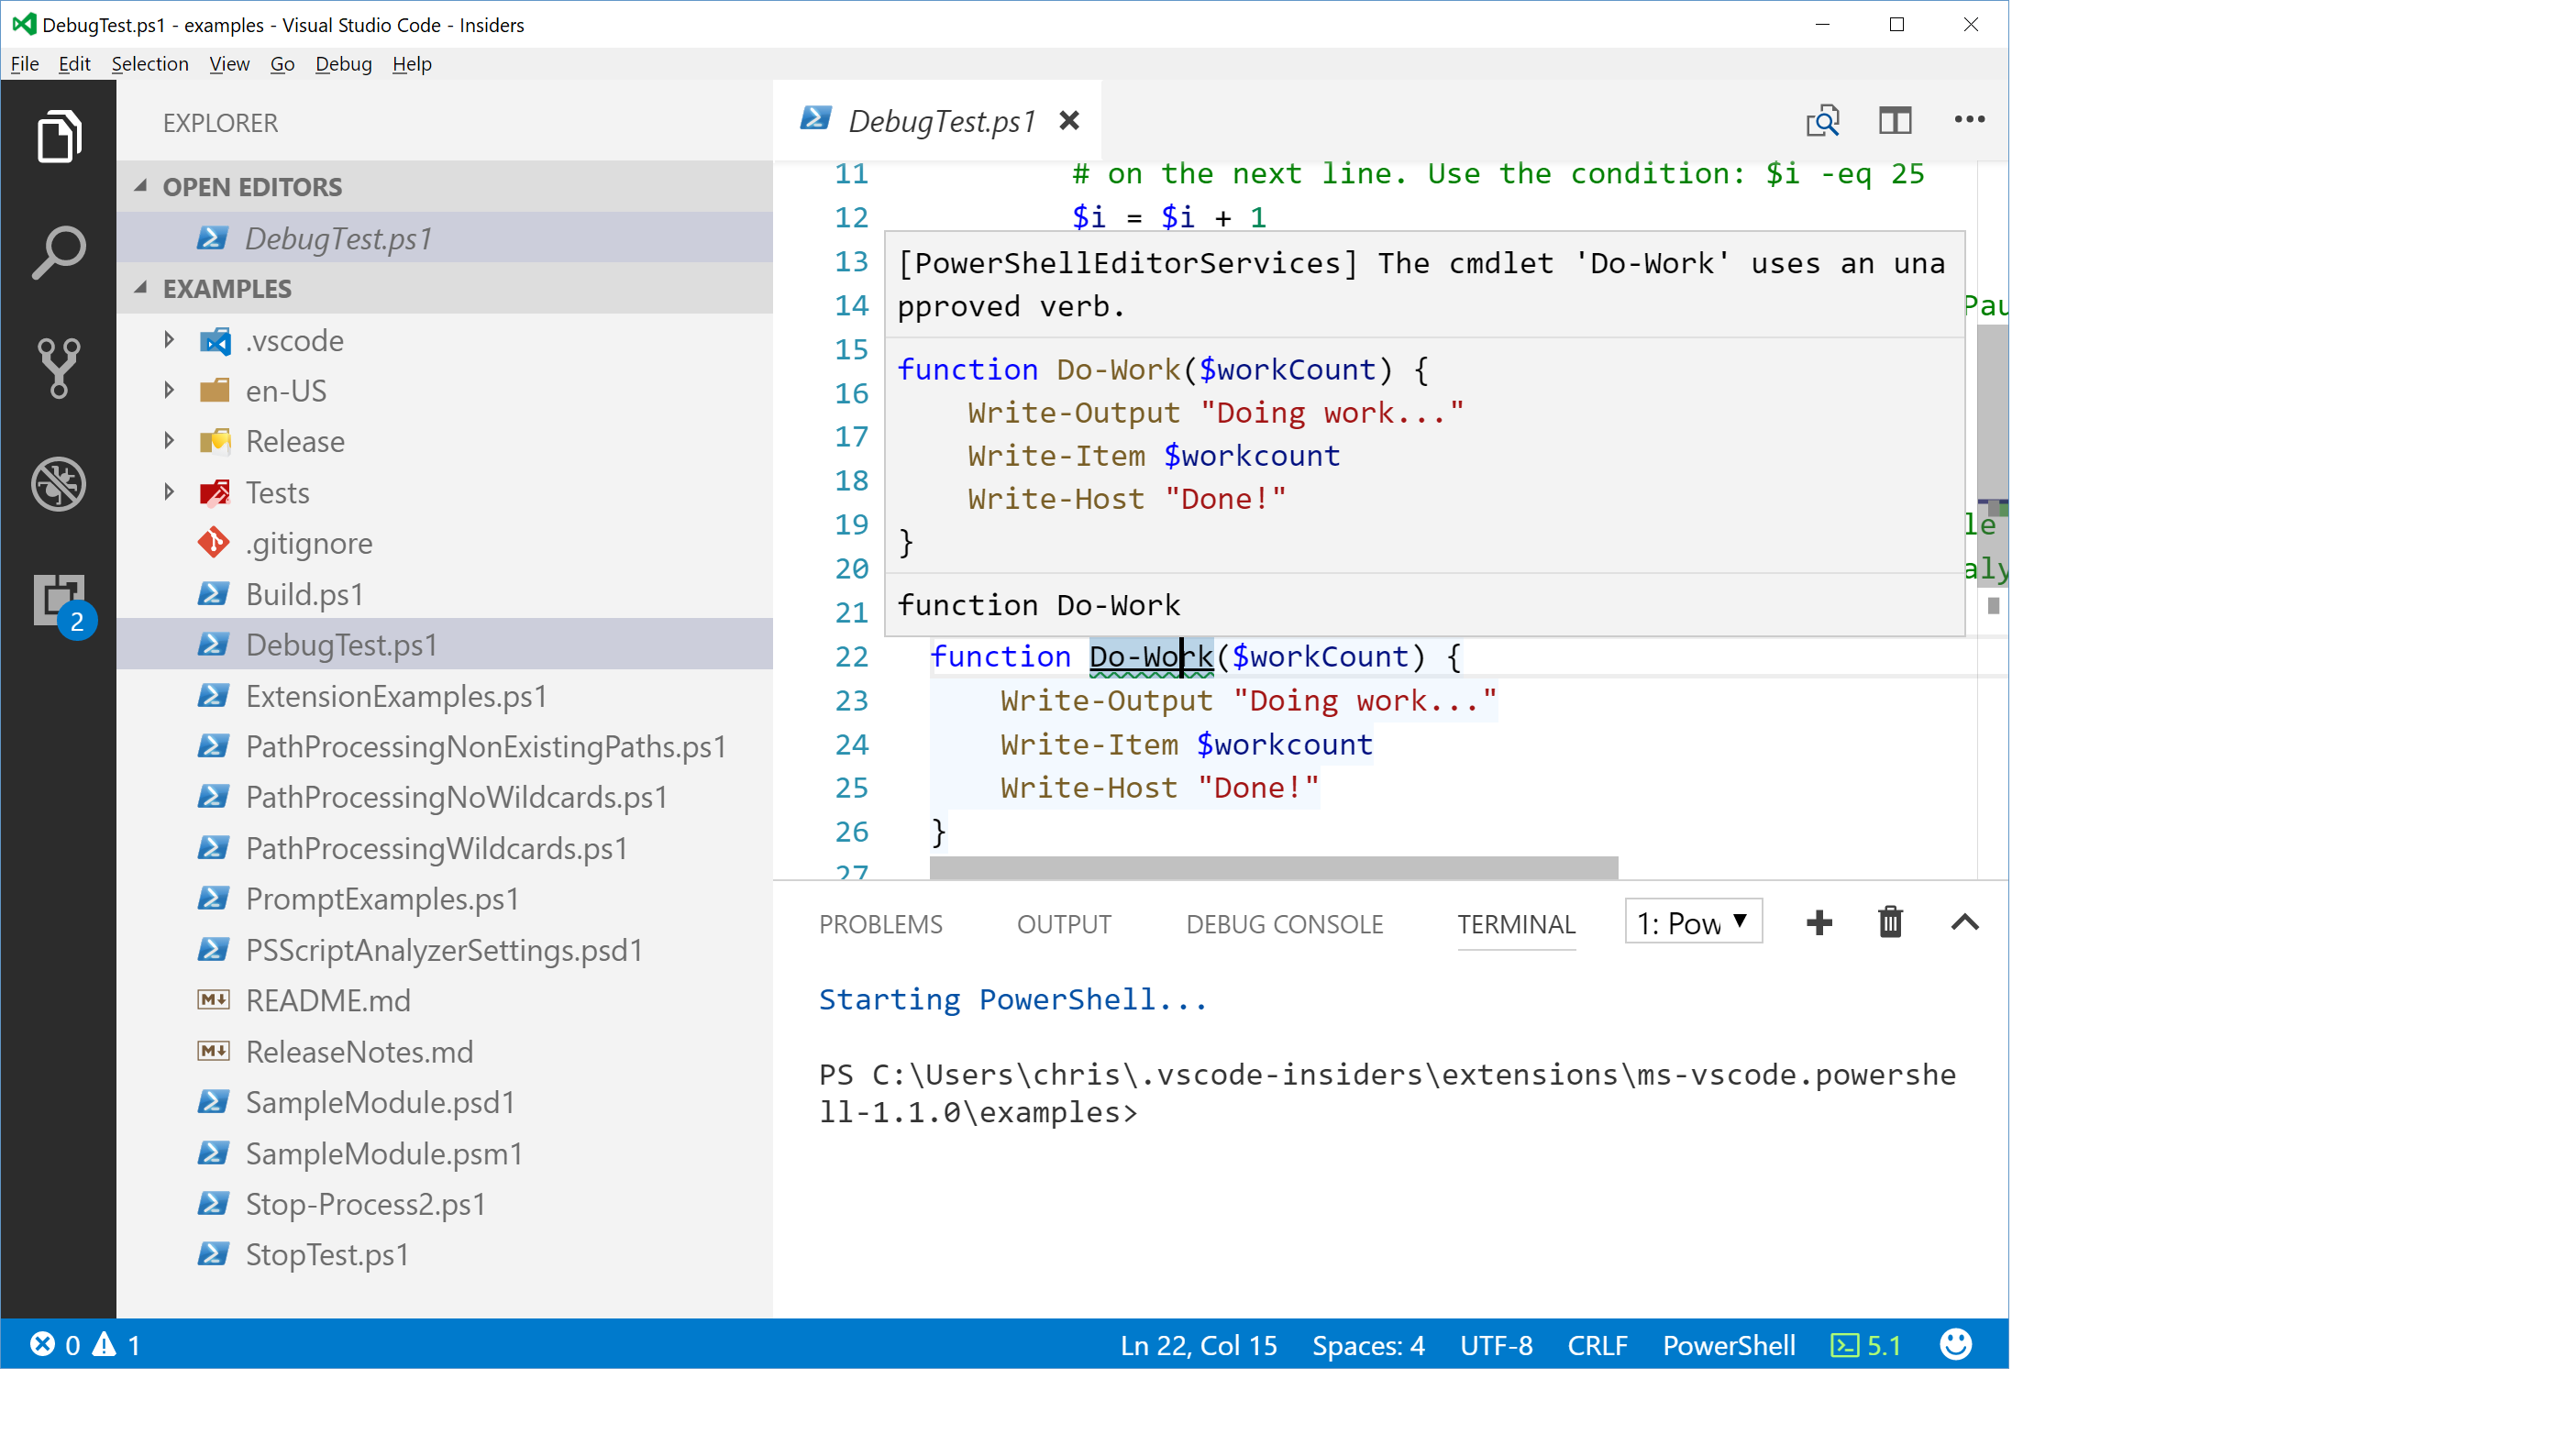
Code errors or formatting issues are highlighted straight away with information on what to do to fix those issues. This means that VS Code offers an immediate feedback loop to help you write more robust and better quality the code, in effect speeding up development time and avoiding the painful: run -> debug -> stop -> fix -> run cycle
For me, the biggest benefit of using VS Code with PowerShell is the ability to run and debug my code straight from the Debugging tab. The first time you try to run your code, VS Code will prompt you to add a configuration. This is because VS Code has no idea what code it needs to run (.NET, Node), and needs some help in order to bootstrap the right debugger. In many cases, VS Code is intelligent enough to work it out itself, but we may as well go ahead and be explicit about it.
Once you've defined the debugger settings, you should see a new .vscode folder in the File's tab. That's where the project configuration file resides, in case you need to change anything in the future. To run the code, just put a breakpoint where needed and hit F5 or use the "Play" button in the Debugger Tab. All output/logging from your script should be available in the "Integrated Terminal" window at the bottom of the screen. If you can't see it, you can easily make it appear with the Ctrl + ' keyboard shortcut or from Menu -> View -> Integrated Terminal.
Finally, to debug the code, you can place one or multiple breakpoints and kick off the debugger again. This time, the editor lights up with a plethora of information to help you quickly and easily understand what your code is doing. You get:
- debugging buttons (stop, continue etc)
- values of all local variables
- the current call stack
- all breakpoints set in the code
This is why working with PowerShell is such an exciting and fun experience inside VS Code. I would urge you to give it a go and see how VS Code can improve your workflow when working with PowerShell.